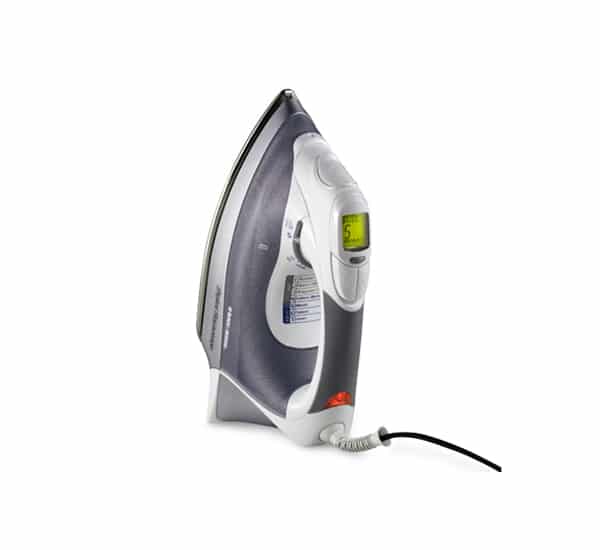
[vc_row][vc_column][vc_custom_heading text=”Press and Impress: How to Iron Clothes”][vc_single_image image=”629″ img_size=”full”][/vc_column][/vc_row][vc_row][vc_column][vc_column_text]While you can get away with wearing un-pressed clothing sometimes, a crisply ironed wardrobe always looks best. Depending on the item and the occasion, whipping out the iron is sometimes mandatory. Knowing how to iron different garments makes it easy to get great results.
Consider these steps for wielding an iron with flattering results.
Have a Good Ironing Board
First thing’s first: To iron well, you must have a sturdy, smooth ironing surface. These days there are many to choose from, including stand-alone models, wall-mounted, hideaways … even a roll-up ironing board. If you’ve got a standard ironing board, make sure it has a smooth ironing board cover to go over it.
Fill the Water Reservoir
Top off the iron’s tank with distilled water. Avoid using tap water, which tends to be high in minerals that cause build-up on the iron’s metal bottom, which is known as the soleplate. Such mineral deposits can stain your clothing during ironing.
Determine the Proper Setting
Figuring out what type of material the clothing item is made of will help you determine the right setting to use. The correct setting is important, as an iron that is too hot will burn material and one that is too cool won’t press out wrinkles. Clothing tags generally tell you the material type, such as cotton, and you can then find a corresponding setting on the iron.
Preheat the Iron
The iron is ready when steam is released after you press the steam burst button. This is a button usually located on the handle of the iron that causes the release of steam when you press it. Use this feature to remove stubborn wrinkles when ironing.
How to Iron a Shirt
An easy way to remember how to iron shirts is to think “neck down.” Work from collar to shoulder to cuffs to the body of the shirt. Follow these steps.
- Iron the underside of the collar with smooth, even strokes, working from the center out to each end. Flip the collar over and iron the topside in the same manner.
- Slip a shoulder of the shirt into the thin end of the ironing board. Iron from the shoulder to the center of the back and repeat with the other arm.
- Iron the underside and then outside of cuffs.
- Place each sleeve cuff side up on the ironing board and iron until smooth, repeating on the other side.
- Iron the body of the shirt, beginning with the front and ending with the back.
How to Iron Slacks
Most pants look best if ironed. Follow these steps:
- Turn the pants inside out and iron all seams so they lay to one side.
- Turn the pants right side out and iron any existing pockets flat.
- Work on the upper portion of the pants by fitting the waist of the pants around the thin end of the ironing board. Rotate the waist around the board until you’ve ironed all sides. If there are pleats in the front of the pants, pinch them with your fingers while ironing.
- Lay the pants flat with both legs on top of one another, lining up the inseams. Lift up the top pant leg and iron the inside of the bottom leg, then put down the top leg and iron it. Flip the pants over and repeat the procedure on the other side.
How to Iron Skirts
Place the skirt over the small end of the ironing board and starting from the bottom of the skirt, iron up to the waistline, rotating the skirt as you work.
Caring for Your Iron
Keep your iron free of debris and harmful mineral buildup by cleaning the machine after every fourth use, or when the iron no longer glides smoothly over clothing. Clean the iron’s soleplate with a cotton ball dipped in vinegar and use vinegar-soaked cotton swabs to clean out the steam vents — always when the iron is unplugged and completely cool, of course.
To rinse out the interior of the iron, fill the tank with a mixture of half vinegar and half water, heat the iron and flush the system over the sink by pushing the steam-burst button until the iron is drained.
Store your iron free of water in an upright position.
Now that you know the basics of ironing, start pressing and impressing.
Julie Bawden-Davis[/vc_column_text][/vc_column][/vc_row]