Gardening

Gardening-Blog

Grow Root Crops in SoCal

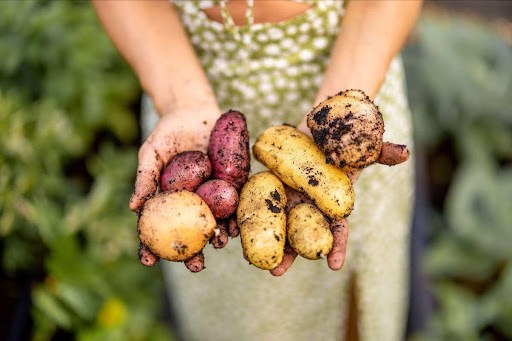
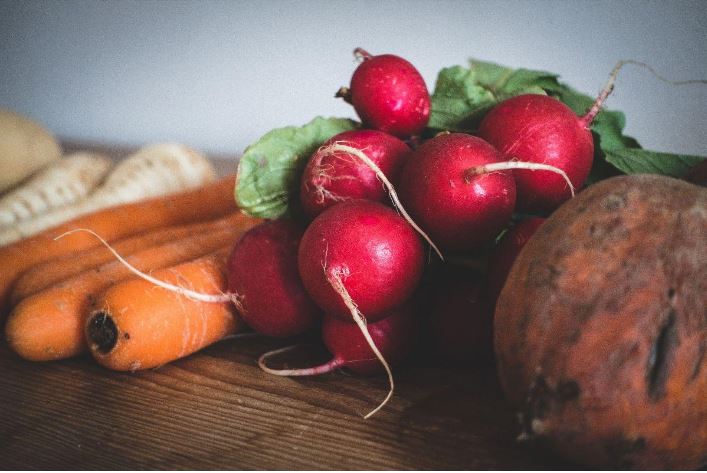
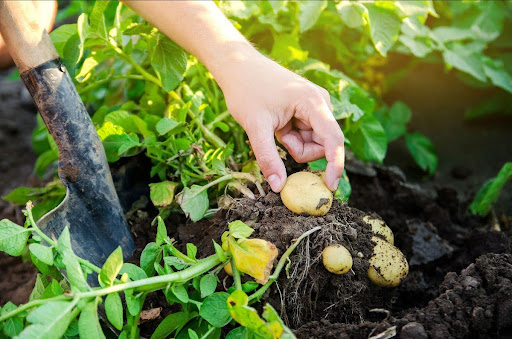
One of my favorite types of veggies to grow during our cool season are root crops. There is something so exciting about tending the plants, all the while wondering how they’re growing below ground. For me, it’s like opening a present when you finally get to harvest crops like beets, potatoes, onions, garlic, radishes and turnips.

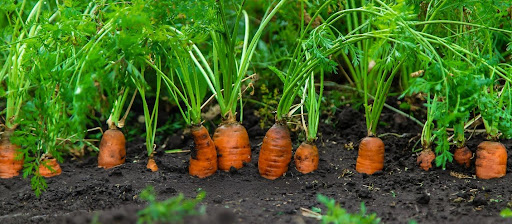
And if you think a homegrown tomato tastes good, just wait until you pull up a fresh root crop like a carrot. Growing your own root and bulb crops also lets you experiment with varieties not usually found in the store. Add to this the fact that root crops are ultra-nutritious, and you’ve got something to root for!

A close up of a plant

Description automatically generated

Once established, underground crops are fairly easy to grow and maintain. Many of these vegetables store well in the ground, which gives you an extended harvest.

Starting now through November is a good time to plant root crops in Orange County, because the ground is still warm. Plant now and the remaining warm weather will get your root crops off to a good start.

You can plant root crops from seed, and sometimes find them growing in the nursery. While it’s best to plant them from seed, I have had luck growing some root crops from transplants, including beets. You must be careful when transplanting them, as their taproots are the root vegetable itself. 

I’ve been having a lot of luck growing seed over the last year from True Leaf Market, an independent non-GMO seed company that curates premium seed brands. They carry a bunch of root crop seeds, including beets, carrots, turnips, celeriac, garlic, onion, parsnip, radish, rutabaga, salsify and turnip. 

Prepare the Soil

Before planting even one seed, it’s important to consider the secret to healthy root crops—rich, well-draining soil that allows roots to easily penetrate. Unfortunately, many gardeners don’t realize how important soil quality is and what ends up happening is stunted and gnarled root vegetables that lose the battle against the hard clay soil common in many yards.

A close-up of a garlic bulb

Description automatically generated

To have luck growing root crops in the ground, it’s important to generously amend with homemade or bagged compost. Adding gypsum according to package directions is also helpful, as well as incorporating a 1-inch layer of pumice into the growing area.

When you work the soil and mix in amendments, loosen the earth at least 18 inches deep. You should also add a fertilizer high in phosphorus, such as bone meal, which promotes healthy root growth. It is also imperative that the area chosen is well-draining, because root crops will rot if they sit in a sloppy soil.

Choose the Location Carefully

The location you choose for root crops is also important. Make certain that where you’ll be planting gets sun most of the day. An area with very little sun now will probably be shaded in three months. The best place is a southern exposure against a white wall, which will reflect and radiate heat to the plants. A western exposure is also a good choice.

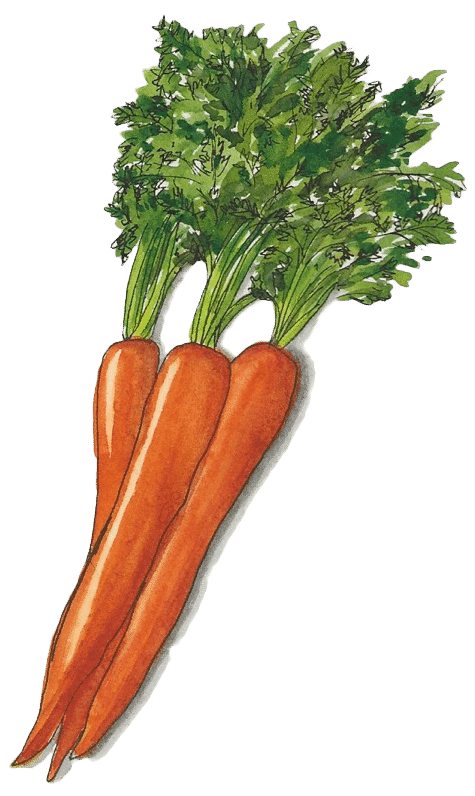
A carrot with a root

Description automatically generated

Seeding Root Crops

Root crops are best seeded in place. Trouble comes calling at this time of year, however, if we have a heat wave or Santa Ana winds. It is critical that seedlings never dry out, or you will lose them. That often means misting them once or more times a day until they are an inch or so high. If the day becomes particularly sunny, it’s a good idea to shade the seedlings for part of the day, which will prevent them from getting too hot and drying out.

Patience is critical when it comes to seeding root crops, as some, like carrots, take a while to germinate.

Growing Root Crops in Containers

Many root and bulb crops grow well in containers and raised beds. Both enable you to provide what root crops want most—fast draining soil and a good sunny location at all times.

Pots and raised beds, the latter of which are essentially large containers, do present some challenges to growing root crops, though. Keep the following in mind:

  • Use a good potting mix and add a little homemade or bagged compost for extra richness.
  • Make sure the container is big enough for what you’re planting. While radishes thrive in small pots, long carrots need containers at least 12 inches deep.
  • Try dwarf vegetables when possible. There are a variety of dwarf root vegetables specifically suited for containers such carrots under five inches long, including short ‘n’ sweet, tiny sweet, red-core Chantenay, little finger and the golf ball-size Thumbelina.
  • Keep in mind that containers tend to dry out much more quickly than the ground. For that reason, young seedlings especially and container plants in general must be watered on a regular basis. At the same time, you don’t want root crops sitting in water and rotting. Don’t over water and remove container saucers so excess water can flow freely out the bottom of each pot.
  • Fertilize container plants about every two weeks with a well-balanced organic fertilizer that contains a high amount of phosphorus.

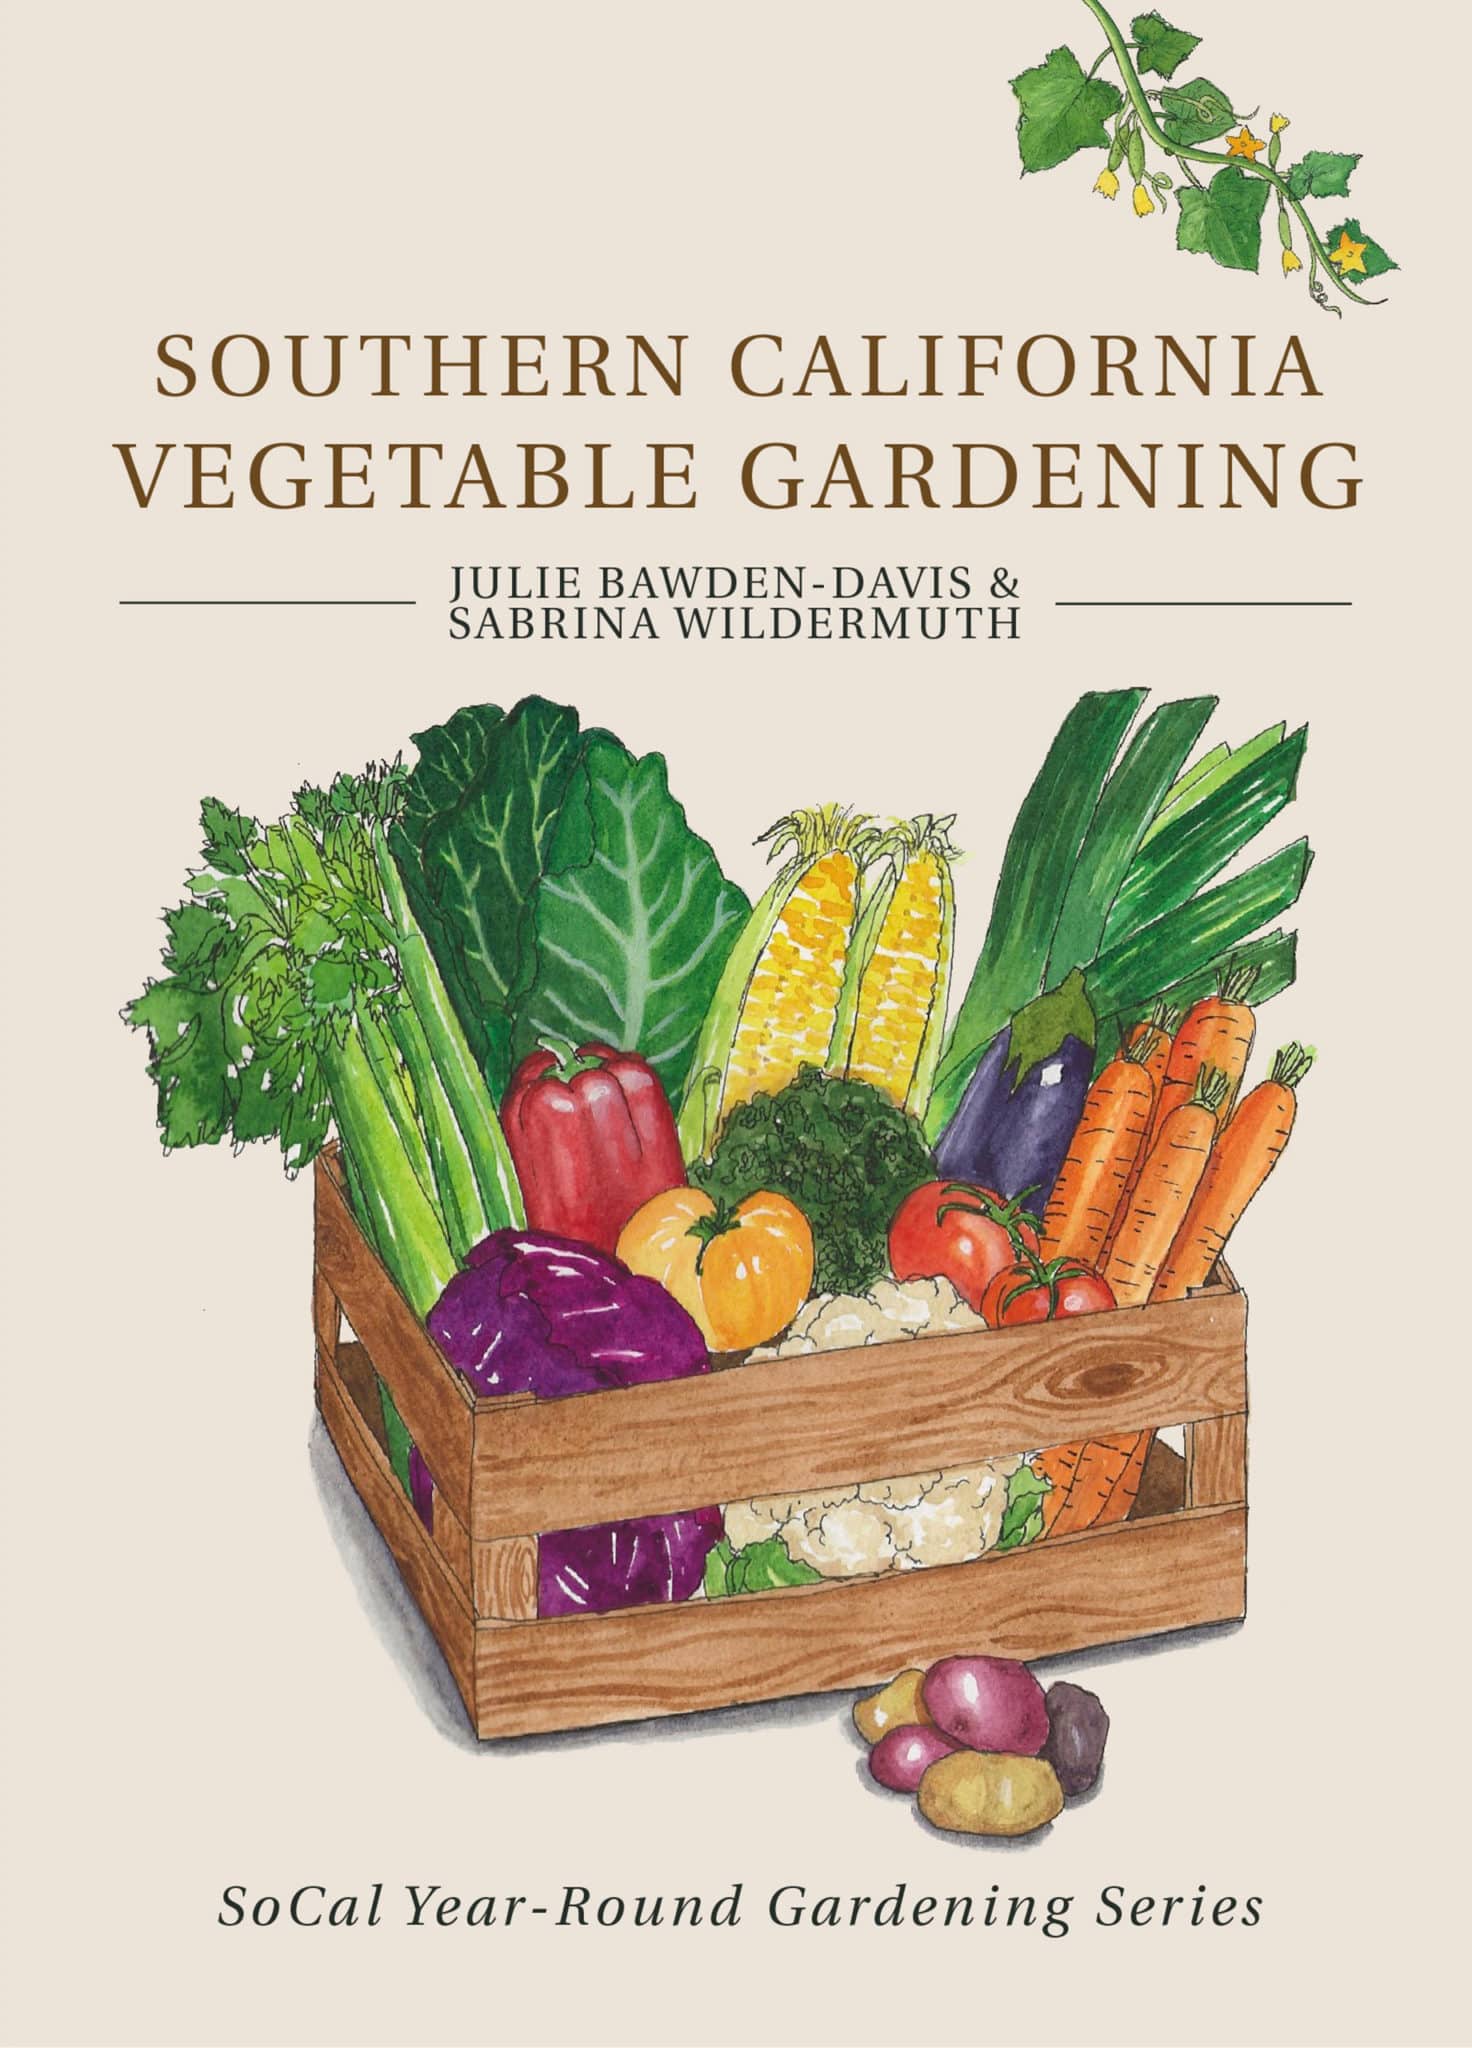
For detailed information on growing each of these root crops, check out my book Southern California Vegetable Gardening, which comes in paperback and as an e-Book and is free to read on Kindle Unlimited.

Shady garden bed

Shade Gardening in Southern California

Shade Gardening in SoCal

A perk of living in SoCal is the nearly perpetual sunny weather that leads to gorgeous gardens. But to enjoy time in the garden, you need a little shade.

Many gardeners respond to the need for shade by planting trees and installing structures to provide refuge from the sun’s hot rays. Some home orientations also don’t allow for direct sunlight.

Whatever the reason for shade, if you’ve tried growing sun-loving plants in dim conditions, you know what happens—leggy, unhappy plants that refuse (for good reason) to thrive.

“Trying to cultivate plants in unsuitable conditions leads to disappointment and frustration,” says Chuck Pavlich, Director of New Product Development at Terra Nova Nurseries. “Instead, embrace the shady aspects of your microclimate and select plants that thrive in low light.”

Shady garden archway

Creating a Thriving Shade Garden

Gardening in the shade
Gardening in shady conditions can make gardening comfortable. When you work within your garden's microclimate, you can make your shady retreat a beautiful and restful haven.

By working with your garden’s natural conditions, you can create a beautiful and thriving garden that enhances your outdoor space.

“Embracing a garden’s microclimate can lead to more successful and sustainable gardening practices and a more harmonious and balanced garden ecosystem,” says Pavlich.

“Rather than trying to force sun-loving plants to thrive in shady areas, it’s beneficial to understand and respect your garden’s natural conditions. By doing so, you can select plants well-suited to the available light levels, soil type and moisture levels.”

How Shade Gardening Differs from Full-Sun Gardening

Shade gardening presents a unique set of challenges and rewards compared to gardening in sunny areas.

“One significant difference between shade and sun gardening is the learning curve involved in understanding the specific needs of plants in each environment,” says Pavlich. “In sunny areas, plants may require full sun and well-drained soil, while in shady areas, the requirements can vary widely. Some shade plants require dry conditions while others prefer moist soil.”

Gardening in the shade requires careful planning and consideration, as plants that thrive in shade have specific requirements, notes Pavlich. “With thoughtful selection and placement of plants, shade gardens can be just as visually striking and calming as sun-filled gardens.

“By embracing the unique challenges of shade gardening and learning about the specific needs of plants in shady areas, you can create a beautiful and thriving garden that complements the natural environment of your yard,” he says. “There’s a sense of accomplishment in transforming what may initially seem like a limitation into a beautiful and functional garden space.”

Shade garden

Tips for Successful Shade Gardening in SoCal

To have luck gardening in shade, keep the following tips in mind.

  • Observe. Before planting, make sure the area is actually shady. Check the area throughout the day to ensure that it does stay shady for most of the day. This will help you choose the right plants for the space.
  • Keep in mind seasonal changes. Sun exposure will change with the seasons. This is especially the case with areas where deciduous trees grow. The sun’s trajectory also changes throughout the year.
  • Experiment. Shade comes in endless varieties. If you aren’t sure about a particular plant doing well in your garden, experiment with one to see how it does before investing in more plants.
  • Provide well-drained soil. While many shade plants tend to like moist conditions, they don’t like wet feet. If drainage is poor, mix a 1-inch layer of pumice into the soil.
  • Containerize. Many shade-loving plants are slow growing and therefore do well in containers. If the sun’s trajectory changes throughout the year, growing in pots makes it easy to move the plants around as needed.
  • Watch watering. While most shade plants don’t need as much water as their sun-loving counterparts, they do need average amounts and few are drought tolerant (no containerized plants are). Shaded areas will dry out more slowly but you still need to check them on a regular basis to see if they need watering.

At the same time, don’t overwater shade plants. Signs of overwatering include yellowing leaves from the bottom up. Perpetually overwatered plants will eventually die from root rot.

  • Fertilize regularly. Feed most shade once in spring, summer and fall. Container plants should be fed monthly. Also apply compost three times a year.
  • Watch for pests. Out of the sun’s harsh rays, many pests tend to thrive, which makes keeping an eye out of them and minimizing them important. Pests such as snails, slugs, earwigs, aphids and sowbugs tend to thrive in the moist, cool, dim conditions of the shade garden.
  • Manually remove pests on a regular basis. You can also use pet and wildlife safe snail and slug bait or diatomaceous earth. To prevent snails and slugs from climbing up containers and attacking plants, apply copper tape around the base of the pot. Treat aphids with insecticidal soap spray.
  • Mulch around the base of plants to prevent weed overgrowth and conserve moisture. Place mulch 2 to 3 inches from the trunk.

Shade Garden Plants for SoCal

The great thing about shade plants is how vibrant and lush they tend to be. Plants that don’t have to contend with the sun’s bright rays are less stressed.

Many shade plants require a small amount of sun each day to do well. That can mean a brief period of early morning sun, dappled sunlight all day long or bright, indirect light. 

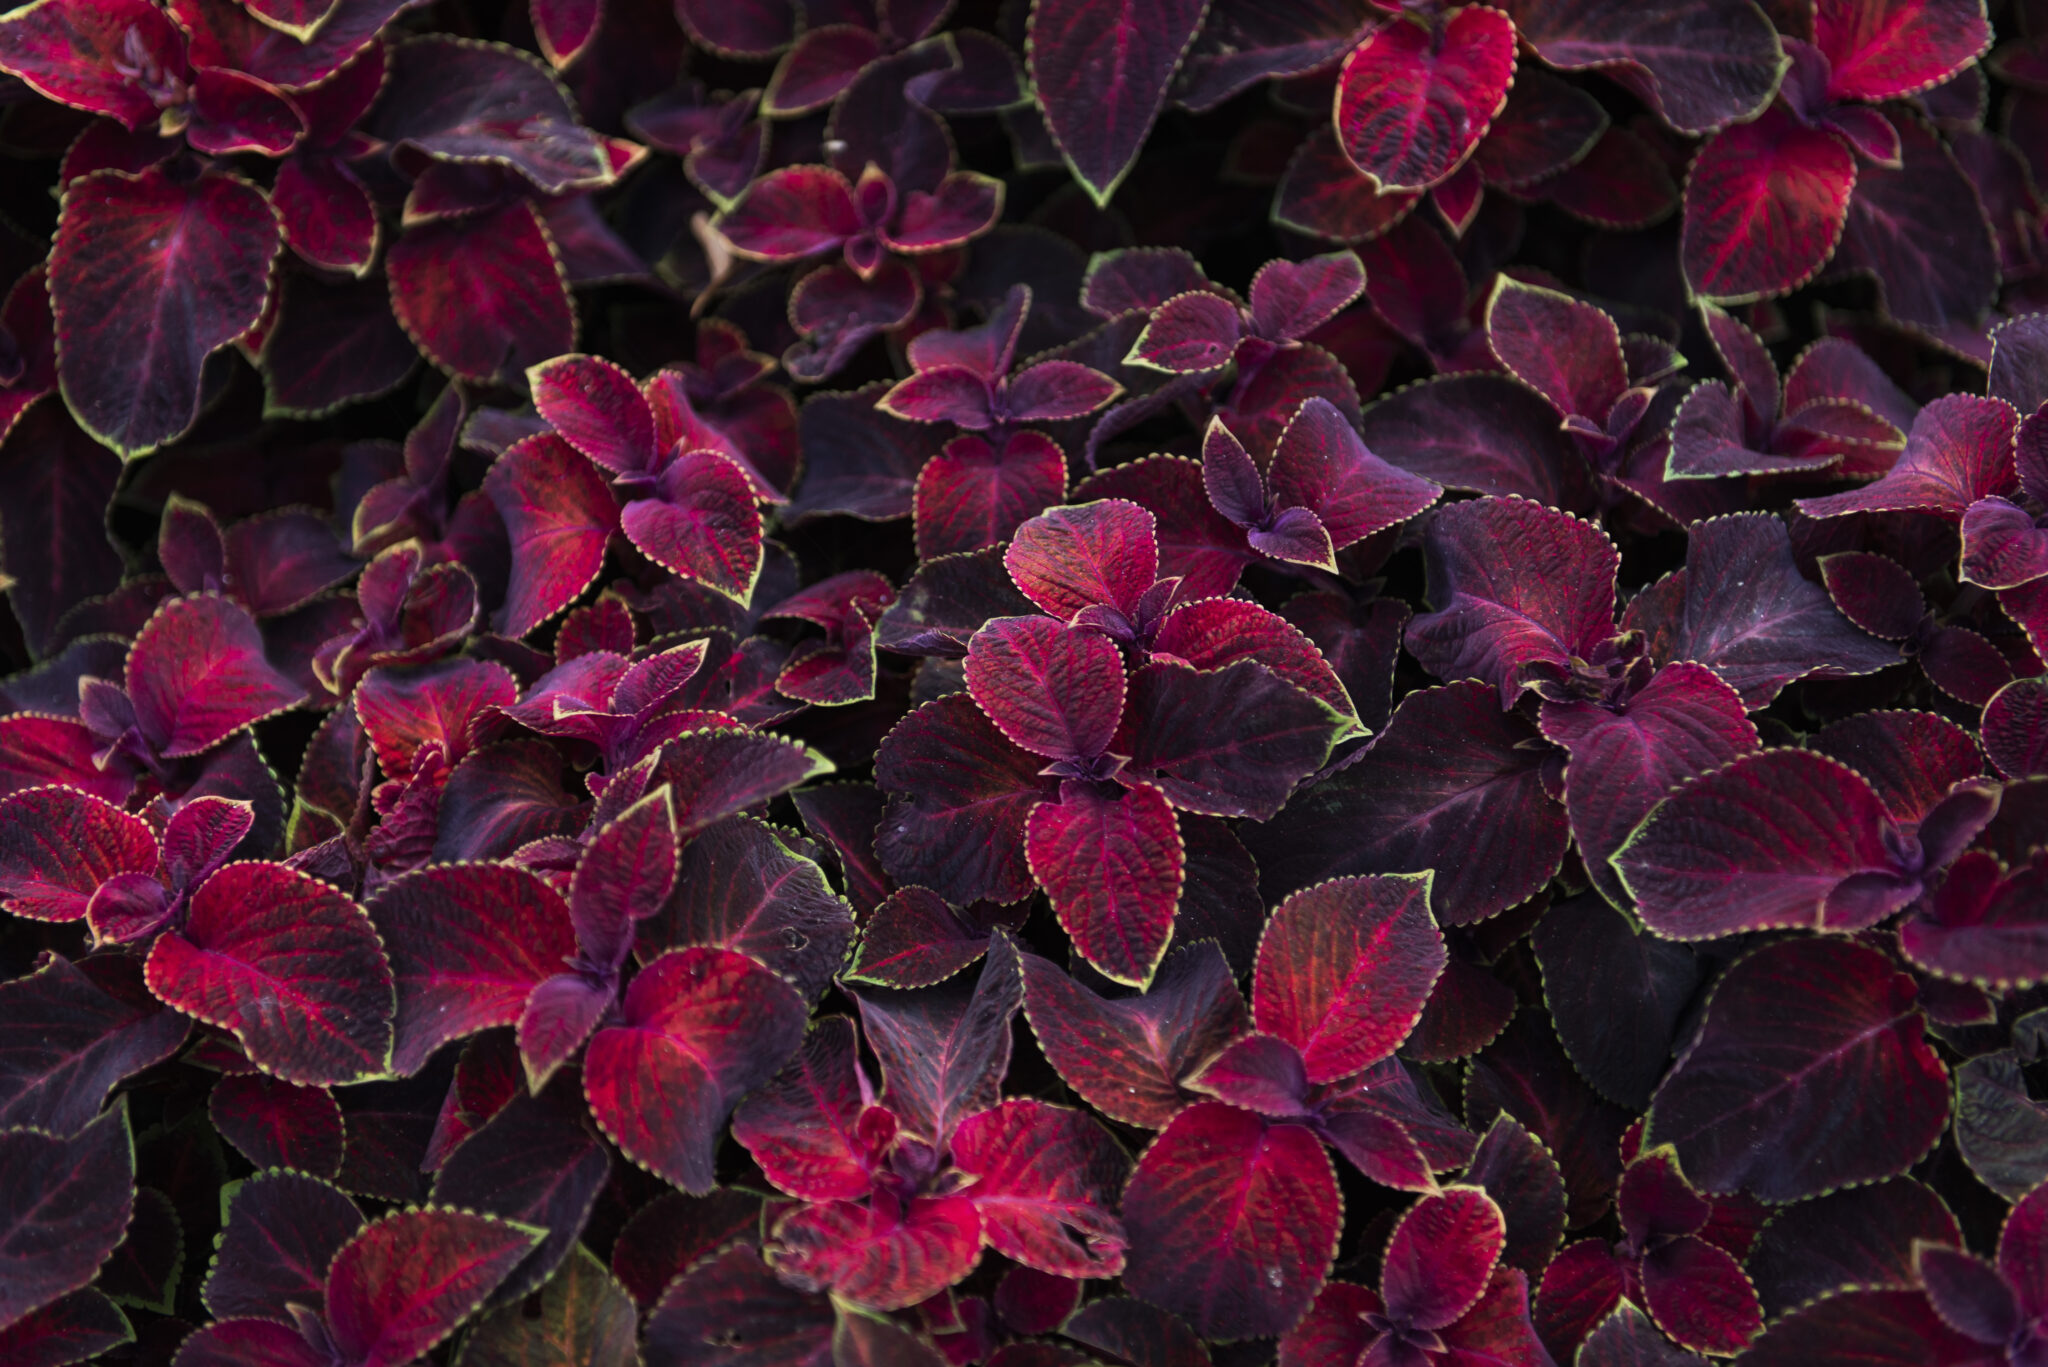
Coleus
  • Acanthus ‘Whitewater’
  • Agapanthus
  • Alstroemeria
  • Aureo-maculata’ leopard plant (Ligularia tussilaginea/Farfagium japonicum)
  • Azalea
  • Begonias T REX® ‘First Blush’ and ‘Ruby Slippers’
  • Bergenia
  • Bleeding heart (Dicentra)
  • Brugmansia (Angel’s Trumpet)
  • Brunfelsia pauciflora (Yesterday-today-and-tomorrow) (partial shade)
  • Caladium
  • Camellia
  • Campanula
  • Cast-iron plant (Aspidistra elatior)
  • Clivia
  • Coleus
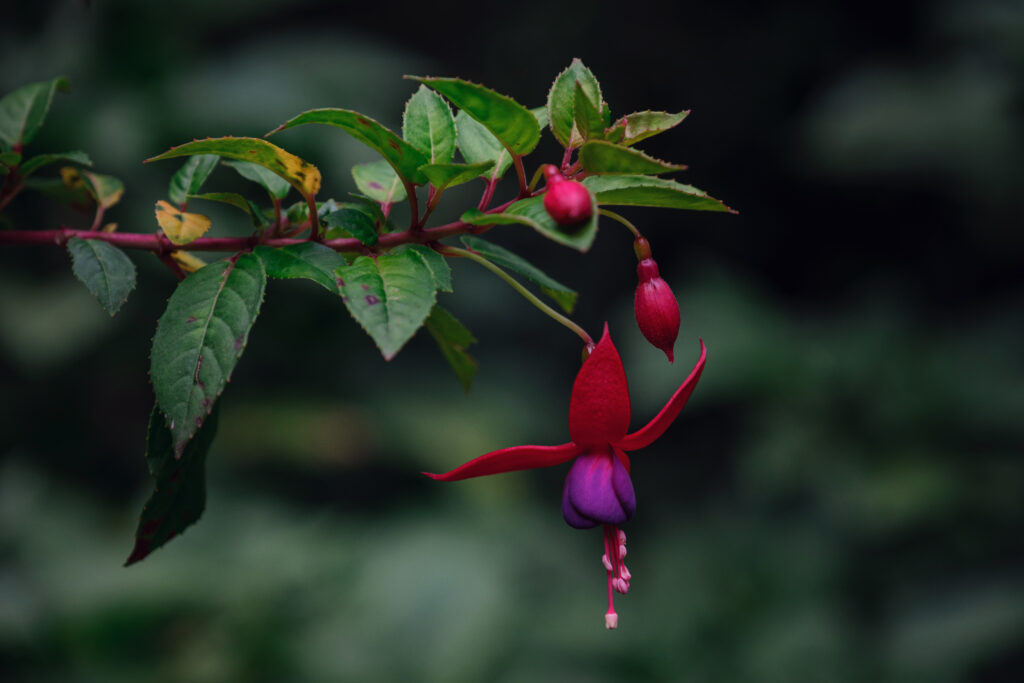
  • Fuchsia
  • Grape ivy (Cissus rhombifolia)
  • Heuchera GRANDE™ ‘Amethyst’
  • Hosta
  • Impatiens
  • Japanese aralia (Fatsia japonica)
  • Japanese spurge (Pachysandra terminalis)
  • Meadow rue (Thalictrum aquilegifolium) (light shade)
  • Millium
  • Phygelius COLORBURST™ series
  • Plectranthus VELVET™ series
  • Sarcococca ruscifolia
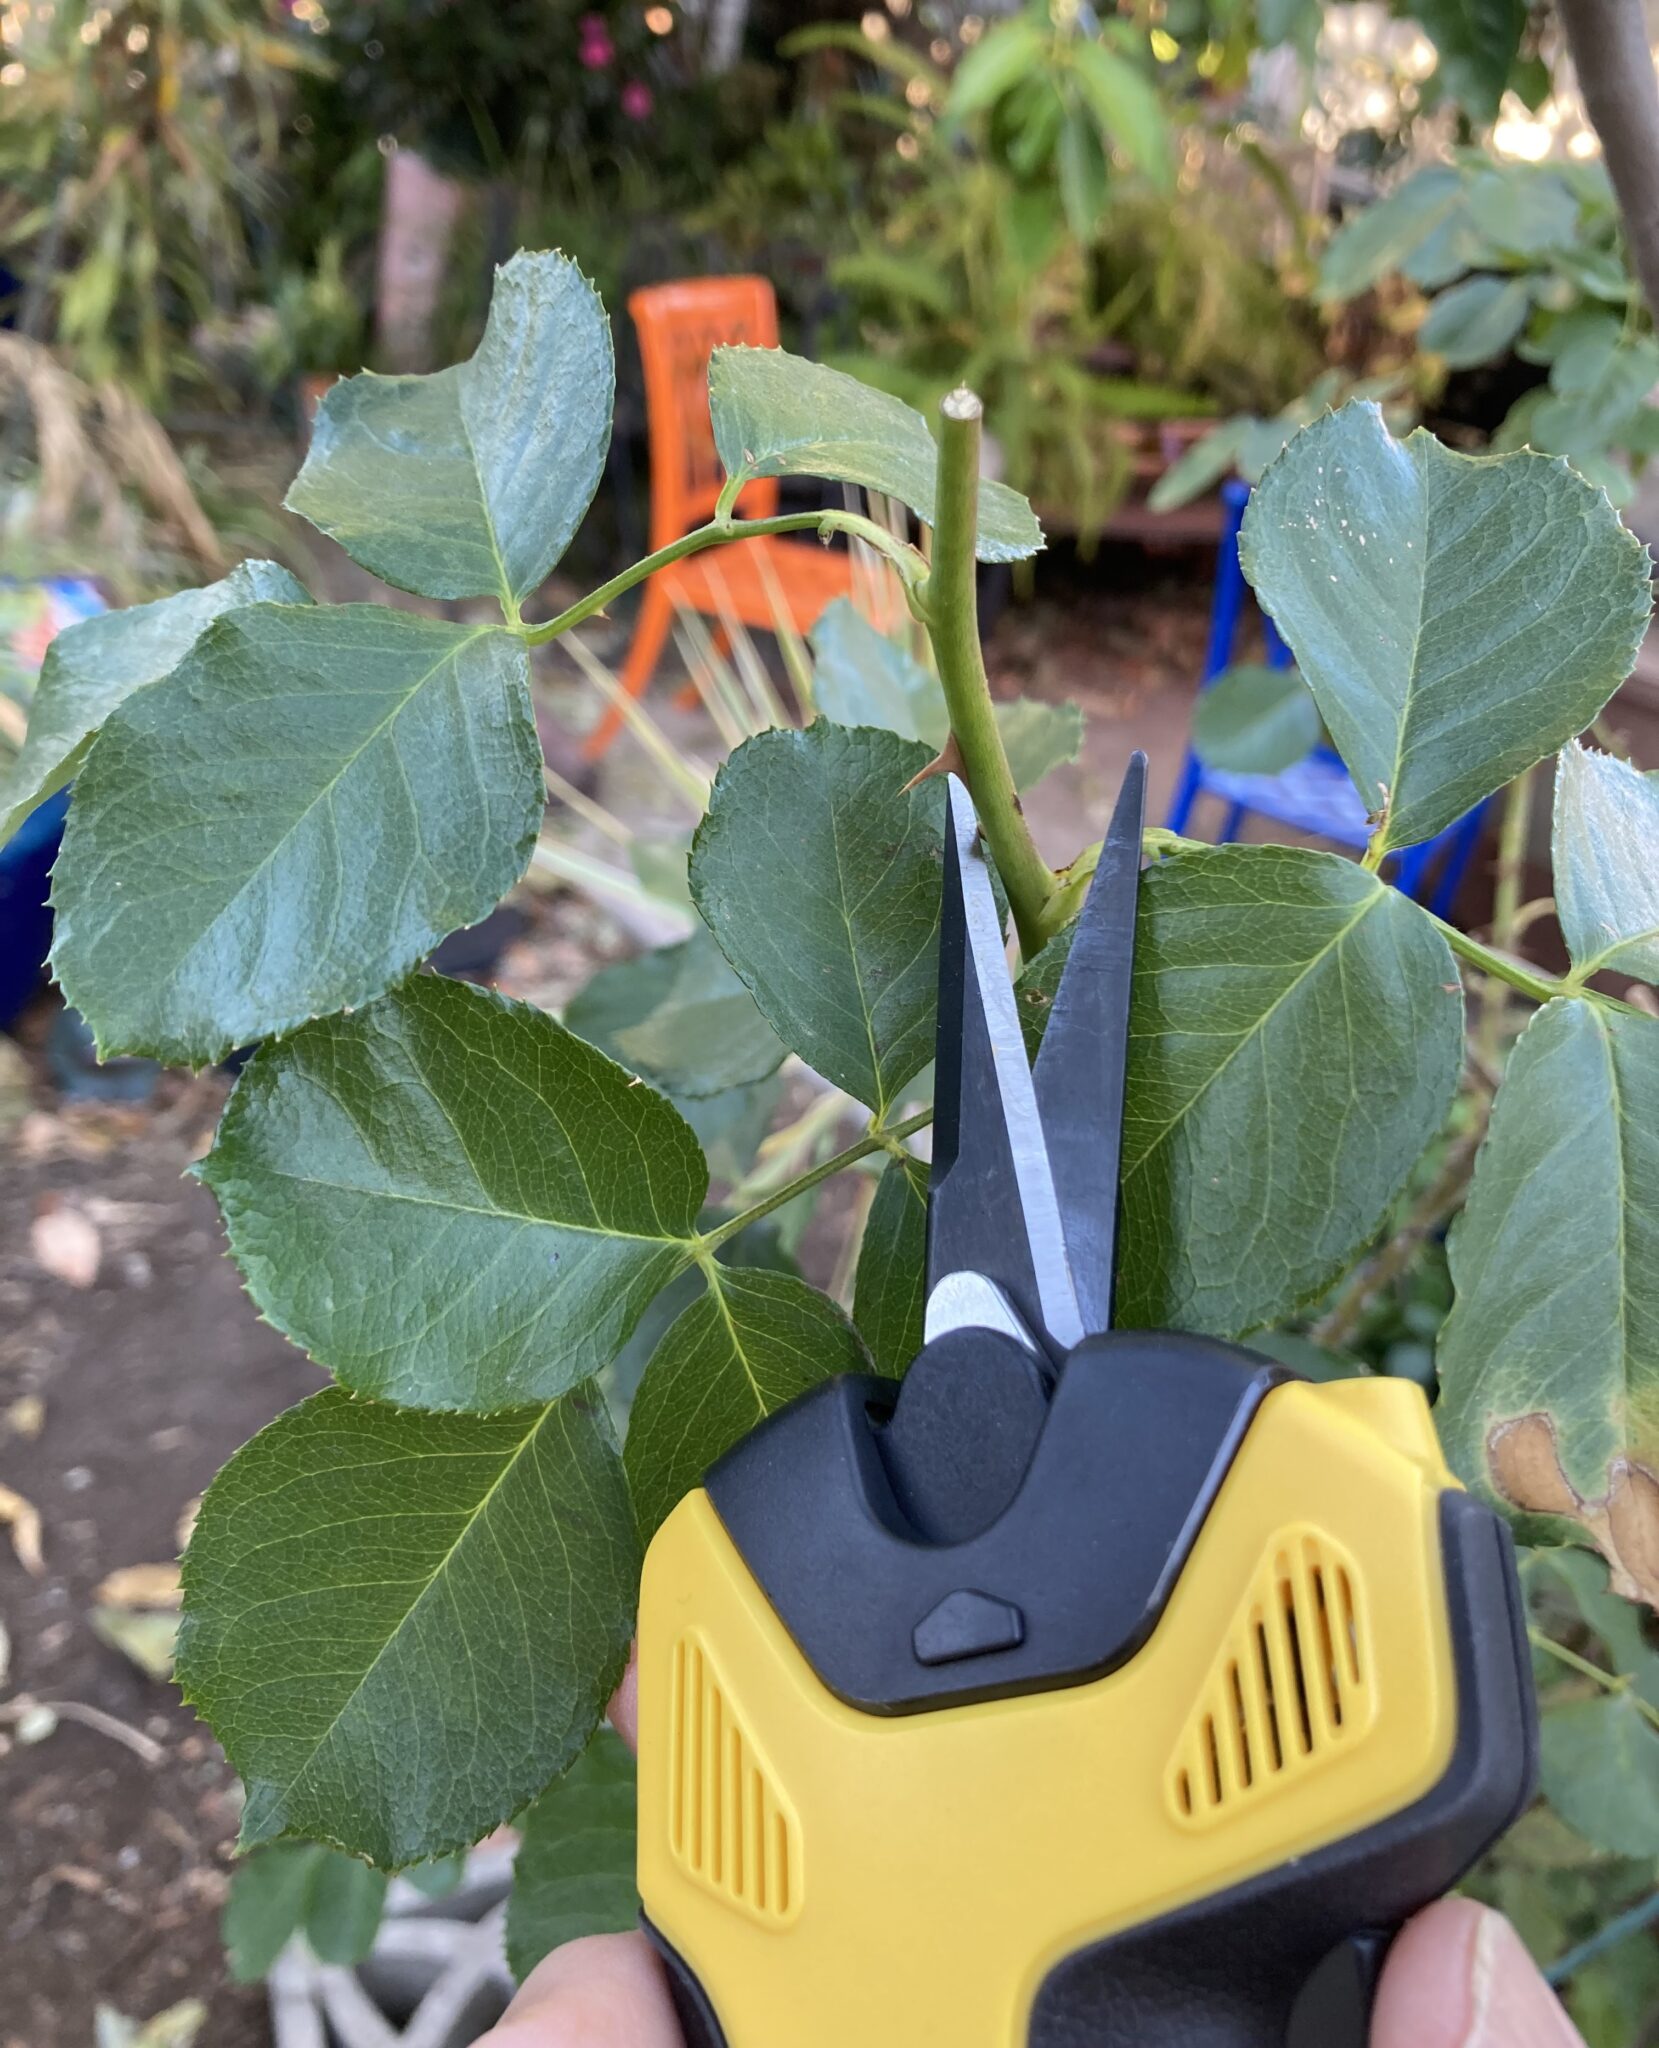
Trimcraft9 Precision Trimmers pruning rosebush

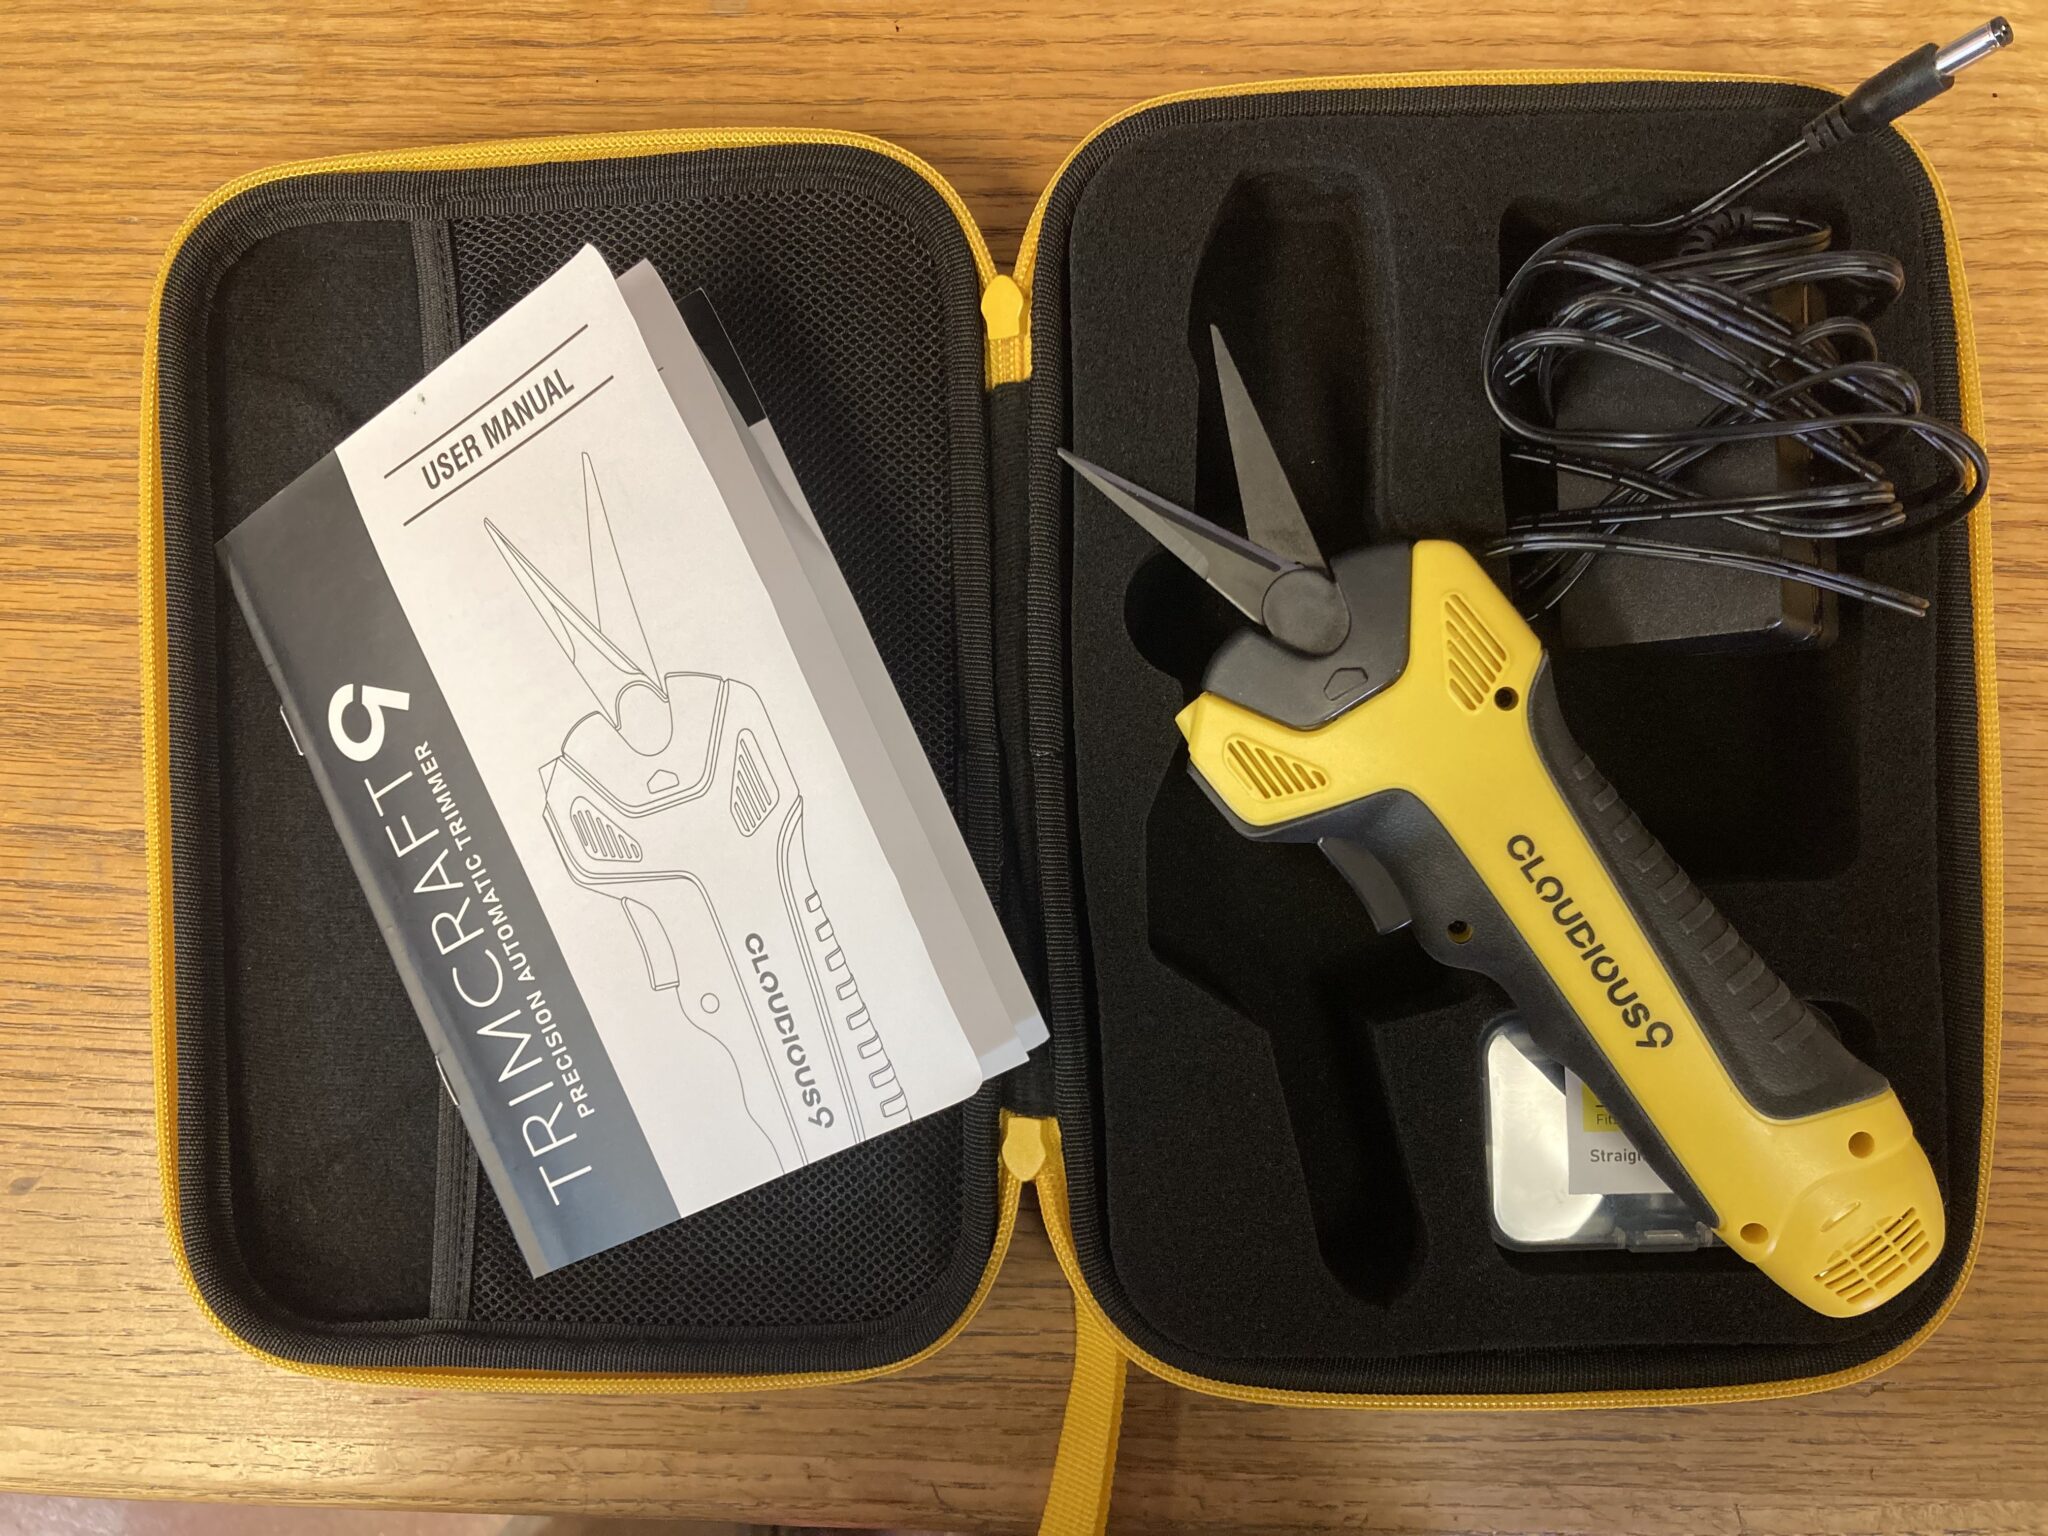
Trimcraft9 Precision Automatic Trimmer

Give Your Hands a Rest with Trimcraft9 Garden Scissors

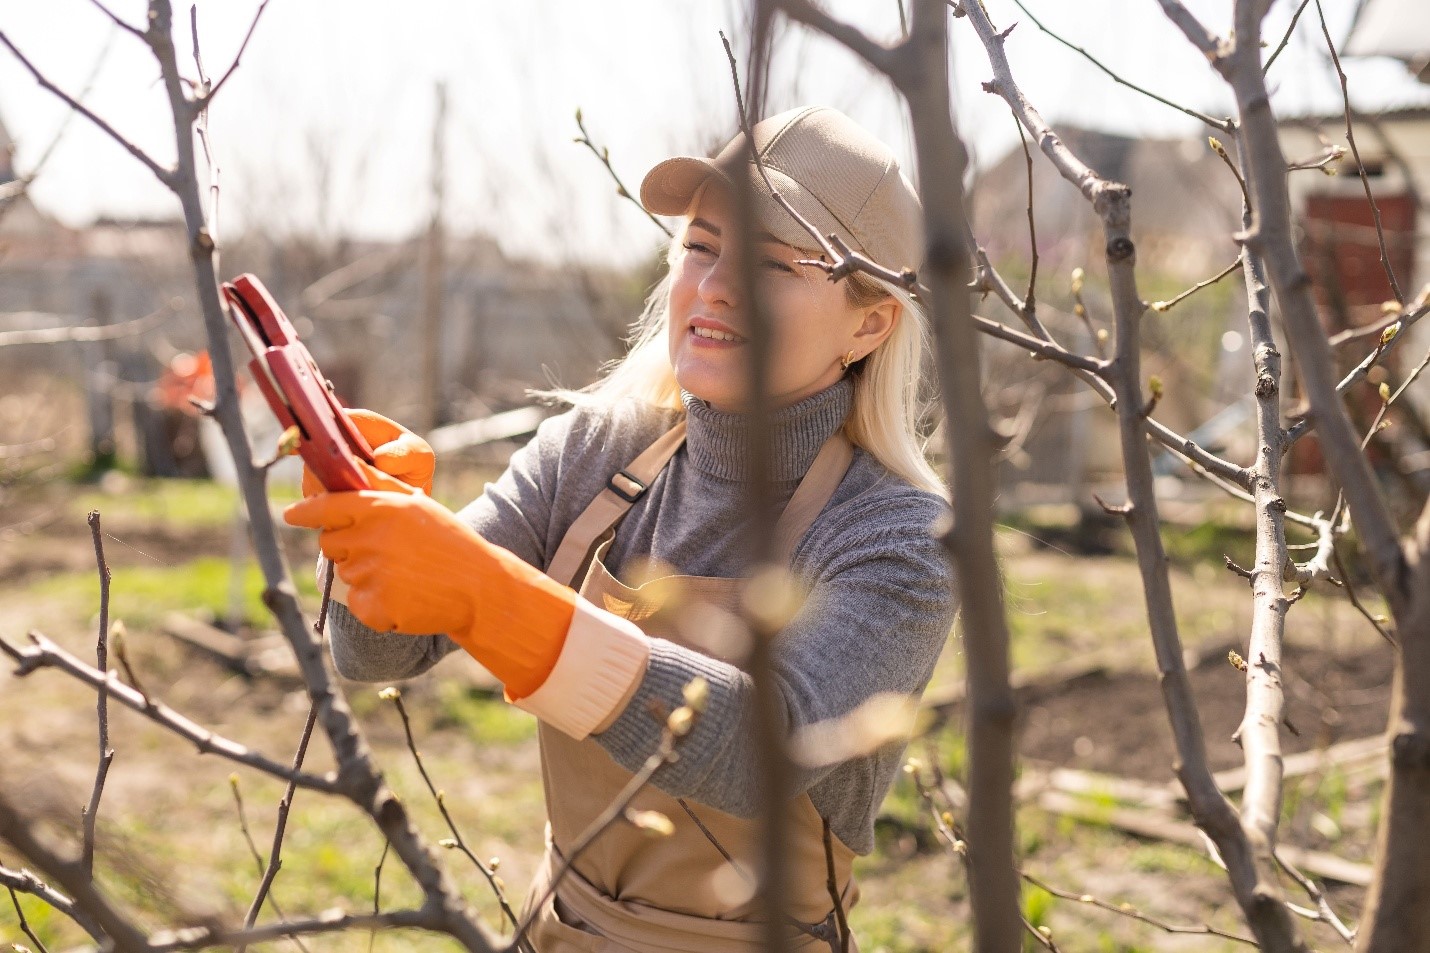
If you’re like me, when you do a lot of pruning in your outdoor or indoor garden, your hands get sore. Or even worse, you develop a blister. So, when I had the opportunity to try out an automatic trimmer, I welcomed the chance to give my hands a rest. The Trimcraft9 Precision Automatic Trimmer allows for effortless pruning. You simply position the blade and let the trimmer do the work. 

Trimcraft9 Fluid Design

Trimcraft 9 in box
The Trimcraft9 ergonomic lever is pressure-sensitive and inspired by game controller responsiveness.

The TrimCraft9 was designed for cannabis trimming, but it applies to just about any plant with soft stems up to 1/4 inch in diameter. The trimmers will cut through light plant matter, paper and cloth. So, this isn’t something you would be using on plants with larger, hard stems. But if you have a lot of pruning to do with plants that fit the criteria, it can save you wear and tear on your hands. The trimmer is lightweight, weighing just 9.5 ounces, and the motor is very quiet.

Precision Garden Scissors

The Trimcraft9 system is not battery operated, but instead needs to be plugged into an electrical outlet. The 12-volt power cord is long enough to let you get around (10 feet), but not so long that you run the risk of tripping on it. Of course, this may create logistical challenges outdoors, as you need a nearby power source. The system also works well for pruning houseplants indoors.

There are two adjustable blade angles—one wide and the other more closed for precision cutting. An Interchangeable Blade System allows for easy blade replacement to achieve various cutting styles. You can also hit the handle for just one cut or keep pressure on the handle and the trimmers will keep cutting.

Of course, the blades are very sharp, so it’s best to stay alert and wear safety goggles or glasses and gloves when working with the trimmers. To illuminate your work, there is also an LED work light. You simply press a button.

The stainless-steel blades feature a food-safe coating which makes them easy to clean and durable. To clean the blades, soak them in isopropyl alcohol and then use a soft cloth to wipe them clean of residue.

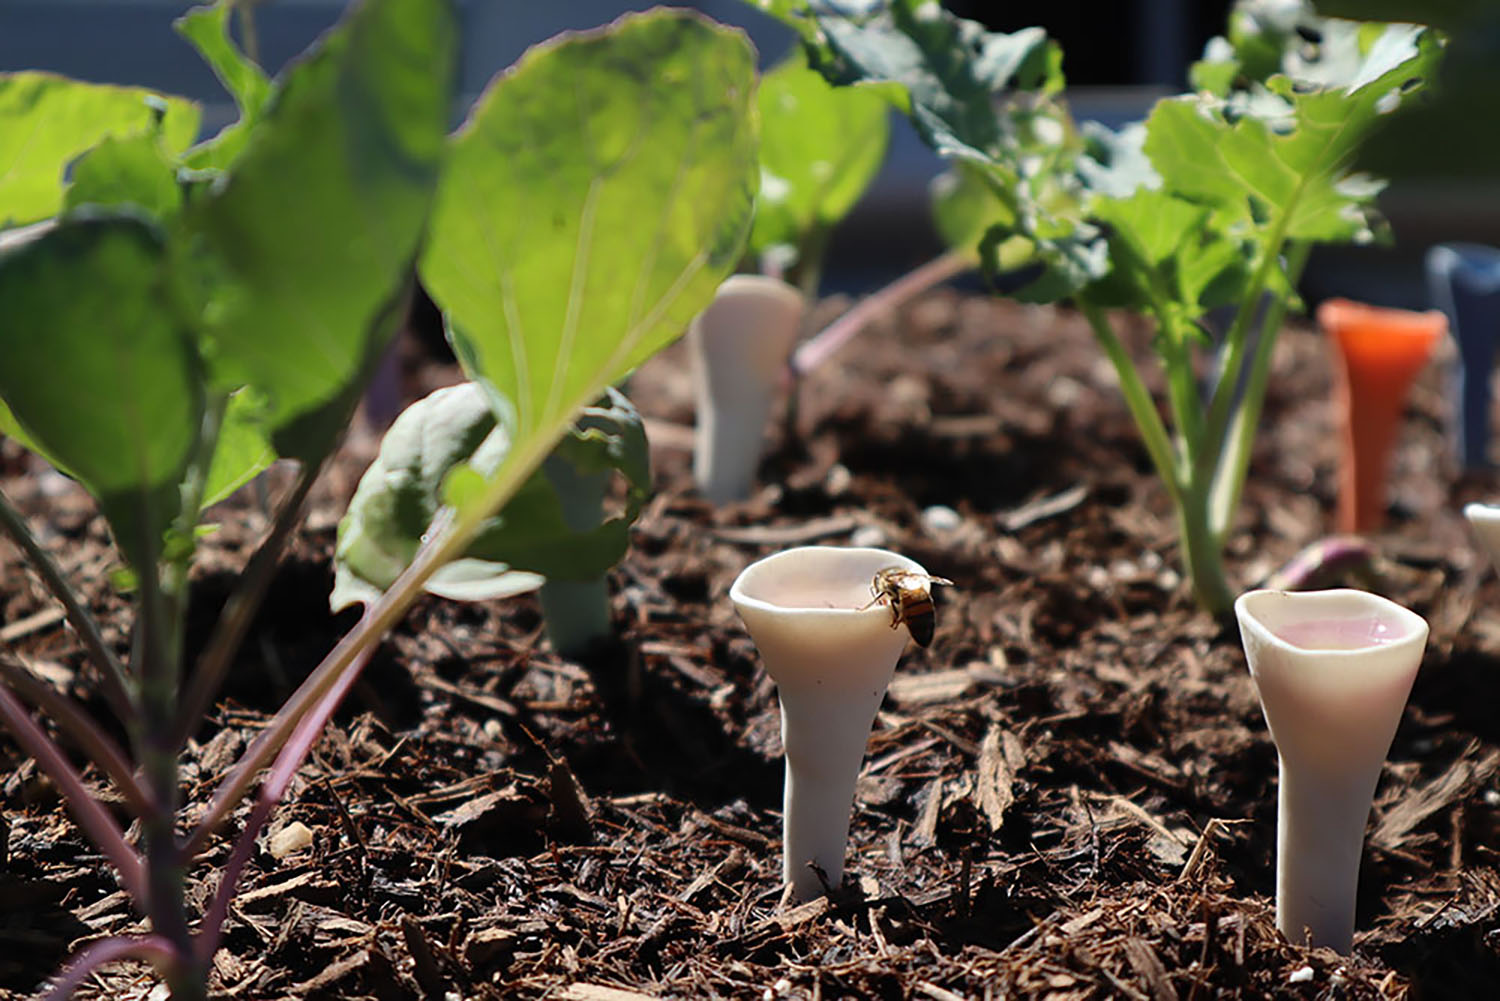
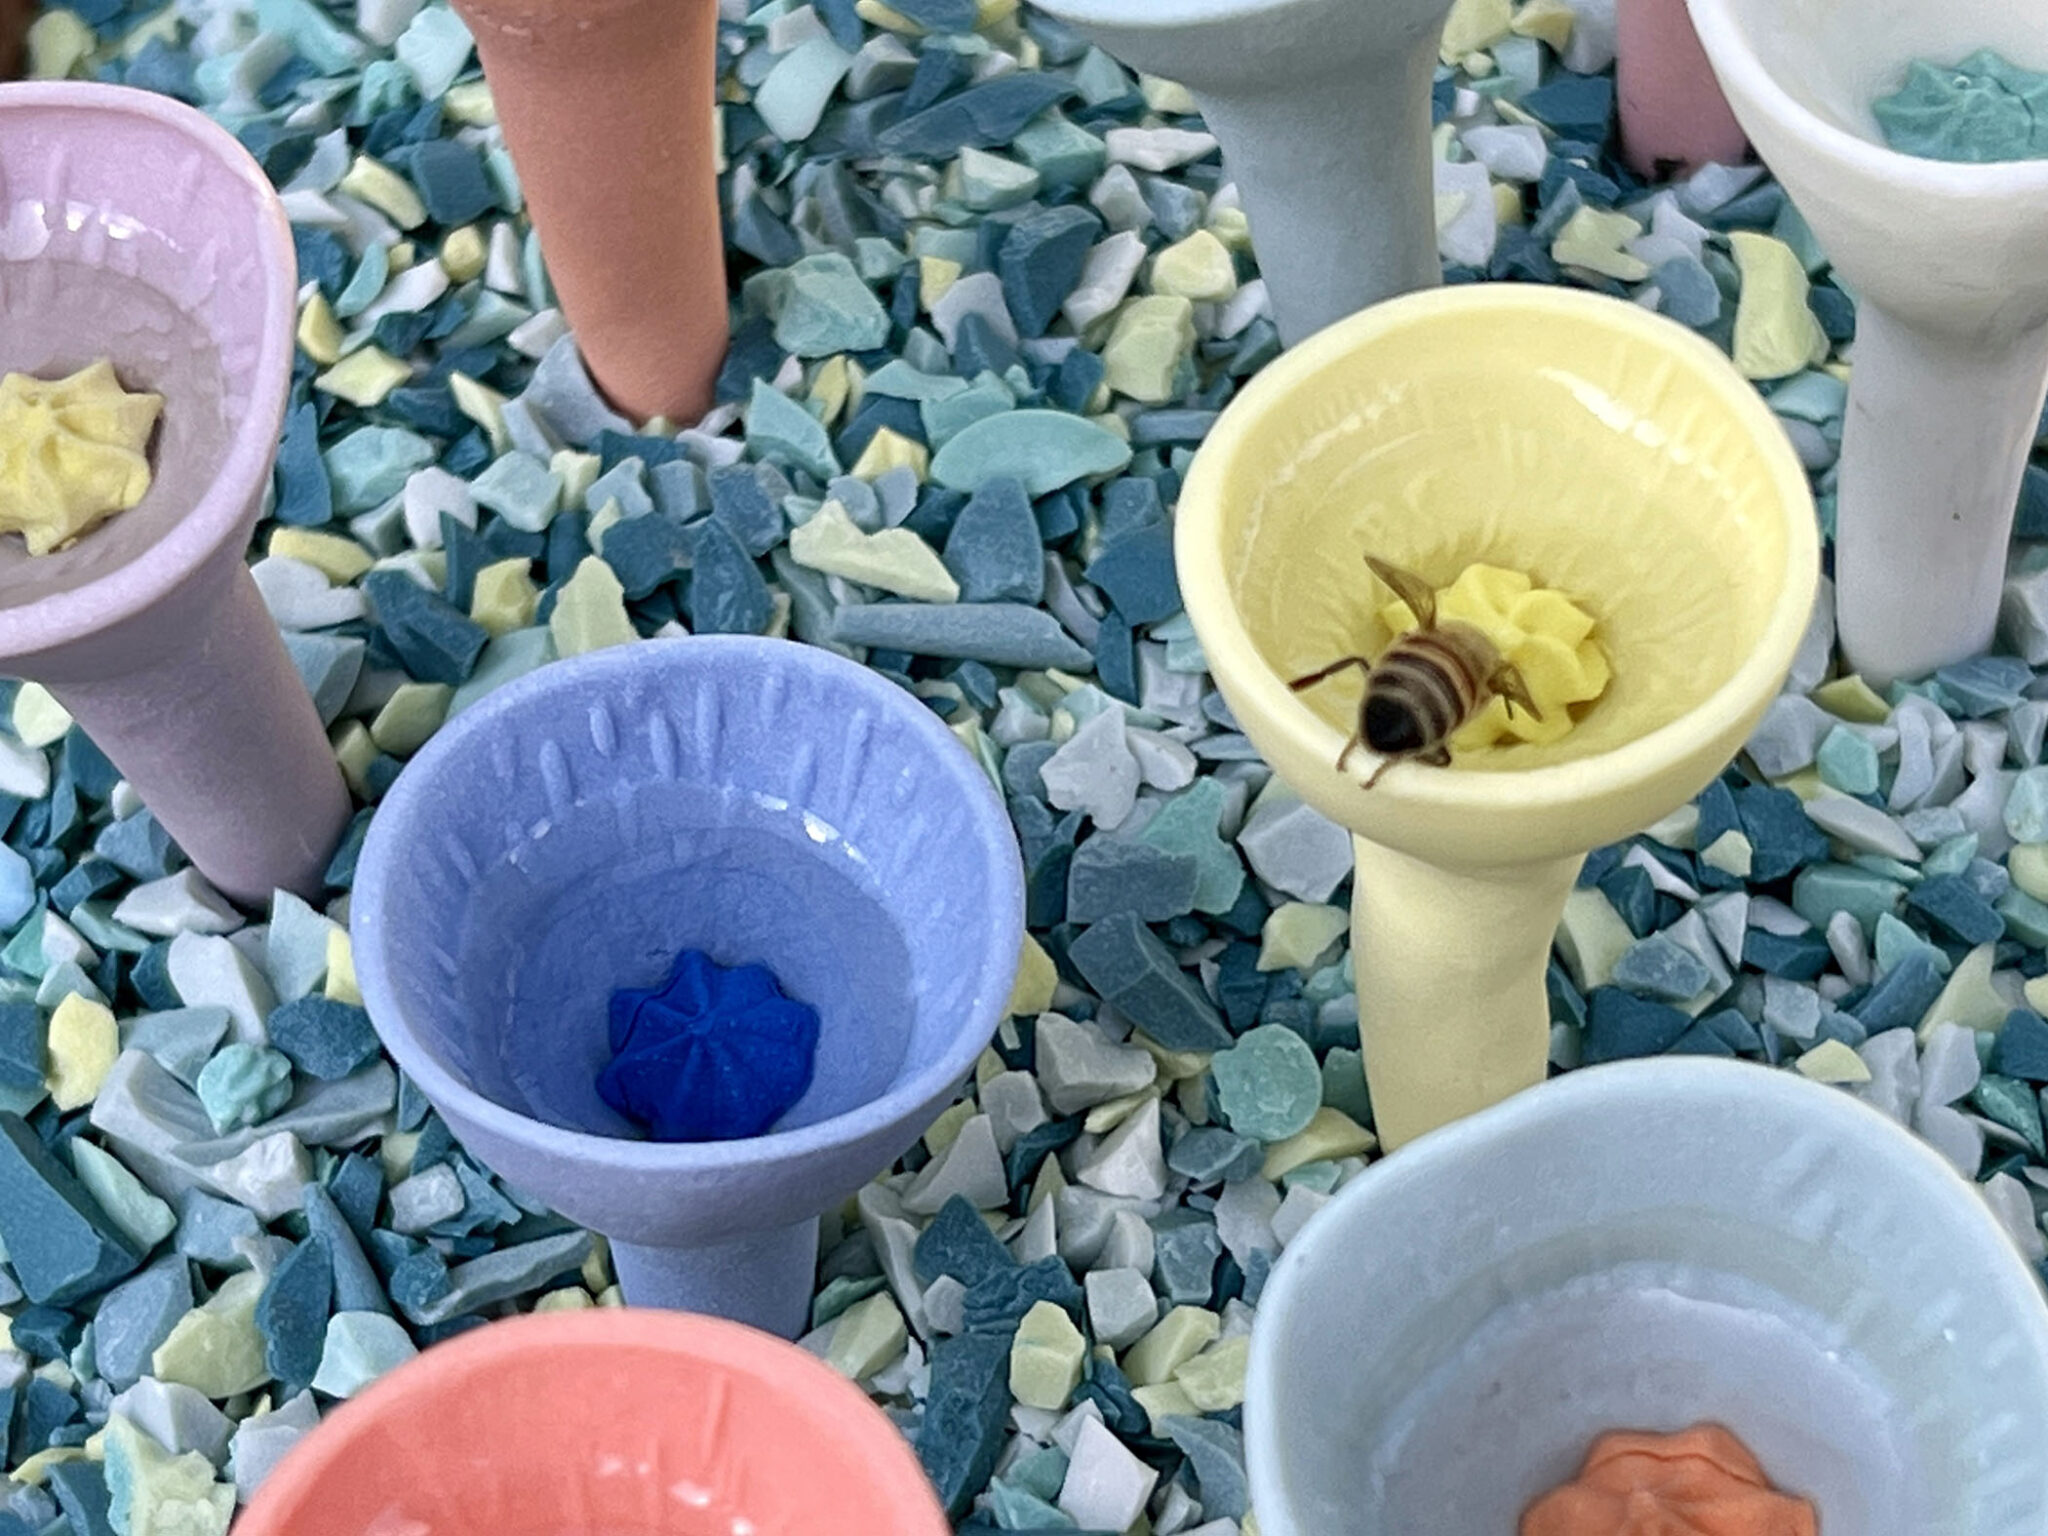
Bee drinking out of Bee Cup in the veggie garden

Hydrate the Bees in Your SoCal Garden with Lovely Bee Cups

Provide Bees in Your Garden with Water

You’ve heard how important bees are to the crops that sustain us. It is bees that ensure most crops are pollinated. You’ve also likely heard it’s important to include pollinator-friendly plants in your garden to attract bees. But did you know it’s equally important to keep bees hydrated?

Like all wildlife visitors to our SoCal gardens, bees need water. These busy insects use H2o for several vital purposes. These include controlling their body temperature, which is important during our hot days. They also use water to dilute honey to feed their little ones, and water is used for evaporative cooling of their hives.

Provide bees in your garden with water, and they’ll be able to do their best job at pollinating your flowers, fruits and veggies.

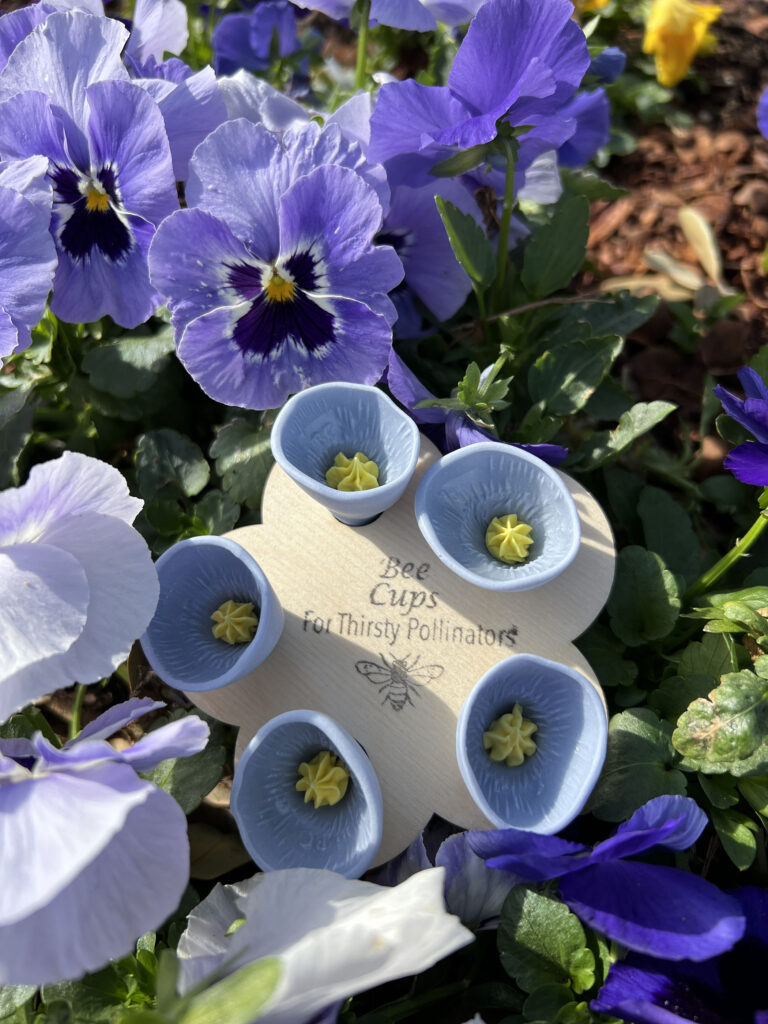
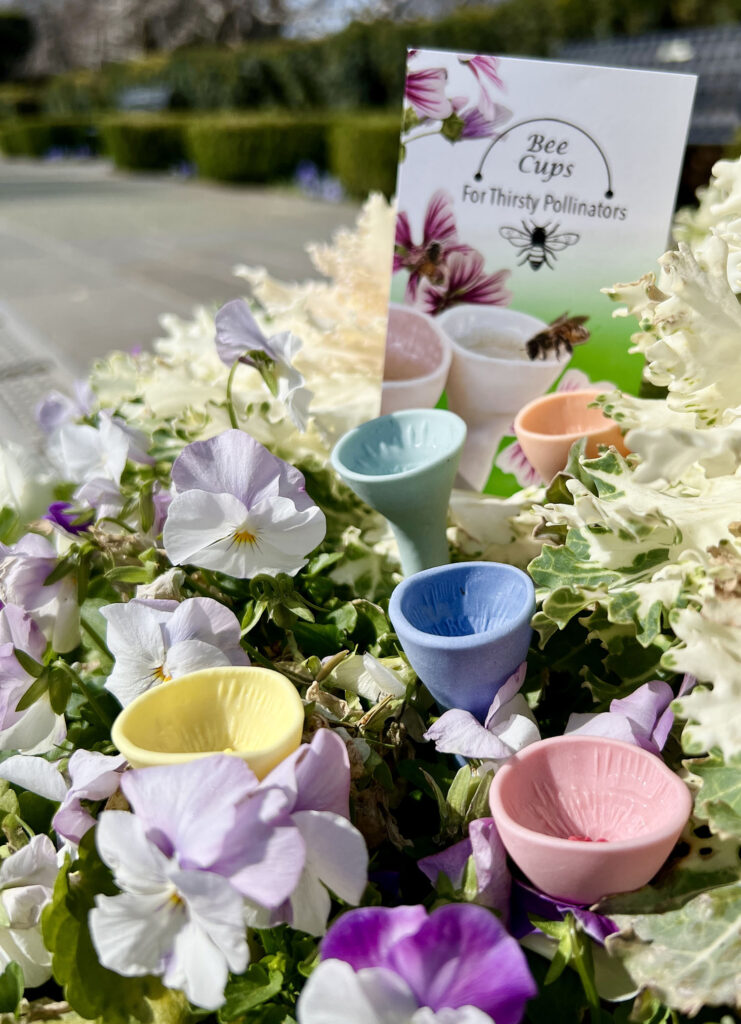
Blue Bee Vision Bee Cups and pansies

Bees Need H2o

Bee drinking out of yellow Vision Bee Cup
Bee Cups allow thirsty bees to safely sip water in your garden. The cups don't hold enough water for mosquitoes to breed. Make sure to regularly refill them with water.

While most insects obtain water from their food, like leaves, a bee’s diet doesn’t contain much moisture. This is where you, the SoCal gardener, comes in. Providing bees with a water source will help them do what they visit your garden to do—pollinate. A fresh source of water will also help keep bees healthy.

But it’s not always easy to provide bees with a safe source of water. Bees cannot swim, so if the water is too deep and they attempt to take a drink and slide in, they could drown. It’s also important that the water is clean and free of debris. 

Install Beautiful Bee Cups

So, how to best go about providing bees with a clean source of liquid nourishment?

I’ve recently been introduced to a lovely product that ensures bees stay well-hydrated in my garden. Even better, the water source doesn’t attract pesky mosquitoes. The solution? Colorful Vision Bee Cups.

Created by eco-artist Jen Rose, Bee Cups are handmade porcelain works of art that hold a teaspoon of water for thirsty pollinators. Since I’ve placed them throughout my garden, I’ve seen them visited by a wide variety of pollinators, including hoverflies, which are also beneficial.

Besides being pretty, there’s more to Bee Cups than meets the human eye. It turns out that bees can’t see the color red but are attracted by ultraviolet colors. Bee Cups are created with UV-reactive Bee Vision glazes that make the cups appear like flowers to the bees. Bees see the glazes as pink, but unless we humans use a blacklight, they appear clear to us.

The Perfect Cup for Bees

In the process of making the perfect drinking cup for bees, Rose did a deep dive into the anatomy of bees, discovering some fun—and important—facts.

These facts include that bees have a tongue 1/4-inch long, which allows them to drink nectar from flowers and sip water from Bee Cups. This would measure out to 21 inches long, if it were a human tongue! 

Bees also have special claws that help them grip the edge of whatever they’re perched on while doing their drinking. Be that flowers or structures containing water. To ensure that bees don’t take a slide, Bee Cups are texturized to ensure a good grip.

How Bee Cups Came to Be

Bee Cups came about during the pandemic when Rose, who has gardened since 2012 and been an artist all her life, spent extra time in the garden. During that time, she observed bees drinking water from porcelain sculptures she had made and installed in her garden.

“My garden was always a place for experimental porcelain installations,” says Rose. “Except for a hailstorm, porcelain survives very well in the elements. The pieces I noticed bees drinking from were like crude bee cups with very shallow indentions on the top. They had been discarded from an installation that hung outside.”

Once she saw bees busily drinking from the porcelain pieces, Rose got to work researching bee anatomy and habits, and Bee Cups were born.

Please the Bees: Get Your Bee Cups

Bee Cups come in a variety of colors and are sustainably produced. There are no plastics in the production or packaging of the product. The glaze is fired onto the Bee Cups at over 2,000 degrees Fahrenheit, where it turns into glass (never leaching chemicals into the soil or water).

3 Flower Bouquets from Your Spring and Summer SoCal Garden

Tips for Seeding Flowers and Making Gorgeous Arrangements

Growing your own flowers from seed in your garden is rewarding. Seeding flowers in Southern California can be especially exciting. It’s fun to watch the seedlings grow and then enjoy flowers bursting into bloom under our sunny skies.

If you want to elevate the experience even further, create bouquets from your Southern California flower garden. Gorgeous combinations such as zinnia, dahlia, aster and cleome create stunning bouquets harvested straight from your garden. The bouquet possibilities are endless.


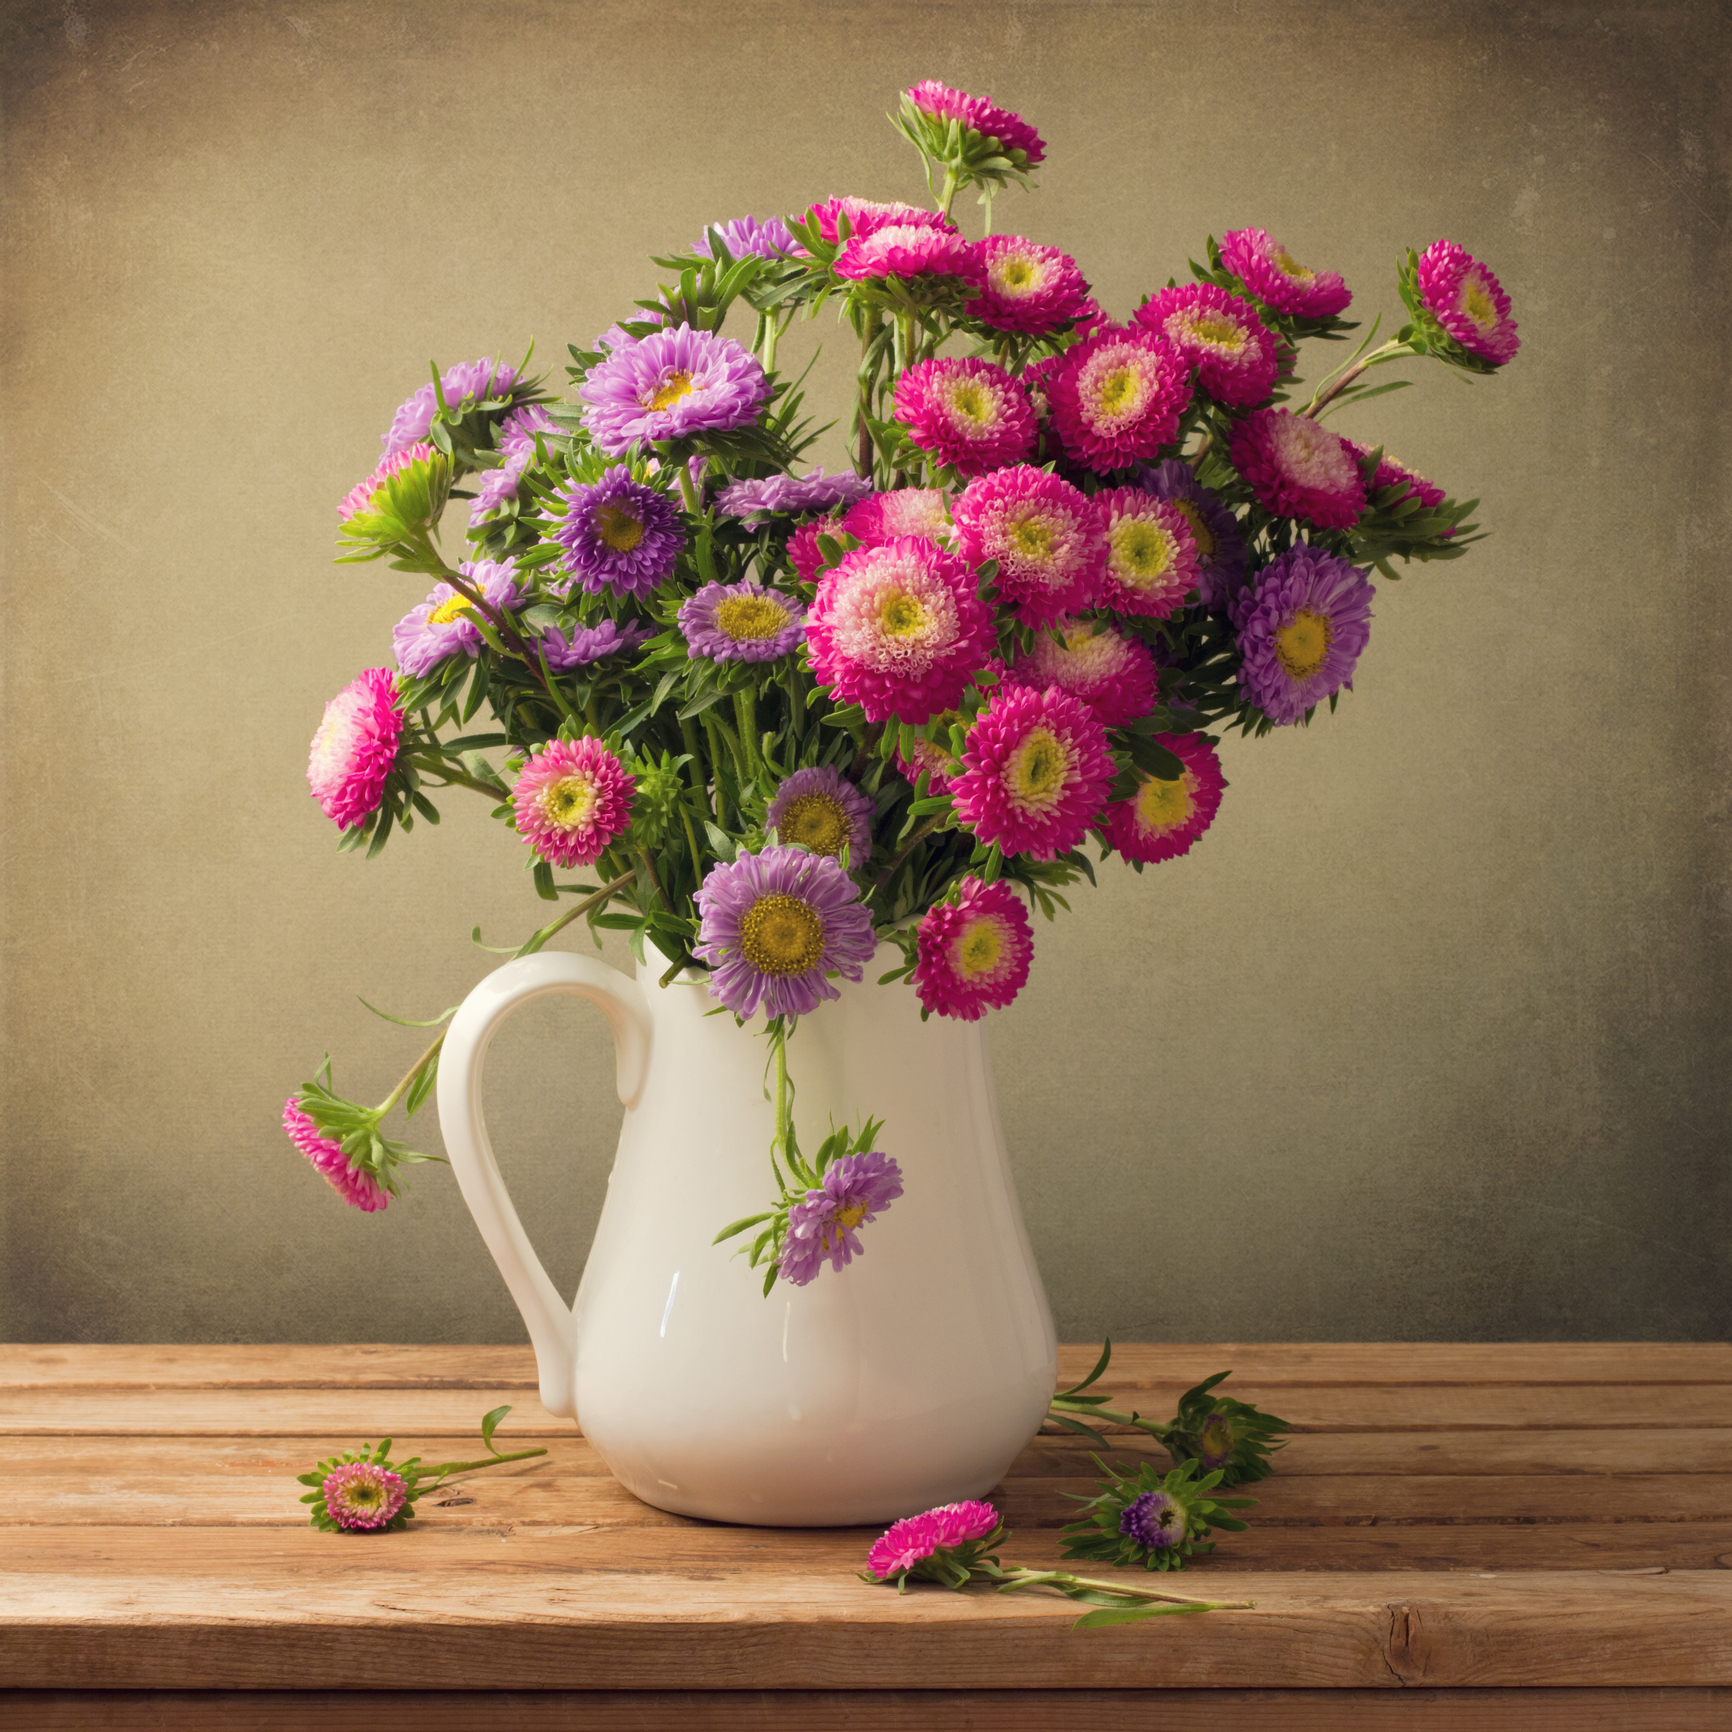
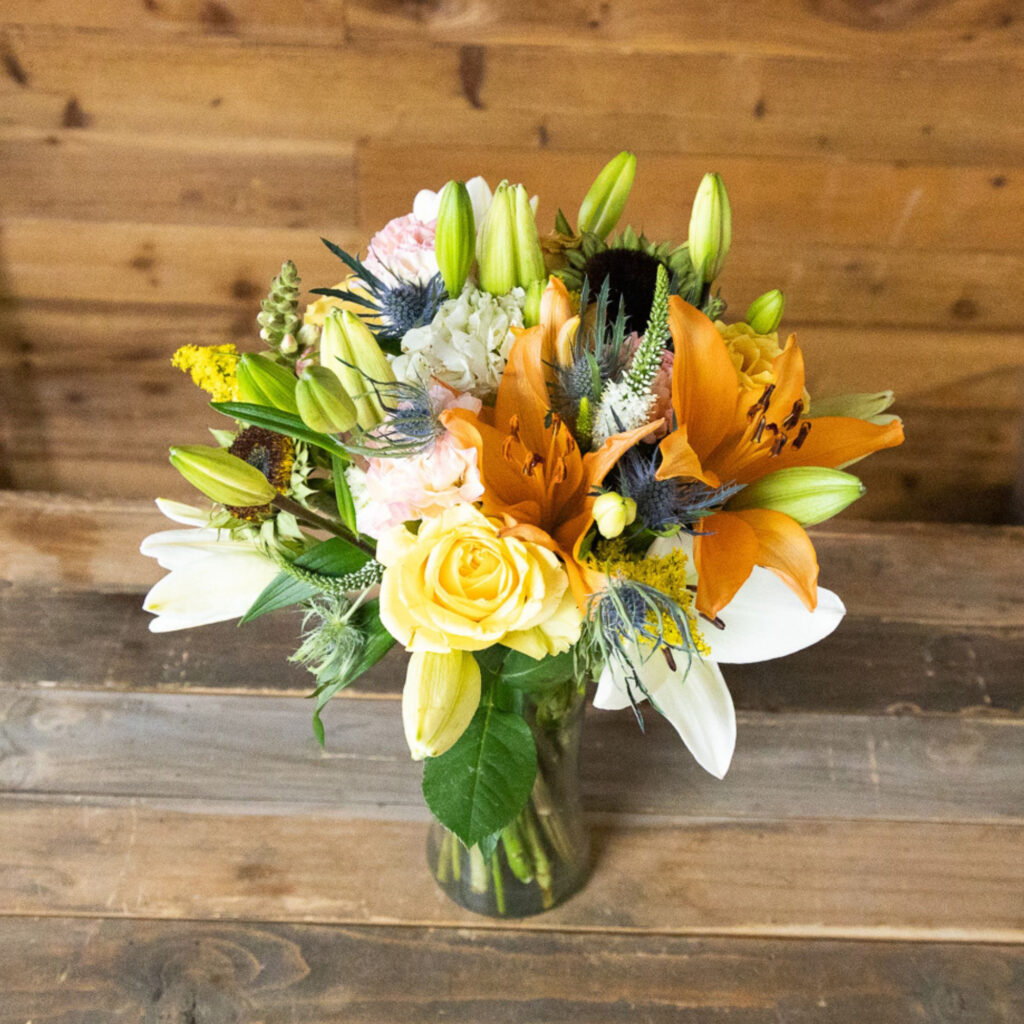
Fresh flower bouquet in vase

Benefits of Seeding Flowers

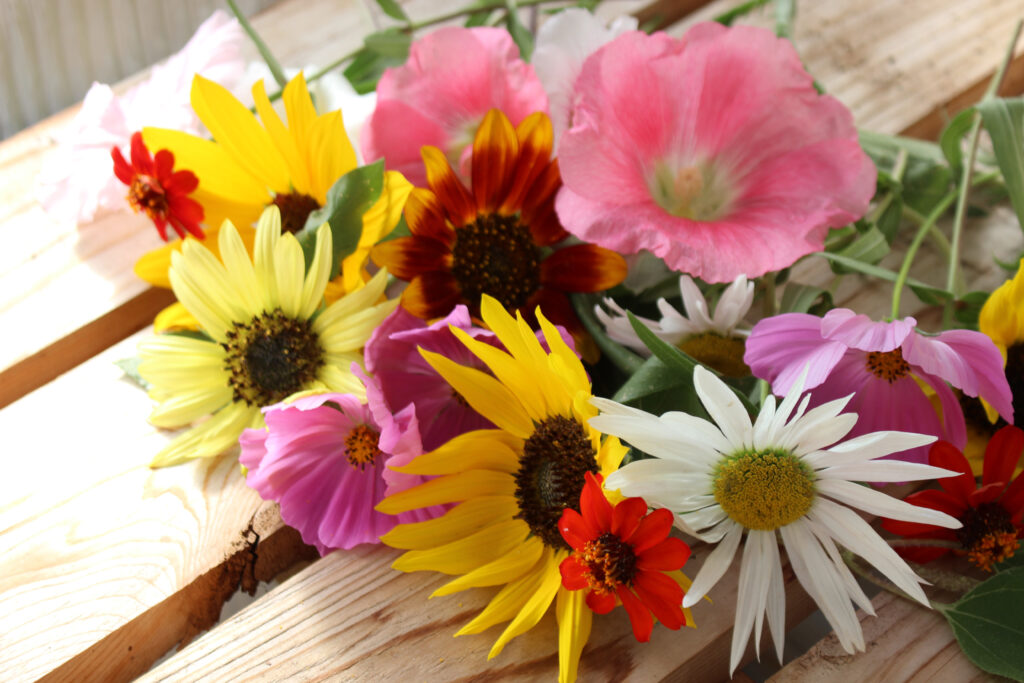
Assorted flowers harvested from the garden.
This flower harvest from the garden can be used to create a beautiful homegrown bouquet.

With seeding flowers, you have the opportunity to create your very own eye-catching, unique bouquets, says Ashleigh Smith, managing editor of True Leaf Market, an independent non-GMO seed company that curates premium seed brands, including oodles of flower garden seeds.

“If you don’t grow your own flowers from seed, you’re limited by what your grocery stores or local floral contacts are able to get from their suppliers,” says Smith. “Stores will usually carry the same old flowers with which people are familiar.”

Even if you buy already growing flowers from the nursery, your choices are limited. You’ll be lucky to have your pick of a dozen or so flowers that work well for bouquets.

When seeding flowers, you can choose from a wide array of flowering plants ideal for cutting and using for floral design, says Smith. “Plus, you get the benefit of harvesting them fresh, fragrant and healthy. I especially love being able to see the entire process of a flower growing from seed to creating my own designs with them.”

If you have an entire flower patch to choose from, there is no shortage of beautiful blooms to fill your home all season long.

Flowers Elevate Your Mood

You likely feel happy when you see blooms in your garden, but did you know that bringing those flowers indoors into your living space can help reduce stress levels, elevate mood and improve memory and healing?

“Flowers are often given as gifts for more than their pretty looks,” says Smith. “Flowers cause a physical response affecting our emotions and the tension within the body.”

According to a behavioral research study conducted at Rutgers University, “The Emotional Impact of Flowers,” flowers trigger immediate and long-term positive feelings. The study found that flowers have an immediate impact on happiness, as well as a long-term positive effect on mood. Study participants were said to have felt less depressed, anxious and agitated following receiving flowers, and instead were delighted and grateful.

Sustainable Cut Flower Choices

In addition to inspiring creativity and beautifying your home, growing your own cut flowers from seed is also better for the environment.

“There is so much effort and money that goes into preserving mass produced cut flowers so they can be transported,” says Smith. “Growing your own flowers or purchasing from a local grower is the best cost-effective option, and it leaves the smallest environmental footprint.”

Cut Flower Bouquets for Your SoCal Garden

The following flower combinations make for gorgeous cut flower bouquets. All these flowers grow well in the SoCal Garden.

Armeria/Angelonia/Scabiosa Bouquet

This dynamic trio makes for an eye-catching combination. Commonly known as Sea Thrift, Armeria maritima grows well along the coast, as well as inland. The pert, ruffled, pink flowers sit atop green stems. Combine with Angelonia angustifolia, with its flower spikes in a variety of colors, including violets and whites, and then add in scabiosa with its pastel blooms in pink, lavender and ivory, and you have a stunning bouquet.

Scabiosa and Angelonia do well in dry gardens. For filler, add some bacopa, which will tie things together, including the colors.

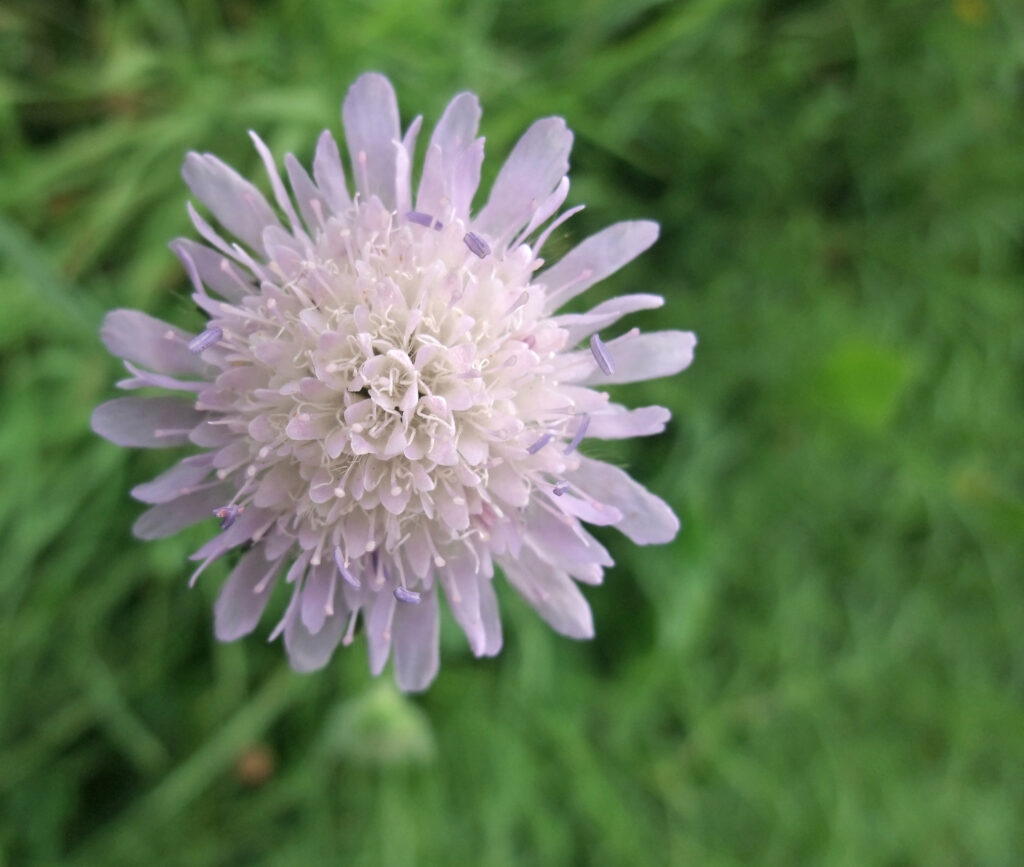
Scabiosa in field for cutting
Scabiosa makes a beautiful cut flower for bouquets.

Sunflower/Gazania/Calendula Bouquet

In sunny SoCal, no cut flower garden is complete without sunflowers. You’ll find a wide variety of sunflower varieties with smaller buds perfect for cut flower arrangements.

Combine sunflowers with vibrant gazania, with its orange and yellow blooms, offset by bright orange calendula, and you have a colorful, cheery bouquet sure to get attention. All these flowers thrive when our Southern California weather is sunny and warm.

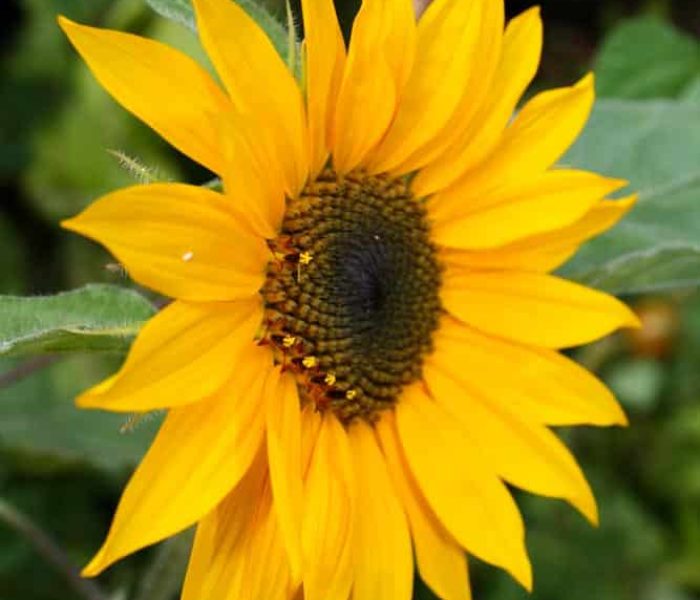
Large sunflower

Zinnia/Dahlia/Aster/Cleome Bouquet

For a bright and cheery floral bouquet sure to dazzle, combine bright-faced zinnias with dahlia, aster and cleome. Zinnias come in a wide variety of vibrant colors and look great with equally showy asters and dahlias, offset by the unusual spiderlike blooms of cleome. All these flowers thrive during our long, hot summers. For even more pizazz, add baby’s breath or bacopa as a filler.

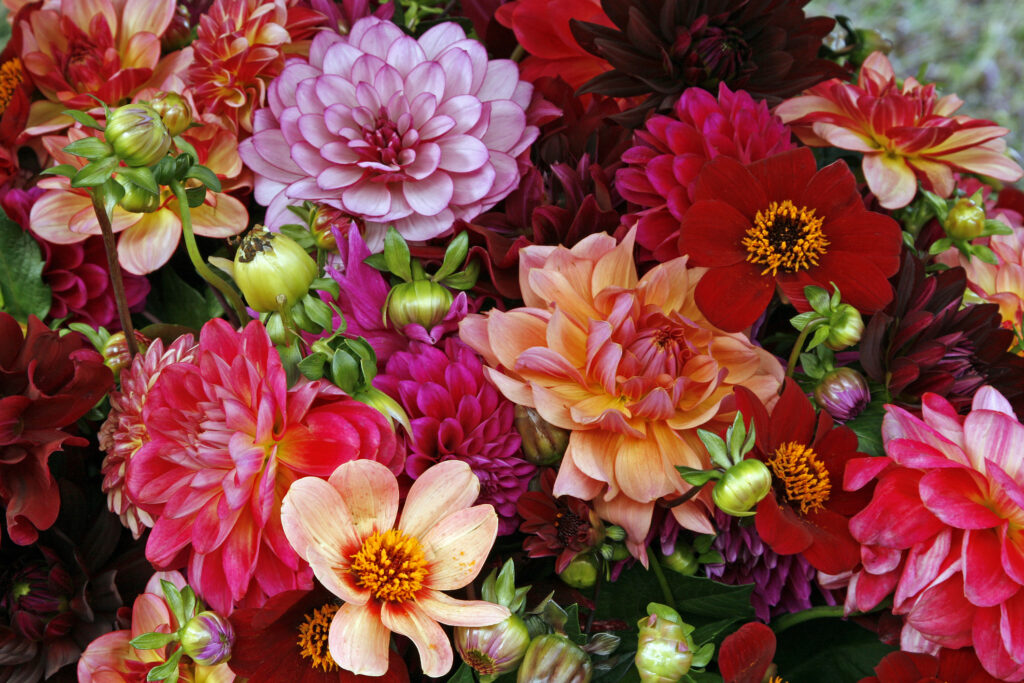
Zinnias, asters in floral bouquet

Tips for Choosing Cut Flowers for Bouquets

Growing flowers intended for use in floral designs requires some extra considerations.

“Not all flowers have great stems to support flowers after being cut,” says Smith. “Generally, a good cut flower will have tall, sturdy stems able to deliver the necessary water and nutrients to the cut flower for several days without becoming limp. Flowers with smaller stems or more fragile flower structures may also be used for floral bouquets and designs but will only last a day or two.”

In addition to stem length and strength, you want to plan for complementary color combinations, notes Smith.

“I like growing an assortment of colors and some white varieties that will give me plenty of options for pairing different or like colors. Their blooming habit is also an important consideration for creating beautiful and balanced floral designs.”

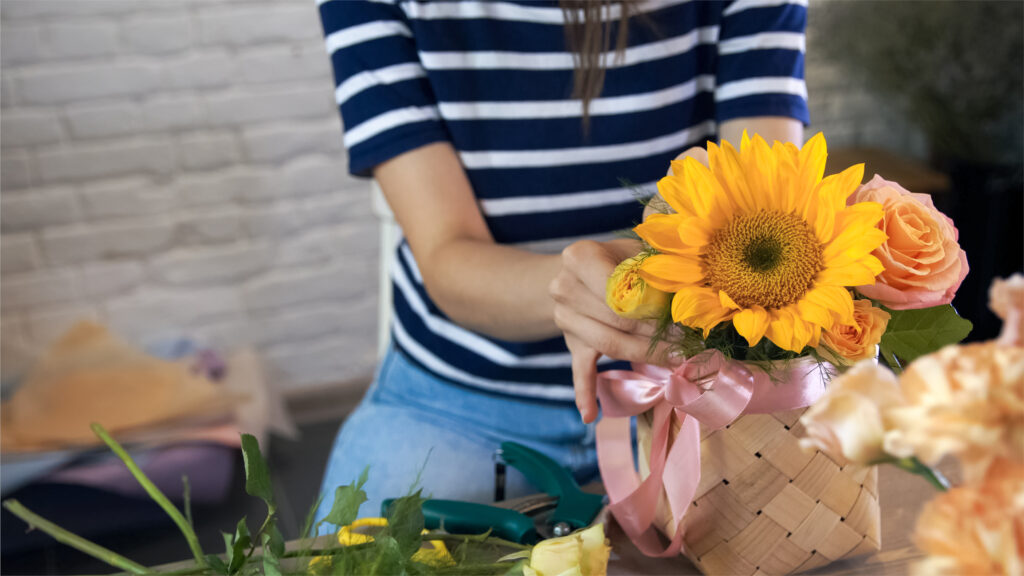
Woman making sunflower bouquet

Floral Design Elements to Consider

Most floral designs are created using a combination of focal, line, mass and filler flowers, explains Smith.

  • Focal flowers are showy blooms that attract people to a design—like zinnia.
  • Line flowers usually have a distinct vertical habit, whether with straight and tall stems or the flower structure itself—like cleome. (Other flowers can be combined and supported to create a line effect within a design.)
  • Mass flowers are usually full blooms that don’t demand the same attention as focal flowers—like asters. They are ideal for adding substance to a design by being complimentary without being the main star of the show.
  • Filler flowers are meant to complete a design by filling gaps after the other flowers and greenery have been placed—like bacopa and baby’s breath. These blooms are typically very small and dainty in appearance but can really complete a design.

Plan Ahead When Seeding Flowers

Some flowers require a long germination period when seeding flowers—for instance 8-14 weeks before being ready to transplant in the garden. Familiarize yourself with the flowers you plan on growing this spring and summer and start planting indoors now.

“Because not all flowers bloom at the same time, you will want to create seasonal plans for combinations that bloom in the spring, summer and fall when flower gardening,” advises Smith.

“You can plan for your flowers to bloom at the same time by growing varieties that bloom in the proper season together and plan each step of the growing process ahead of time,” she says. “Schedule their seed starting and transplant dates by using the days to maturity and counting backward from your desired harvest time.”

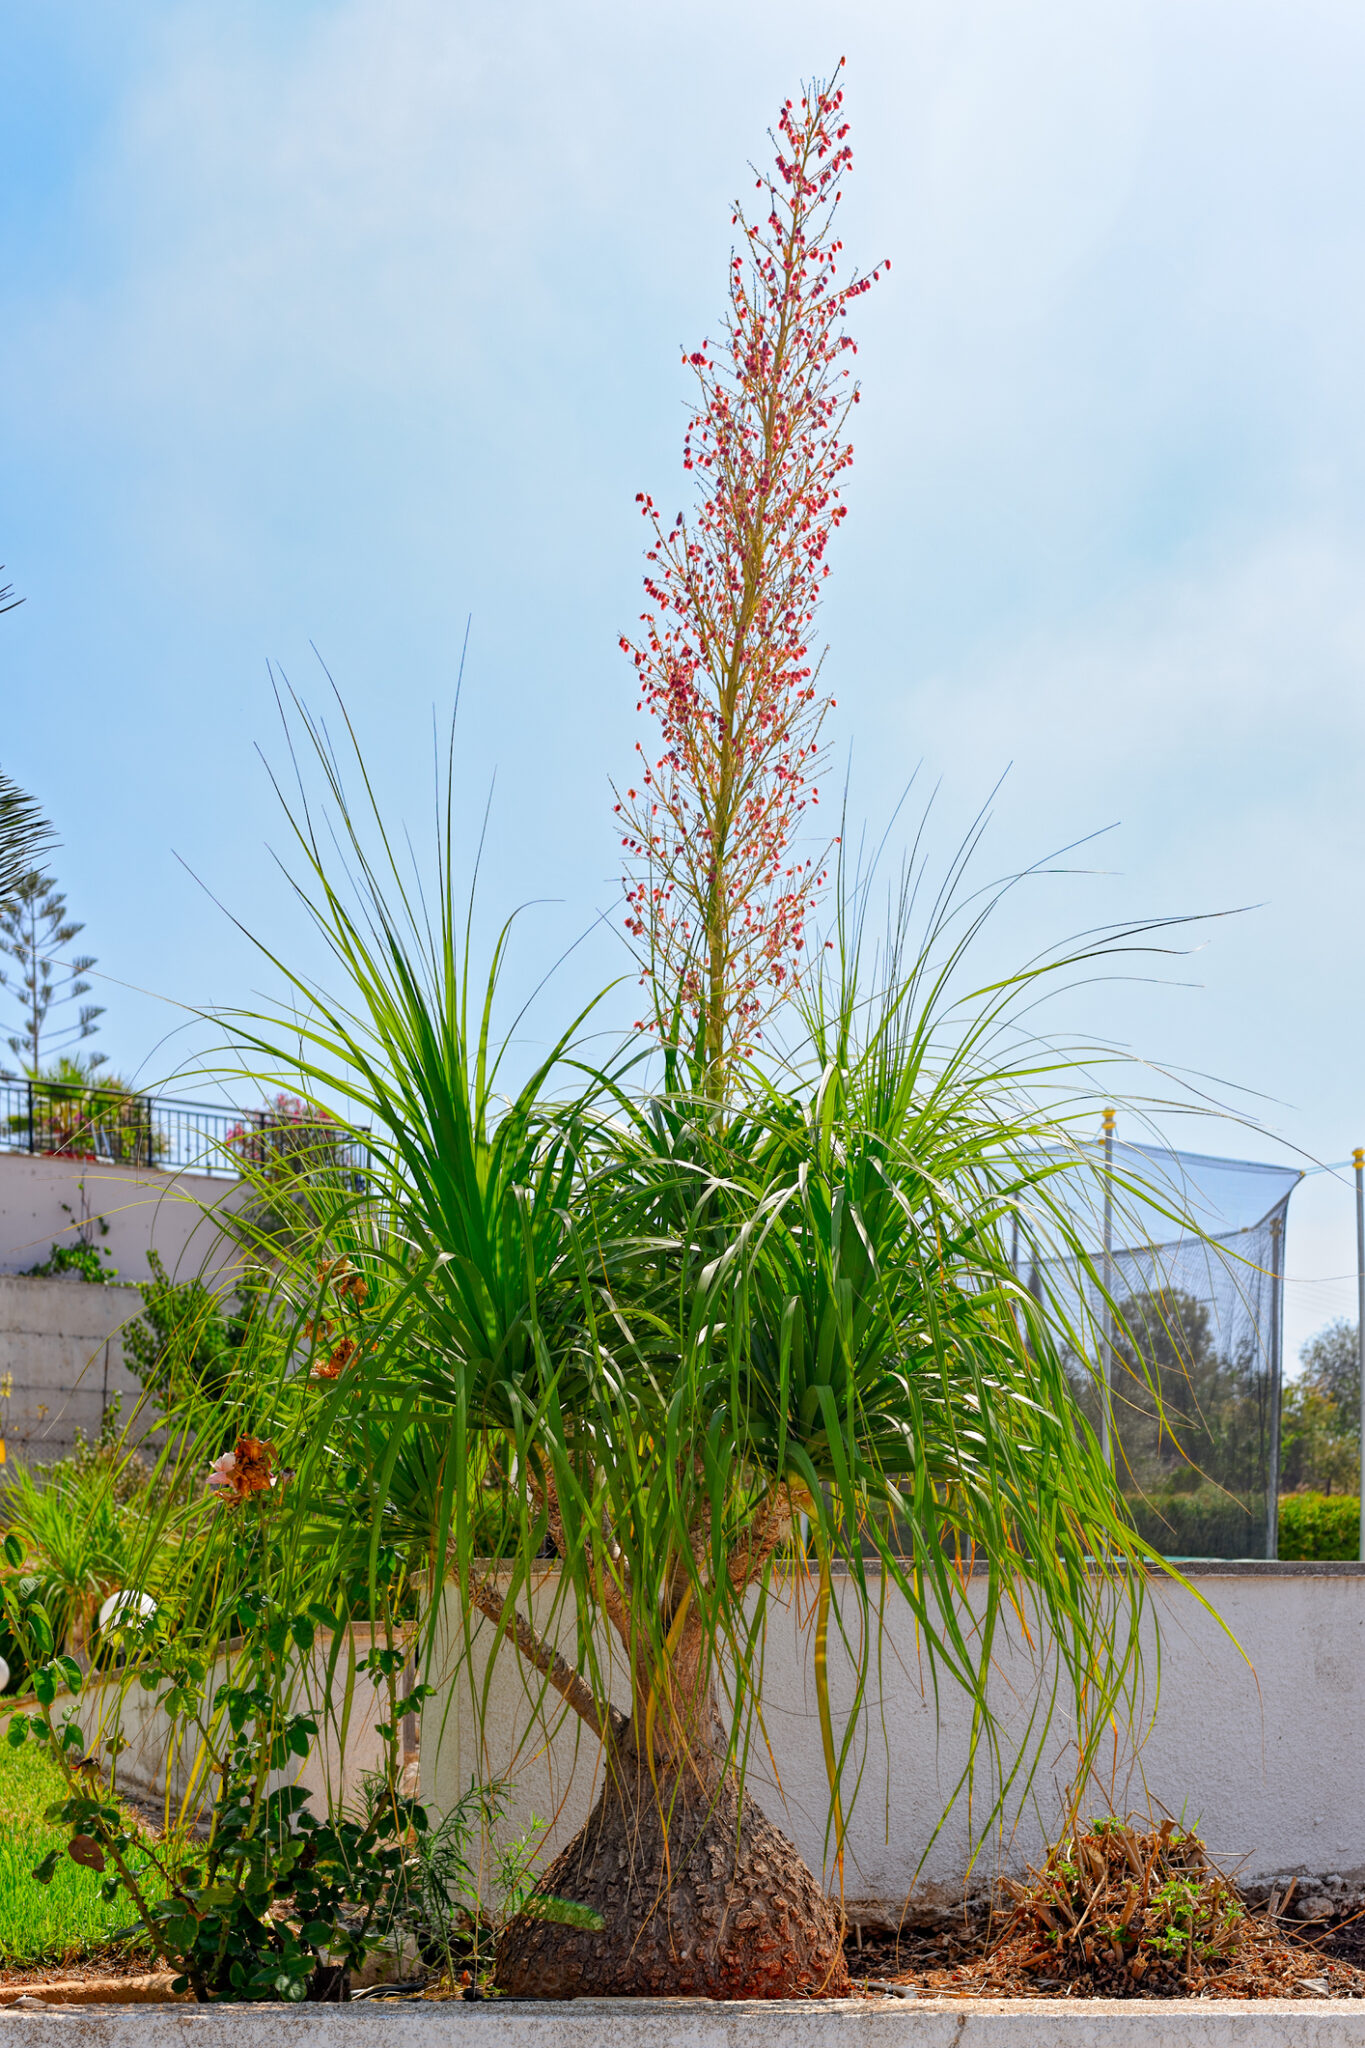
Ponytail palm outdoors with floral spike

Growing Ponytail Palm in Your Southern California Garden

I really enjoy eye-catching plants with equally dramatic names. Ponytail Palm is one of those plants. With its foliar updo resembling a ponytail, this plant lights up the Southern California garden. Even better, growing Ponytail Palm is easy and the plant is something many SoCal gardeners seek—drought tolerant.

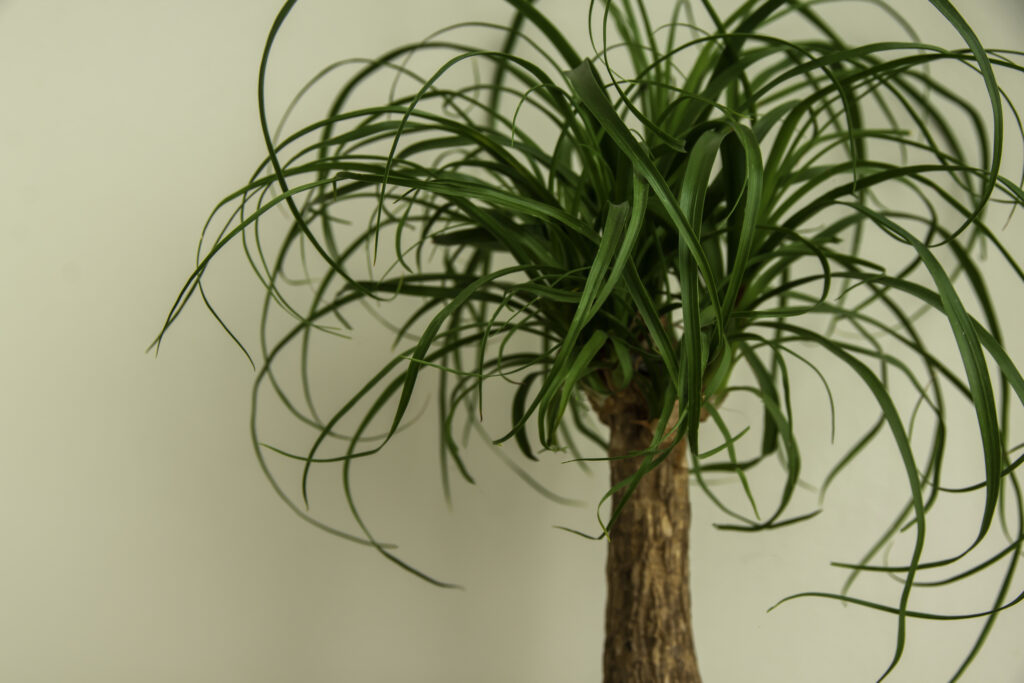
Despite its common name, Ponytail Palm isn’t a palm, but rather a succulent. The botanical name is Beaucarnea recurvata (or Nolina recurvata). Ponytail plant is in the Agave family and gets its palm tree designation from its palm tree-like look.

Beaucarnea recurvata Central American

A slow-growing, tropical tree, Ponytail Palm is native to areas of Central America where the plant reaches more than 15 feet tall. Ponytail Palms can grow equally impressive heights outdoors in Southern California.

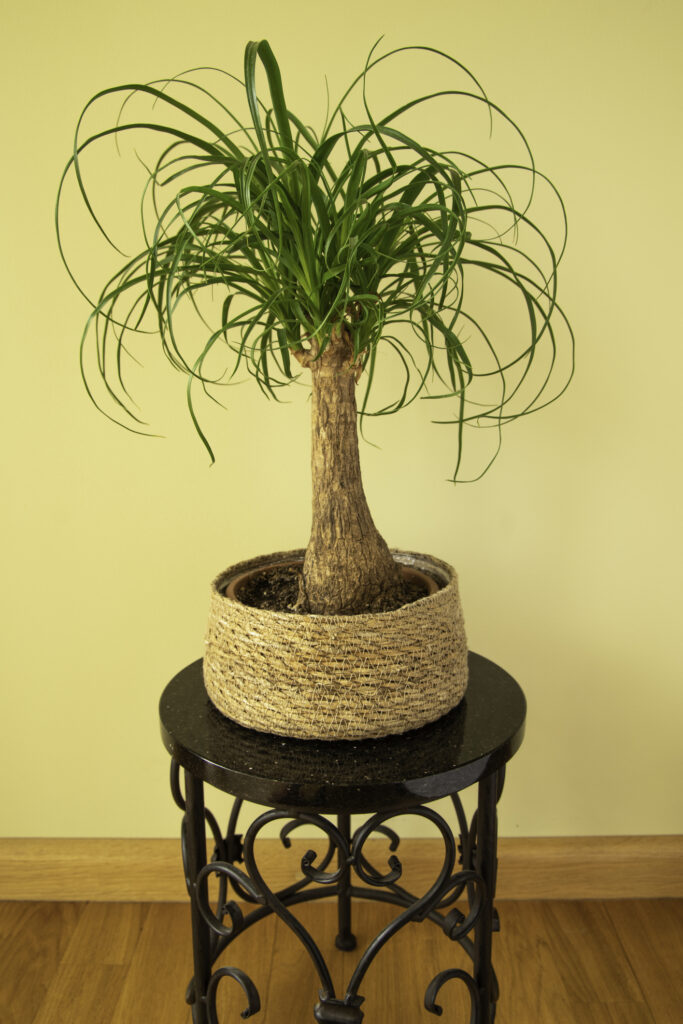
Ponytail palm growing indoors
Ponytail palm is an eye-catching succulent tree.

Growing ponytail palm outdoors can also produce a stunning floral display when the plant is mature and happy. It’s a good thing when the Beaucarnea recurvata flowers, as the resulting seeds can be harvested for propagation.

“Ponytail Palm is listed as endangered for risk of extinction in its native habitat,” says Justin Hancock, Senior Brand Marketing Manager, Costa Farms. One of the largest horticultural growers in the world, Costa Farms cultivates thousands of plants, including Ponytail Palm.

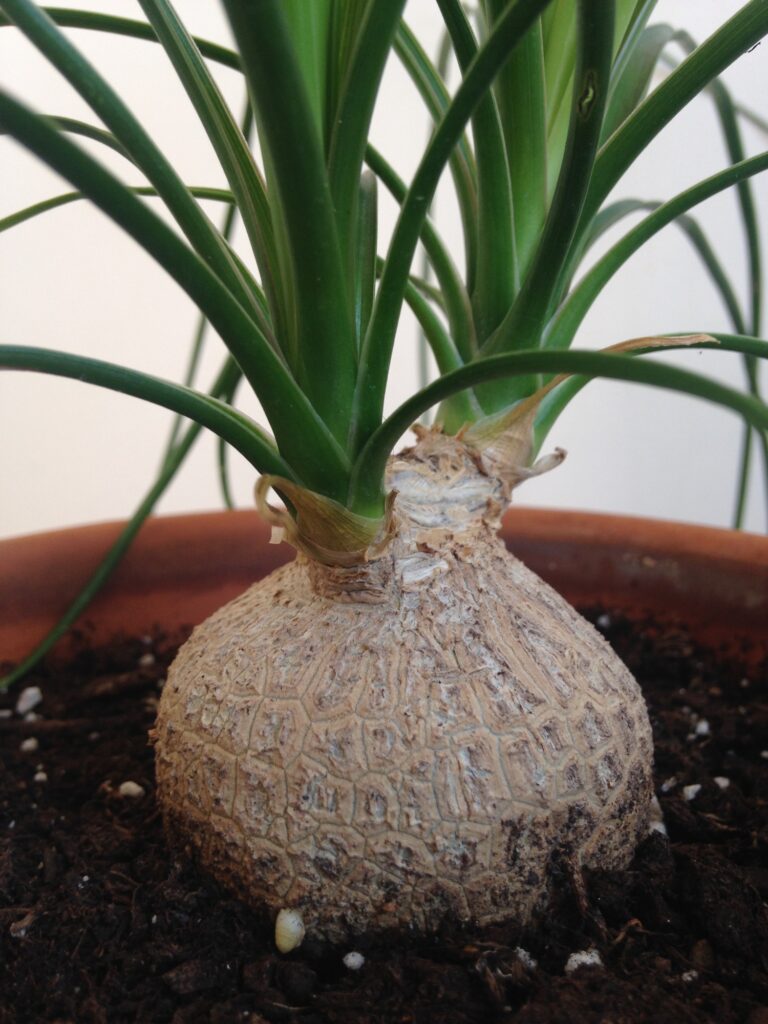
Ponytail palm caudex closeup
Ponytail palm's caudex holds water and nutrients.

Beaucarnea recurvata Trunk

Beaucarnea recurvata isn’t short of nicknames. You’ll also hear the tropical succulent called Elephant Foot Tree and Bottle Tree. Both common names stem from the fact that the plant has a trunk with a swollen base known as a caudex where water is stored. The caudex is somewhat wrinkled like an elephant’s foot, and it also resembles the bottom of a bottle.

On young plants, the caudex looks like an onion sitting atop the soil. When the plant matures, the caudex can reach several feet across. Clusters of strappy, green leaves swoop up from the top of the trunk, resembling a ponytail. Ponytail Palm trees have one or more trunks that rise from the swollen base. Whether the plant has one trunk or multiple, it always creates quite a show in your SoCal garden.

Ponytail Palm Care Outdoors in SoCal

“Ponytail Palm does best in frost-free regions but may survive dips around freezing temperatures if the plant is healthy and well-situated,” says Hancock, who notes that stressed or otherwise unhappy trees are more susceptible to cold injury. “If you are growing ponytail palm further inland or at higher elevations, Ponytail Palm may need protection when temperatures hit freezing,” he says. Container plants can be pulled into a garage or against the house during cold snaps.

Ponytail Palm Light Needs

Locate ponytail plant in a warm, bright area that receives sun all or most of the day. An unobstructed location on the south side of the house works well. If you choose to grow the succulent tree in a large container, move it around during the year so that it receives the most sun.

Beaucarnea recurvata growing indoors

Ponytail Palm Soil

Provide Beaucarnea recurvata with well-draining soil. If planting in a container, use a potting mix that has an ample amount of a draining agent, such as pumice. If planting in the ground, amend with a 2- to 3-inch layer of pumice worked into the top 8 inches of soil prior to planting.

Ponytail Palm Watering

Ponytail Palm is drought tolerant, which means it’s important to not overwater the plant. Treat Beaucarnea recurvata as you would other succulents, only watering once the top 3 to 4 inches of soil has dried.

When growing ponytail palm in a container, wait until the first half of the soil in the pot has dried out. Use a moisture meter to check for watering readiness. If you’re unsure about watering, wait another couple days and retest the soil. You’re much better off under rather than overwatering this plant, as it is susceptible to root rot.

Fertilizing Ponytail Palm

Feed Beaucarnea recurvata once in midspring and again in midsummer with a well-balanced, organic, liquid fertilizer. Organic fertilizers are best for this plant, as they are milder and less likely to cause salt buildup in the soil.

Ponytail Palm Brown Leaf-Tips

Salty soil is bad for ponytail plant, as it will cause root dieback and brown leaf-tips, a condition the tree is susceptible to. In years with less winter rainfall in SoCal, Ponytail Palm will have more leaf-tip burn than years when there is ample rain.

Leaf-tip burn occurs because salts that naturally build up in the soil from our alkaline water and fertilizers gather at the root zone of plants when rainfall is low. Once we get substantial rainfall—like this winter—salts are pushed below the root zone. The result is plants that experience less leaf-tip burn come spring and summer.

Beaucarnea recurvata Pests and Diseases

When grown outdoors, Ponytail Palm experiences few, if any, pests. Occasionally, you may have an issue with spider mites, which like dry conditions. If that occurs, spray the plant foliage on a regular basis to keep conditions moist and treat with neem oil.

Grow Ponytail Palm Indoors

In addition to being a great outdoor plant, Ponytail Palm thrives indoors as a houseplant. Provide the plant with bright, indirect light and avoid overwatering.

Check out this video to see how to grow ponytail palm indoors.

Southern California Fruit Gardening - Guide to Growing Organic Fruits Year-Round

Fruit Gardening in Southern California

Time to Plant Fruit Trees

Bareroot season is upon us. It’s time to plant deciduous fruit trees in Southern California. Fruit tree gardening in Southern California is highly rewarding. SoCal is a mecca for growing fruit. In fact, just about any fruit can be grown here. This includes most stone fruits, and semi-tropical and even tropical fruits.

Low-Chill Fruit Varieties for Southern California 

The only thing that will limit you when it comes to growing stone fruits in Southern California is our lack of chill hours. In many areas of the country, you can’t plant certain tender fruits due to freezing. But here in SoCal, we have the opposite problem—not enough cold weather. This means we need to plant low chill fruit trees.

Growing the right low-chill varieties for SoCal is so important because if such trees don’t get enough chilling hours in late fall and early winter, they won’t grow well, bloom or fruit. If it does produce any fruit, it will likely be deformed and small.

What are Chill Hours for Southern California Fruit Trees?

Chill hours refers to how many hours during the late fall and early winter that temperatures are between 32°F to 45°F. When the temperatures reach between this range, fruit trees develop hormones responsible for breaking dormancy. Without this hormone releasing, the trees won’t break dormancy at the correct time in spring for blooming and fruiting. The best low-chill fruit trees require 100 to 350 chill hours.

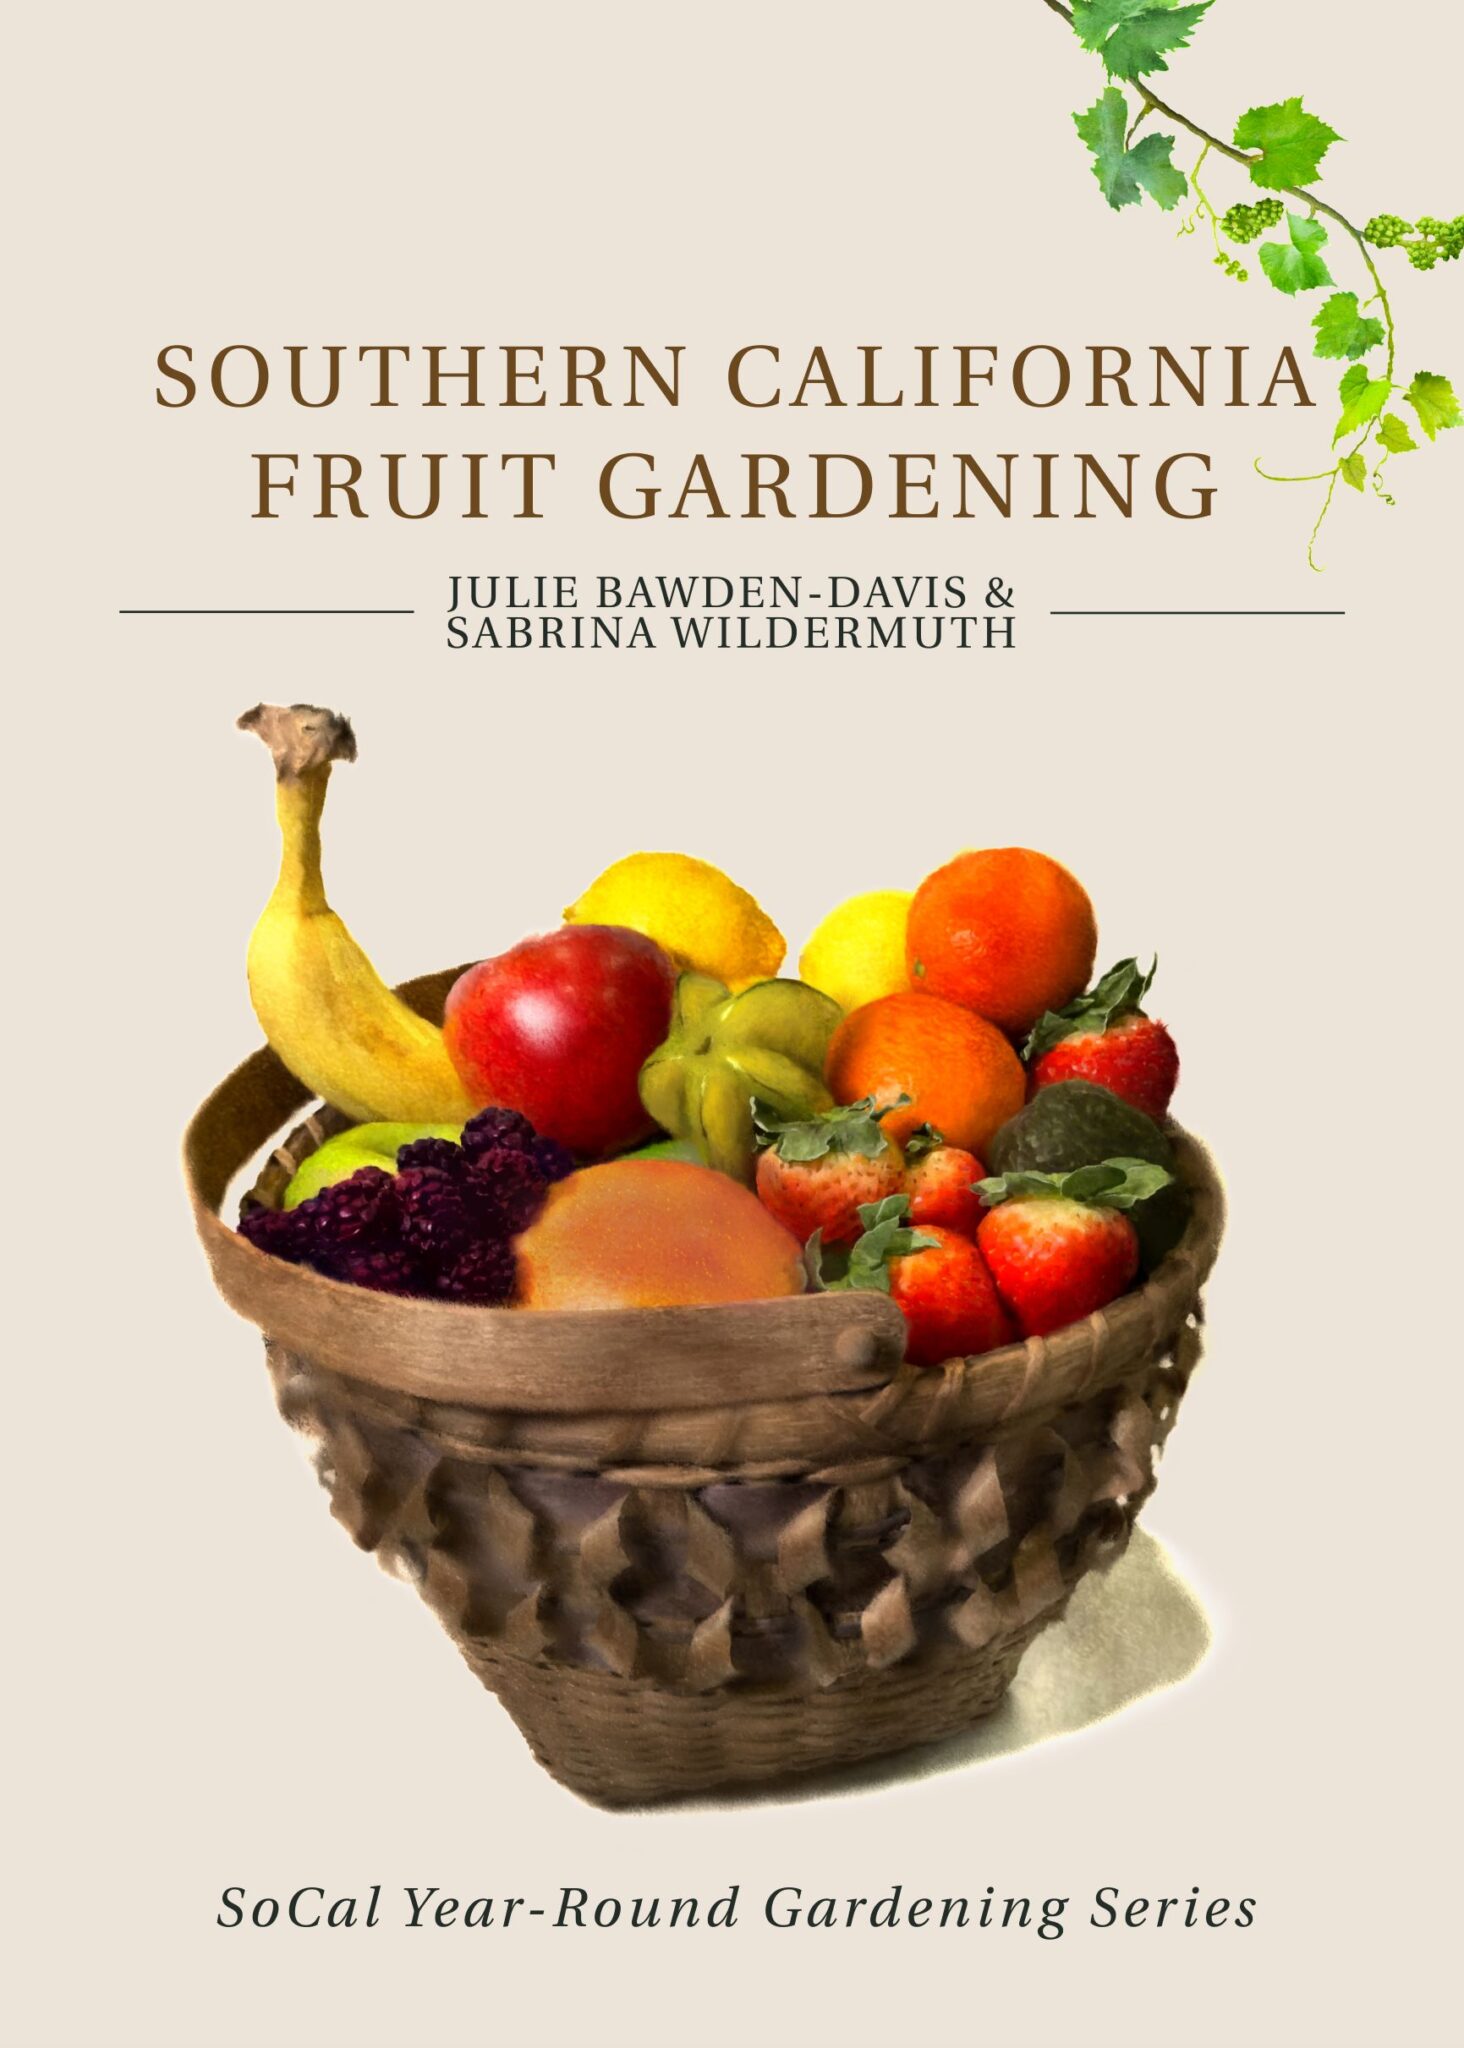
To succeed with your fruit garden in Southern California, you must plant low chill fruit tree varieties. My book Southern California Fruit Gardening, the second book in my SoCal Year-Round Gardening Series, tells you how to grow more than 40 fruits in Southern California, including the best low chill fruit varieties.

Why Choosing Low-Chill Fruit Varieties is So Important

If you think you’ll just pick up a fruit tree at your nearest big box nursery and plant it and see what happens, you might want to rethink that. A fruit tree is a long-term project and investment.

It takes most trees 3 to 5 years to begin fruiting. You’ll put a lot of time and energy and hopes into a fruit tree. Do you really want to find out a half decade later that it is the wrong type of tree and will never fruit for you? Buy a fruit tree from a reputable nursery that knows their fruit trees, and make it a low-chill variety. Unmarked fruit trees from big box garden stores are often best grown in other parts of the country.

Guava tree with yellow fruit

Guavas

Semi-Tropical Fruit Tree Growing in Southern California Gardens

Thanks to SoCal’s mild, semi-tropical weather, you can grow a wide variety of what are known as exotic or rare fruits. These include kiwi fruit plants, lychee plant, guava tree, passion fruit vine, pineapple plant, persimmon plant and banana plant, to name a few.

True, you can get many of these fruits from the grocery store, but when you grow your own, they taste like Mother Nature intended. Sweet and juicy. Growing blueberries in your backyard will produce the best berries you have ever tasted. I promise you.

Exotic fruit trees lend an attractive, tropical element to your garden. They also flower and produce fruit throughout the year. For instance, in our winter months you will harvest cherimoya. Some trees like white sapote can bear just about all year for you in SoCal.

Growing Fruit in Containers

If ground space is limited in your Southern California garden, you can grow many fruiting plants in containers. This is the case with small fruiting plants. For instance, growing strawberries in pots is easy if you keep a few things in mind. Growing raspberries in pots is also possible and highly rewarding.

The key to having luck growing fruit in containers is choosing the right variety. For instance, you will want to opt for dwarf and semi-dwarf fruit trees for containers. Miniature fruit trees not only save on space, they are bred to bear a lot of fruit in a limited area on the plant. That means you’ll have a lot of fruit, providing you treat the plant well.

Some fruits won’t grow well in pots. For instance, growing watermelon in containers is not advised—even if the melon is a miniature one. Watermelon requires room to grow and roam, and the plant drinks a lot of water.  You can’t meet either condition when you grow a watermelon or other type of melon in a pot.

Happy Fruit Tree Growing!

Now that you have some idea of the type of fruit trees to grow in Southern California, you can get out there and choose your fruit trees. Growing from bareroot saves you money and allows you to get fruit tree varieties that you may not be able to find otherwise.

Before planting your fruit trees, ensure that you choose the right location. If the plant needs full sun to produce fruit, then provide it. Also prepare the soil according to what the plant requires. If you are planting in clay soil, amend with compost and pumice. Also make sure to create a water basin around the plant to capture water and ensure the newly planted fruit tree stays hydrated.

Balcony garden

Balcony Gardening in Southern California

Urban Balcony Gardening

For many SoCal gardeners, garden space is at a premium—especially if you live in an apartment or condo. While you can always garden in the great indoors, it’s also possible to enjoy a small balcony garden.

The urban balcony provides the opportunity to create a feeling of bringing the outdoors in and the indoors out, creating a welcoming, refreshing retreat. Balcony landscaping gives you the opportunity to have your own outdoor haven in even the smallest of spaces. Decorate your outdoor niche with some well-chosen plants and a place to sit, and you’ll quickly have your own outdoor retreat.

Beauty of Balcony Gardening

As a balcony gardener, you have the opportunity to create a stunning outdoor focal point in your apartment or condo. Most balconies are generally visible from an area of your home such as the living room or bedroom. So, even if you aren’t out in your balcony oasis, you can enjoy viewing it. This is especially nice for a winter garden balcony.

Create a Vital Pitstop for Birds

When you create a balcony garden, you give birds that are passing by a place to stop and retreat. Consider placing a birdfeeder on your balcony garden and adding a water feature. If you offer refuge, water and food, you may even get birds who take up residence on your balcony. It makes balcony gardening even more enjoyable when you look out and see birds enjoying your outdoor space.

Balcony Farming

With a balcony, you can grow a surprising amount of your own produce. In SoCal, many fruits and vegetables thrive in containers in SoCal. Keep your crops well-watered and fertilized, and you can enjoy a year-round harvest of fresh, nutritious fruits and veggies all year long.

If you try balcony farming, grow vegetable and fruiting plant varieties that are compact. For example, cherry tomatoes and dwarf and semi-dwarf fruit trees.

Balcony farming

A balcony herb garden offers you the chance to have farm-fresh herbs at your fingertips. Most herbs do well in containers on the balcony. Just make sure to ensure that they’re getting the correct amount of sun. For example, herbs like rosemary and lavender require full sun. There are other herbs like mint that can take partial sun.

Create Privacy

When you live in an apartment or condo, or even a house in SoCal, privacy is often at a premium. Plant balcony privacy plants and you can enjoy your own private retreat. Some good plants for privacy include vining plants like passion vine, bower vine, morning glory, mandevilla and cardinal climber.

Balcony flowers run the gamut. Depending on your sun exposure, you can grow a wide variety of annual and perennial flowers on your balcony throughout the year in SoCal.

Table on Balcony

Tips for a Successful Balcony Garden

Since you are gardening in an elevated space, there are some important things to keep in mind.

  • Drainage. Some balconies are set up with a drainage system. If your balcony isn’t, keep in mind that water will pool on the balcony surface if you overwater. You will likely also have your pots in drainage dishes. Ensure after you water and it rains that you empty those dishes so that your plants are sitting in water, as this will lead to root rot.
  • Weight. Consider the weight of the planters you put on the balcony garden, including the soil. Check with your landlord if you are renting to see what is allowed on the balcony. Check that you are able to attach balcony planters. If you own, check to see how much weight you can safely have on your balcony. Small plants for balcony are generally advised, rather than larger plants.
  • Sun exposure. It’s important to know the sun exposure for your balcony in order to have success growing on your balcony. A western exposure balcony, for instance, is going to be shaded in the morning and have full sun in the afternoon. And then an eastern exposure will have morning sun and afternoon shade.

Enjoy your Urban Balcony Garden

When you set up your balcony garden, make sure to add a place to sit so you can enjoy your balcony. A small balcony set for 2 is even better.

Maximize your space on a balcony garden. Use a balcony planter box, which is designed to hang on the railing and for use in small spaces. Hanging pots for balcony are also a good choice. Where possible, use hanging plants for balcony and attach window boxes to the side of the house. Good balcony plants tend to be eye-catching and easy to grow.

Compost in hand

Are You Composting?

At the beginning of this year (2022), a California law went into effect mandating that all businesses and residences toss organic materials into green waste bins for composting, rather than into the trash. This includes veggie and fruit scraps, eggshells, coffee grounds, teabags and much more.

Senate Bill 1383 was created to cut down on the environmental impact caused by methane emissions from organic materials decomposing in landfills. California landfills are the third-largest source of methane emissions in the state. They comprise a whopping 20 percent of the state’s total methane emissions.

Good for SoCal Soil

Half of California’s total landfill waste is organic. The goal is to direct that tonnage of food scraps to facilities where they transform the scraps into compost rather than letting the material rot and outgas. This will lead to a cleaner and greener state.

But did you know that rather than dumping your scraps into your green waste bin, you can easily compost all that trash? By doing so, you’ll create rich, ready-to-use compost that is good for your garden. Compost is full of nutrients and beneficial microbes for your soil and plants. This natural amendment also conditions the clay soil common in SoCal. Make your own compost, and you also save a substantial amount of money on soil amendments.

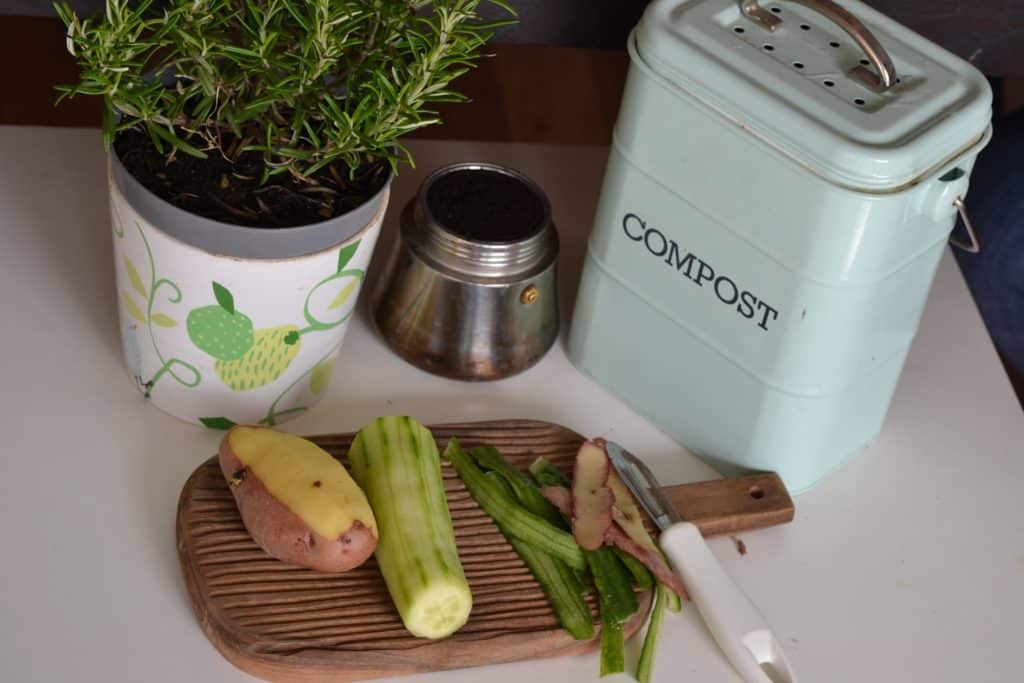
Composting starts in the kitchen. (Photo courtesy of Redfin.)

Composting is one of the many ways you can do your part to create an environmentally friendly home that’s better for our state and planet. In addition to reducing methane emissions, composting helps cut down on food waste. According to the United States Department of Agriculture (USDA), food waste accounts for 30 to 40 percent of the food supply. Start saving all your kitchen scraps and recycling them, and you can help reduce that percentage.

Types of Composting

You’ll find three main types of composting to choose from. These are worm composting, hot composting and cold composting. All three types of composting produce nutrient-rich soil amendment.

Worm Composting

If you lack the room to do traditional composting, try worm farming. Vermicomposting is a great way to create compost in a small space. This refers to using red worms to compost kitchen waste and dry plant materials to make black, earthy-smelling, nutrient-rich humus perfect for use as a fertilizer and soil amendment. The worms actually do all of the work for you. You simply feed them table scraps and yard waste. And the worms respond by producing nutrient-rich castings (a delicate way of saying worm poop).

Though it sounds like a messy proposition, worms can boast that their excretions don’t stink! They will noiselessly convert mounds of kitchen scraps like coffee grounds and vegetable trimmings into a rich, nearly odorless soil amendment. Best of all, you can do worm farming indoors!

Cold Composting

In many SoCal gardens, it’s difficult to fit the standard-sized compost bin into the landscape. For an even simpler method that fits tight spaces, try this method featured in Southern California Vegetable Gardening.

Here are the steps:

1) Use a sharp instrument like an ice pick to make a bunch of holes in the lids and sides of the trashcan, about every 3-4 inches.

2) Put the trashcan in an area that gets bright light. It can go in direct sunlight during the cool months but place the bin in some shade during the hot summer months.

3) Put into the trashcan equal parts dry (carbon) ingredients, like dried leaves and ground up stems/branches, along with wet (nitrogen) ingredients like vegetable and fruit scraps and lawn clippings (as long as you don’t treat your lawn with pesticides and it isn’t full of weeds.)

4) Add a bag of composted chicken manure or compost starter.

5) Wet the contents to moisten and mix ingredients well.

6) Put the lid on the trashcan.

7) Mix periodically or let it sit. The more you mix, the sooner it will make compost for you.

8) Enjoy some nutritive compost for your plants in 4 to 6 months!

Hot Composting

Hot composting refers to getting the compost heated up so that it more quickly breaks down, and you have compost in as little as 4 to 6 weeks. You need the same ingredients of veggie and fruit scraps and garden clippings mixed with manure or compost starter.

To hot compost, you either need a large compost bin and a place to put it, or a composter tumbler. The latter work well in SoCal, because they fit tighter spaces. And rather than having to use a shovel or pitchfork to turn the compost, you simply spin the tumbler. Whether you use a bin, pile in the backyard or tumbler, the more volume of materials you have and the more often you turn the materials, the more quickly you will get compost.

Southern California Vegetable Gardening - Guide for Year-Round Organic Growing

Southern California Vegetable Gardening

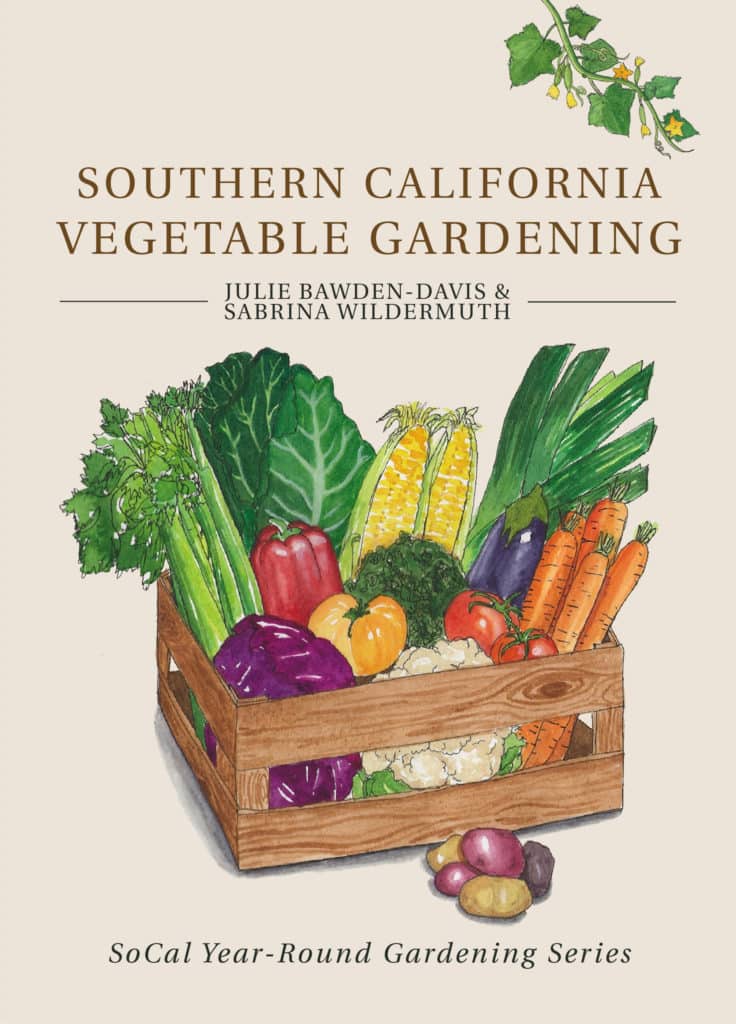
The first book in my SoCal Year-Round Gardening Series released on Earth Day! Southern California Vegetable Gardening tells you everything you need to know to grow a tasty, organic veggies in SoCal.

In the book, you will find SoCal growing info for more than 40 vegetables. There are also chapters on growing in our climate, soil, fertilizing, watering, pests and diseases and gardening with kids.

Learn to Grow Veggies in SoCal

The Makings of a Veggie Gardener

When I was a kid living in rural Massachusetts, there was a lady who lived across the street. She had a large fenced-in vegetable garden. I don’t recall her name, but we could call her Mrs. McGregor. She was a bit on the cranky side. At first, she thought I was up to mischief when I hung around the outside of the garden and began asking about her gardening techniques. 

When Mrs. McGregor realized that I was truly interested in learning how to garden, one day she grudgingly opened the gate. She motioned for me to come inside her patch of paradise. That started a series of mini gardening lessons. Each lesson ended with me being able to pick whatever delish veggie I wanted. Then I’d eat the vegetable right then and there.

In time, Mrs. McGregor gave me carte blanche to go into the patch even when she wasn’t around and eat whatever I wanted. The other neighbor kids would gasp and say I was going to “get into big trouble.” But as I dined on veggies in the garden, I knew better. 

I still remember the thrill of eating straight from Mrs. McGregor’s outdoor cupboard. My favorite crop to munch on was the carrots. They were so crispy and sweet.

Organic Vegetable Gardening in SoCal

When I started gardening in my own vegetable patch in SoCal in the late 1980s, I tried carrots, but soon found they didn’t grow like Mrs. McGregor’s. The big reasons were a difference in climate and soil. After some experimenting, I did figure out the secrets to growing carrots in SoCal.

Learn about growing carrots and nearly 40 more veggies in Southern California Vegetable Gardening, which is now out in paperback and ebook, and can be read for free on Kindle Unlimited.

One of my favorite types of veggies to grow during our cool season are root crops. There is something so exciting about …

Shade gardening in SoCal takes some extra effort but the results are well worth it.

Trimcraft9 Precision Automatic Trimming Scissors make garden tasks easier. You simply push a button and the trimming is done for you without any wear and tear on your hands.

To pollinate your garden, bees need water to thrive. Vision Bee Cups are a beautiful way to hydrate the bees.

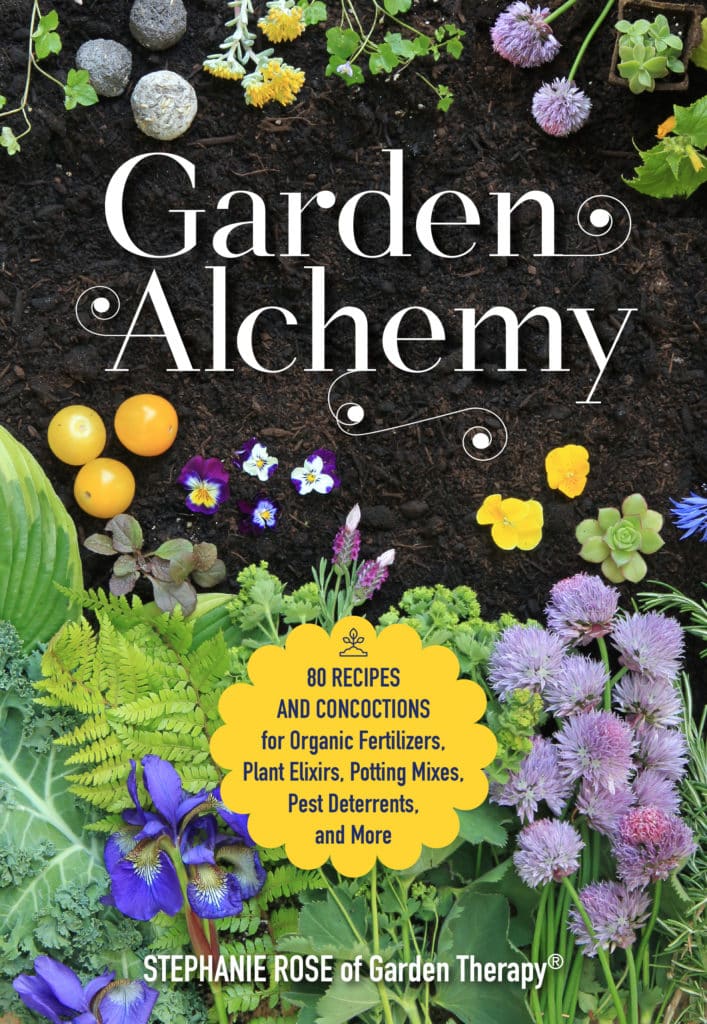
Garden Alchemy: 80 Recipes and Concoctions

Book Review: Garden Alchemy, by Stephanie Rose

When I opened Garden Alchemy: 80 Recipes and Concoctions for Organic Fertilizers, Plant Elixirs, Potting Mixes, Pest Deterrents, and More by Stephanie Rose, I immediately felt green magic swirling about me. Then I found myself teleporting back in time to the delight I felt when I started gardening at the age of 7.

Gardening a Magical Journey

Besides being a rich source of all sorts of recipes and concoctions to grow a great garden, the book reminds you of how every day in the garden is a magical journey. Rose, publisher of the garden blog Garden Therapy, knows firsthand the alchemy you can find in the garden. Gardening helped her heal from a debilitating illness.

In Garden Alchemy, Rose shares a wide variety of gardening secrets to help you grow a better garden and have fun while you do. She starts at the beginning, with soil and mulches. As she says, “Learning about your soil is the first step to a healthy and productive garden, and it’s a lifelong journey.” I must add that it’s a lifelong journey of exploration and pure joy.

Garden Alchemy Every Day in the Garden
Photo: Stephanie Rose

Soils and Mulches

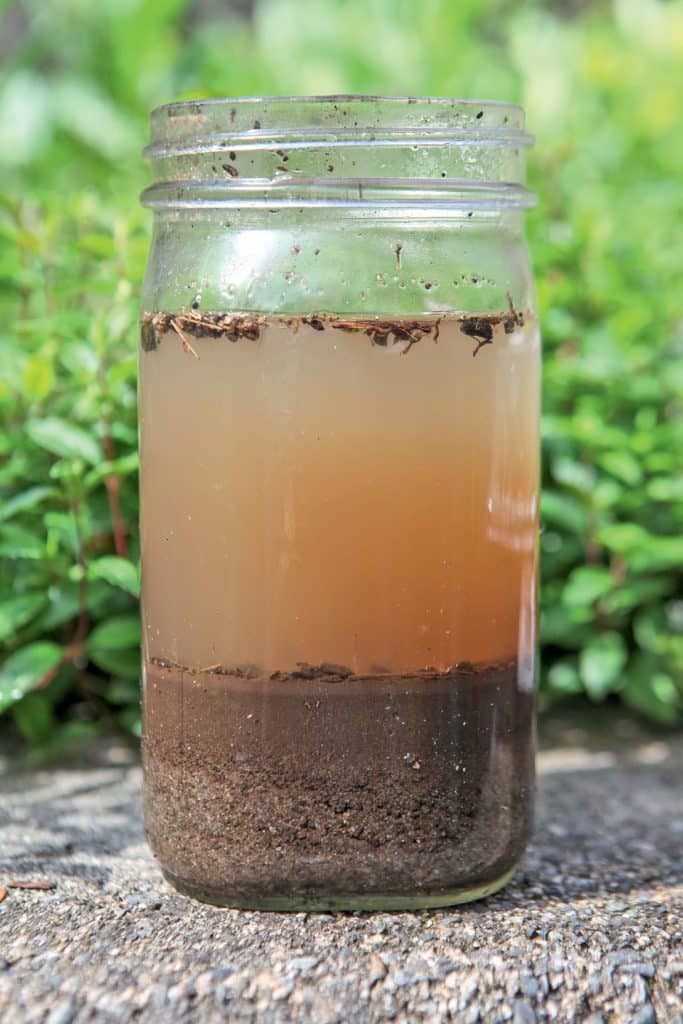
The Soils and Mulches chapter shares recipes for at-home soil testing. Turns out you can test the composition of your soil quite easily and accurately with a mason jar and some water. And you can use vinegar and baking soda to test your soil pH. Or you can try the cabbage water test or even make your own soil pH test kit.

Easy way to test soil structure
Photo: Stephanie Rose

You’ll find two pages of fabulous recipes for various soil mixes. These include a peat moss alternative containing compost, coconut coir and rice hulls or perlite. You’ll also find an all-purpose soil mix, one for acid-loving plants and one for raised beds.

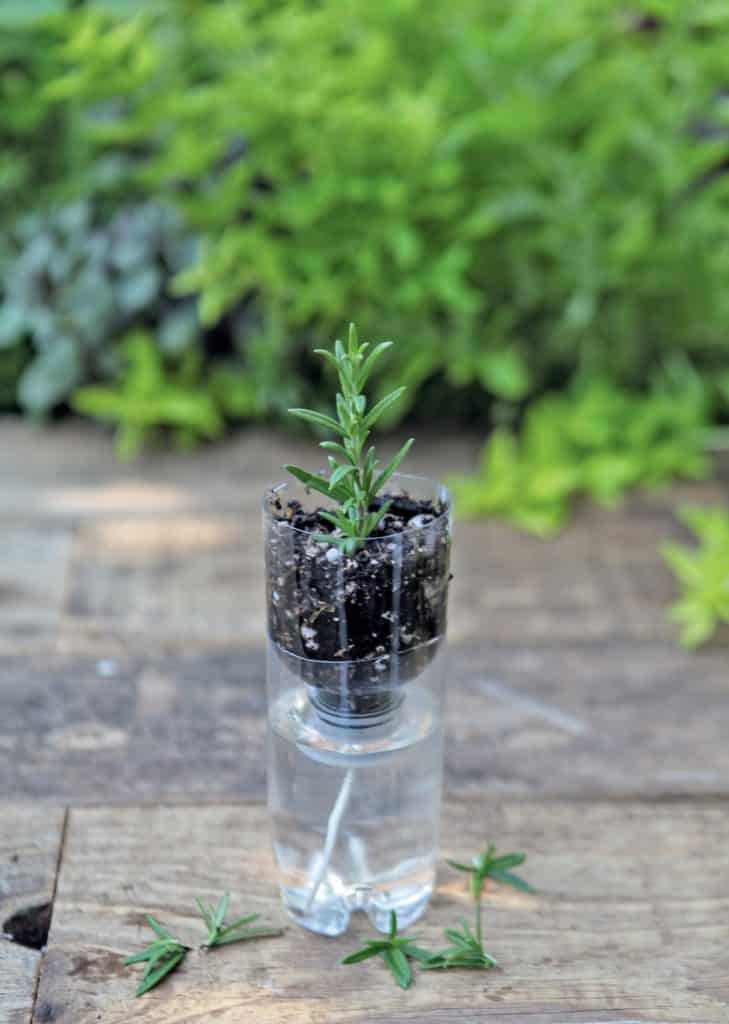
Homemade Water Propagator
Photo: Stephanie Rose

Propagating Plants for Garden Alchemy

When it’s time to start propagating, the propagation chapter has plenty of tips. Rose tells you how to make your own homemade seed germination test kit. She also shows you how to make your own biodegradable, recycled seed germination pots out of newspaper, toilet tissue and cardboard egg cartons.

Learn how to create your own seed bombs from clay or paper. For extra small seeds like carrots, you can also make your own seed tape, mats and disks. There’s a section on rooting plants in water, including how to make a DIY self-watering planter for root cuttings, like rosemary and other herbs.

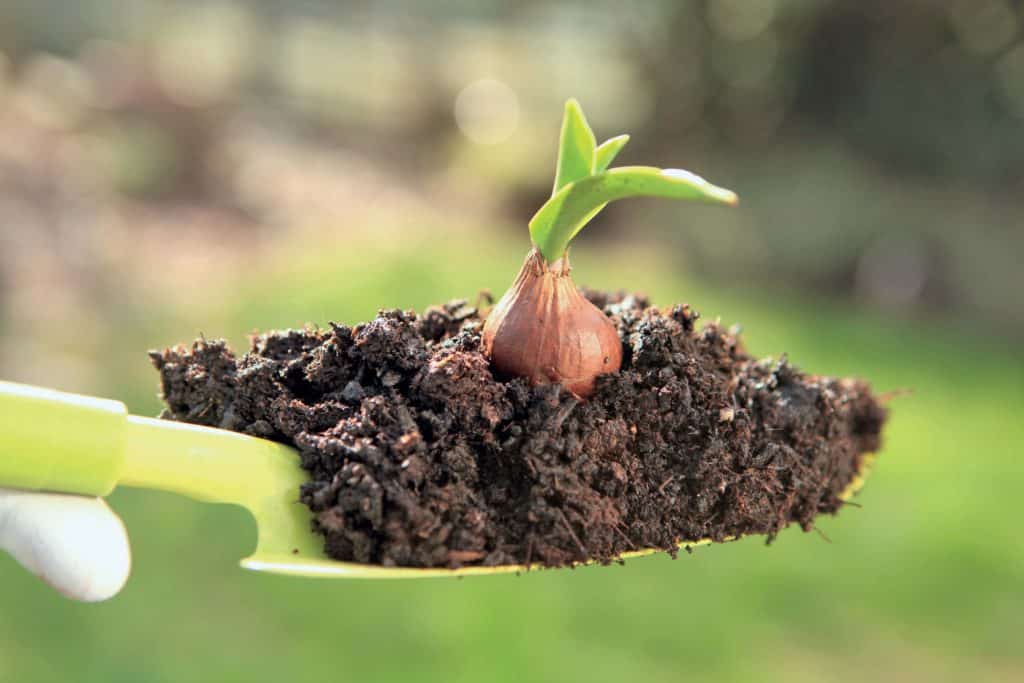
Healthy Soil
Photo: Stephanie Rose

Fertilizers and Garden Teas

If you’ve been thinking about doing vermicomposting, Rose has a section on creating your own worm bins for nutritive worm “poop.” She also tells you how to make vermicompost tea. Her Fertilizers and Garden Teas chapter delves into types of nutrients for your soil and plants and the importance of using natural fertilizers.

Inviting in Birds, Bees, and Bugs

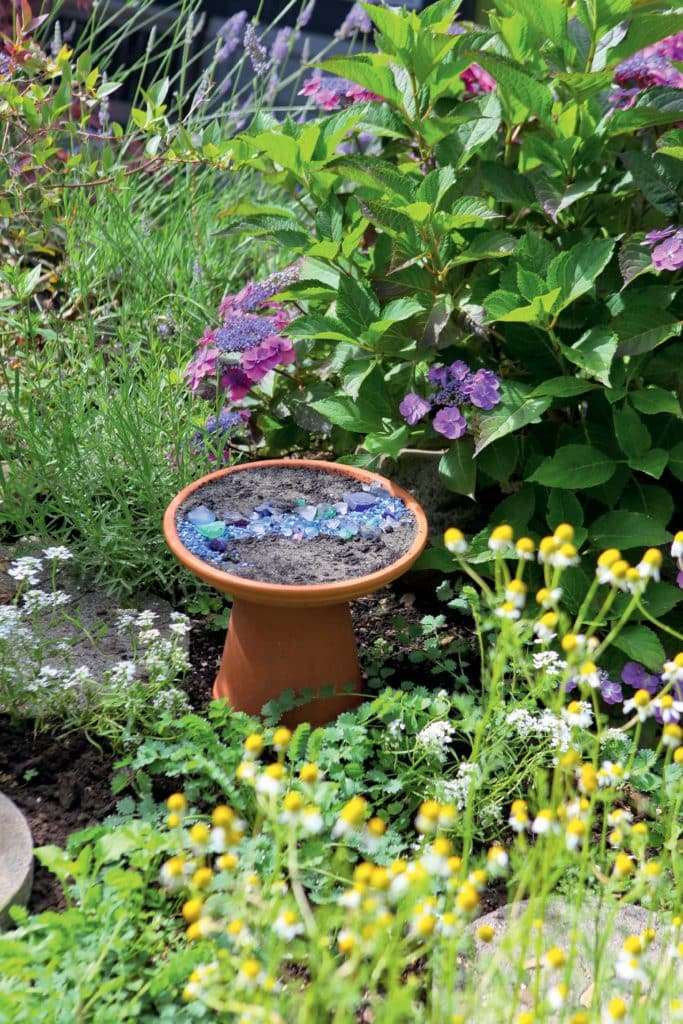
One of my favorite chapters in the book is the Birds, Bees, and Bugs chapter. I especially like the projects that serve the many creatures in our gardens. This includes the Butterfly Puddler. As Rose shares, butterflies and moths enjoy taking mud baths in mud puddles. The Butterfly Puddler is a fun and pretty way to make sure such winged creatures can enjoy a mud bath in your garden. Put a puddler in your garden, and you may just get to see butterflies and moths taking mud baths.

Butterfly Puddler
Photo: Stephanie Rose

The Bee Bath in Garden Alchemy is another decorative element for the garden that allows you to create a bee-friendly garden. Give the bees some fresh water every day, and they’ll be sure to grace your garden and pollinate with abandon.

This chapter also contains a variety of backyard birdseed recipes, including an all-purpose mix and mixes without shells, winter suet and homemade hummingbird nectar.

Bee Bath
Photo: Stephanie Rose

Garden Alchemy is chock full of useful and magical recipes and elixirs sure to elevate your garden and garden experience. In addition to helping you grow a healthy, beautiful garden, the book is a delightful and enlightening read.

One of my favorite types of veggies to grow during our cool season are root crops. There is something so exciting about …

Shade gardening in SoCal takes some extra effort but the results are well worth it.

Trimcraft9 Precision Automatic Trimming Scissors make garden tasks easier. You simply push a button and the trimming is done for you without any wear and tear on your hands.

To pollinate your garden, bees need water to thrive. Vision Bee Cups are a beautiful way to hydrate the bees.

Gardening Your Front Yard Book Cover

Gardening Your Front Yard

In Southern California where I live, we can thank several years of drought for finally opening people’s eyes. I’m not talking about the need to conserve water, although that was a positive result. I’m talking about the wonders of landscaping the front yard with something other than grass and a few token shrubs and flower beds.

Gardening Front Yards

I’d always thought it ironic. In a climate where you can grow just about anything all year long, including flowering and fruiting plants, many people insisted on using most of their front yard space for green grass. I’m happy to say that gardening in the front yard—true gardening—has finally caught on in So Cal. It’s now acceptable in many circles to treat your front yard like a backyard.

Gardening Your Front Yard, Nancy Wallace
Gardening Your Front Yard
Photo: Nancy Wallace

The book Gardening Your Front Yard: Projects and Ideas for Big & Small Spaces shows you how to reimagine your front yard. Make your front yard stylish by adding gorgeous trees, flowering shrubs, annuals, perennials and edibles. Using this book, you can create a picture-perfect front yard that has nonstop curb appeal. The options when it comes to colors, sizes and shapes of plants makes it possible to create a work of horticultural art in your front yard.

Front Yard Gardening Ideas

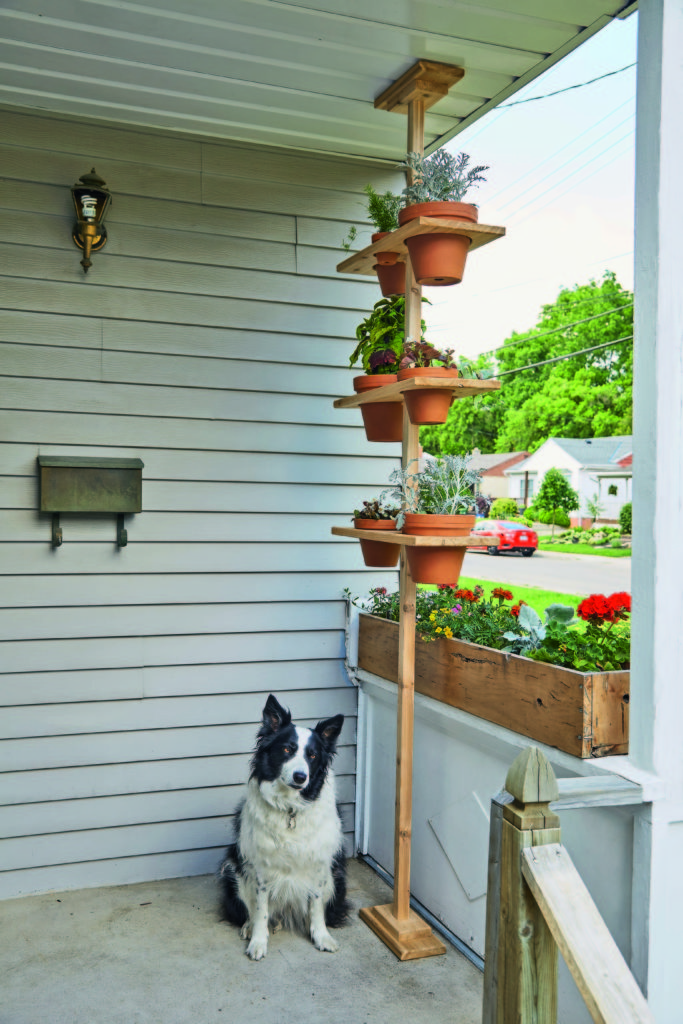
No matter where you live, Gardening Your Front Yard will give you plenty of great ideas for sprucing up the part of your garden everyone sees. Check out the many projects in this beautiful and useful book. One of my favorites is the Vertical Privacy Plant Stand, pictured below.

Vertical Plant Stand, pg. 47, Gardening Your Front Yard, Donna Griffith
Vertical Privacy Plant Stand
(Photo: Donna Griffith)

Also find detailed instructions for making a live-edge raised bed, Rolling Versailles-Inspired Planter, pretty Garden Obelisk and a handy Staircase Planter.

Savvy Front Yard Gardening

Author Tara Nolan is a garden writer and editor. She’s cofounder with three other garden writers of Savvy Gardening and does work for the Toronto Botanical Garden and Canadian Garden Council. She puts all her years of horticultural expertise into this well-illustrated book.

The gorgeous photos of beautifully landscaped front yards are inspiring all on their own. Like this front yard below, brimming with ornamental grass. I’ve been planting such grasses in my yard, so this is a look I’m working on achieving.

Eco-Friendly Grass Options, Gardening Your Front Yard, Jim Charlier
Eco-Friendly Grass Options
Photo: Jim Charlier

If you have a front or side yard challenge, Nolan’s book likely has a few solutions. For instance, find out all about adding a patio to your front yard garden, sneaking veggies into side yards and how to create a driveway garden.

Front Yard Vegetable Gardening

The section on “Building with Front Yard Vegetable Gardening in Mind” shows you how raised beds can elevate the exterior of your home to great garden heights. Find ideas for wooden and stone raised beds for gracing your front yard.

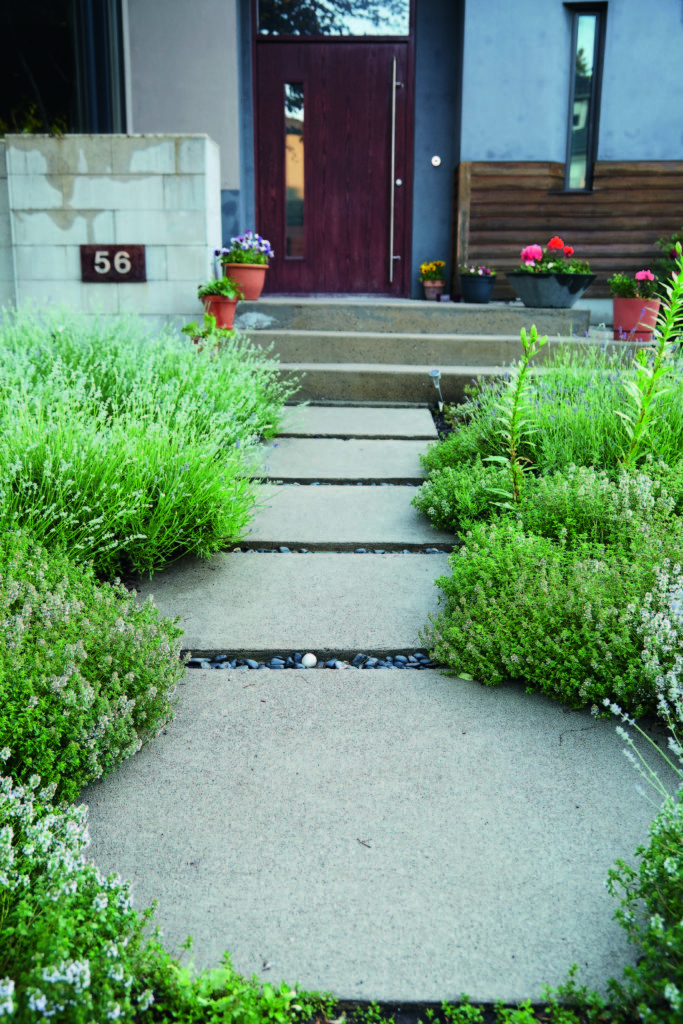
Gardening Your Front Yard also offers tips for small front yards. For instance, your focal point in such a yard may be a walkway, like those pictured below.

Gardening Your Front Pathway, Donna Griffith
Gardening Your Front Pathway
(Photo here and below: Donna Griffith)

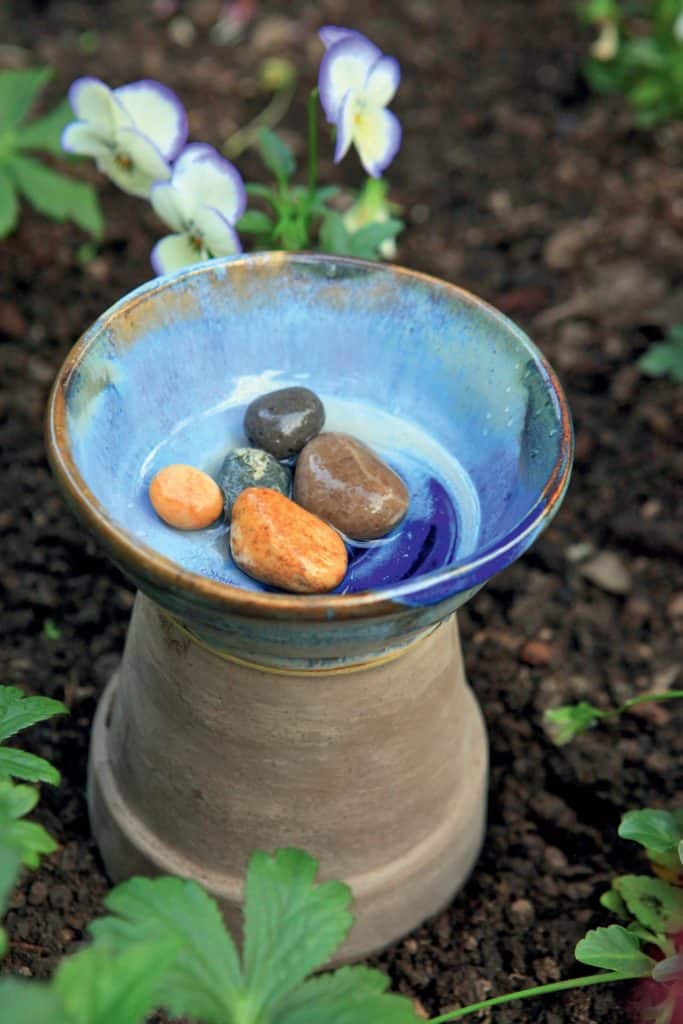
Other useful advice and instructions found in this book include how to train vines up brickwork and planting around and in hell strips and foundation walls. Nolan gives advice for shade gardens, as well as mixing edible and landscape plants, and even planting in birdbaths.

I recommend Gardening Your Front Yard to anyone looking to create an eye-catching and inviting front yard. The book promises to inspire nonstop ideas for making your front yard a living masterpiece.

One of my favorite types of veggies to grow during our cool season are root crops. There is something so exciting about …

Shade gardening in SoCal takes some extra effort but the results are well worth it.

Trimcraft9 Precision Automatic Trimming Scissors make garden tasks easier. You simply push a button and the trimming is done for you without any wear and tear on your hands.

To pollinate your garden, bees need water to thrive. Vision Bee Cups are a beautiful way to hydrate the bees.

Flower Gardening — Mastering the Art

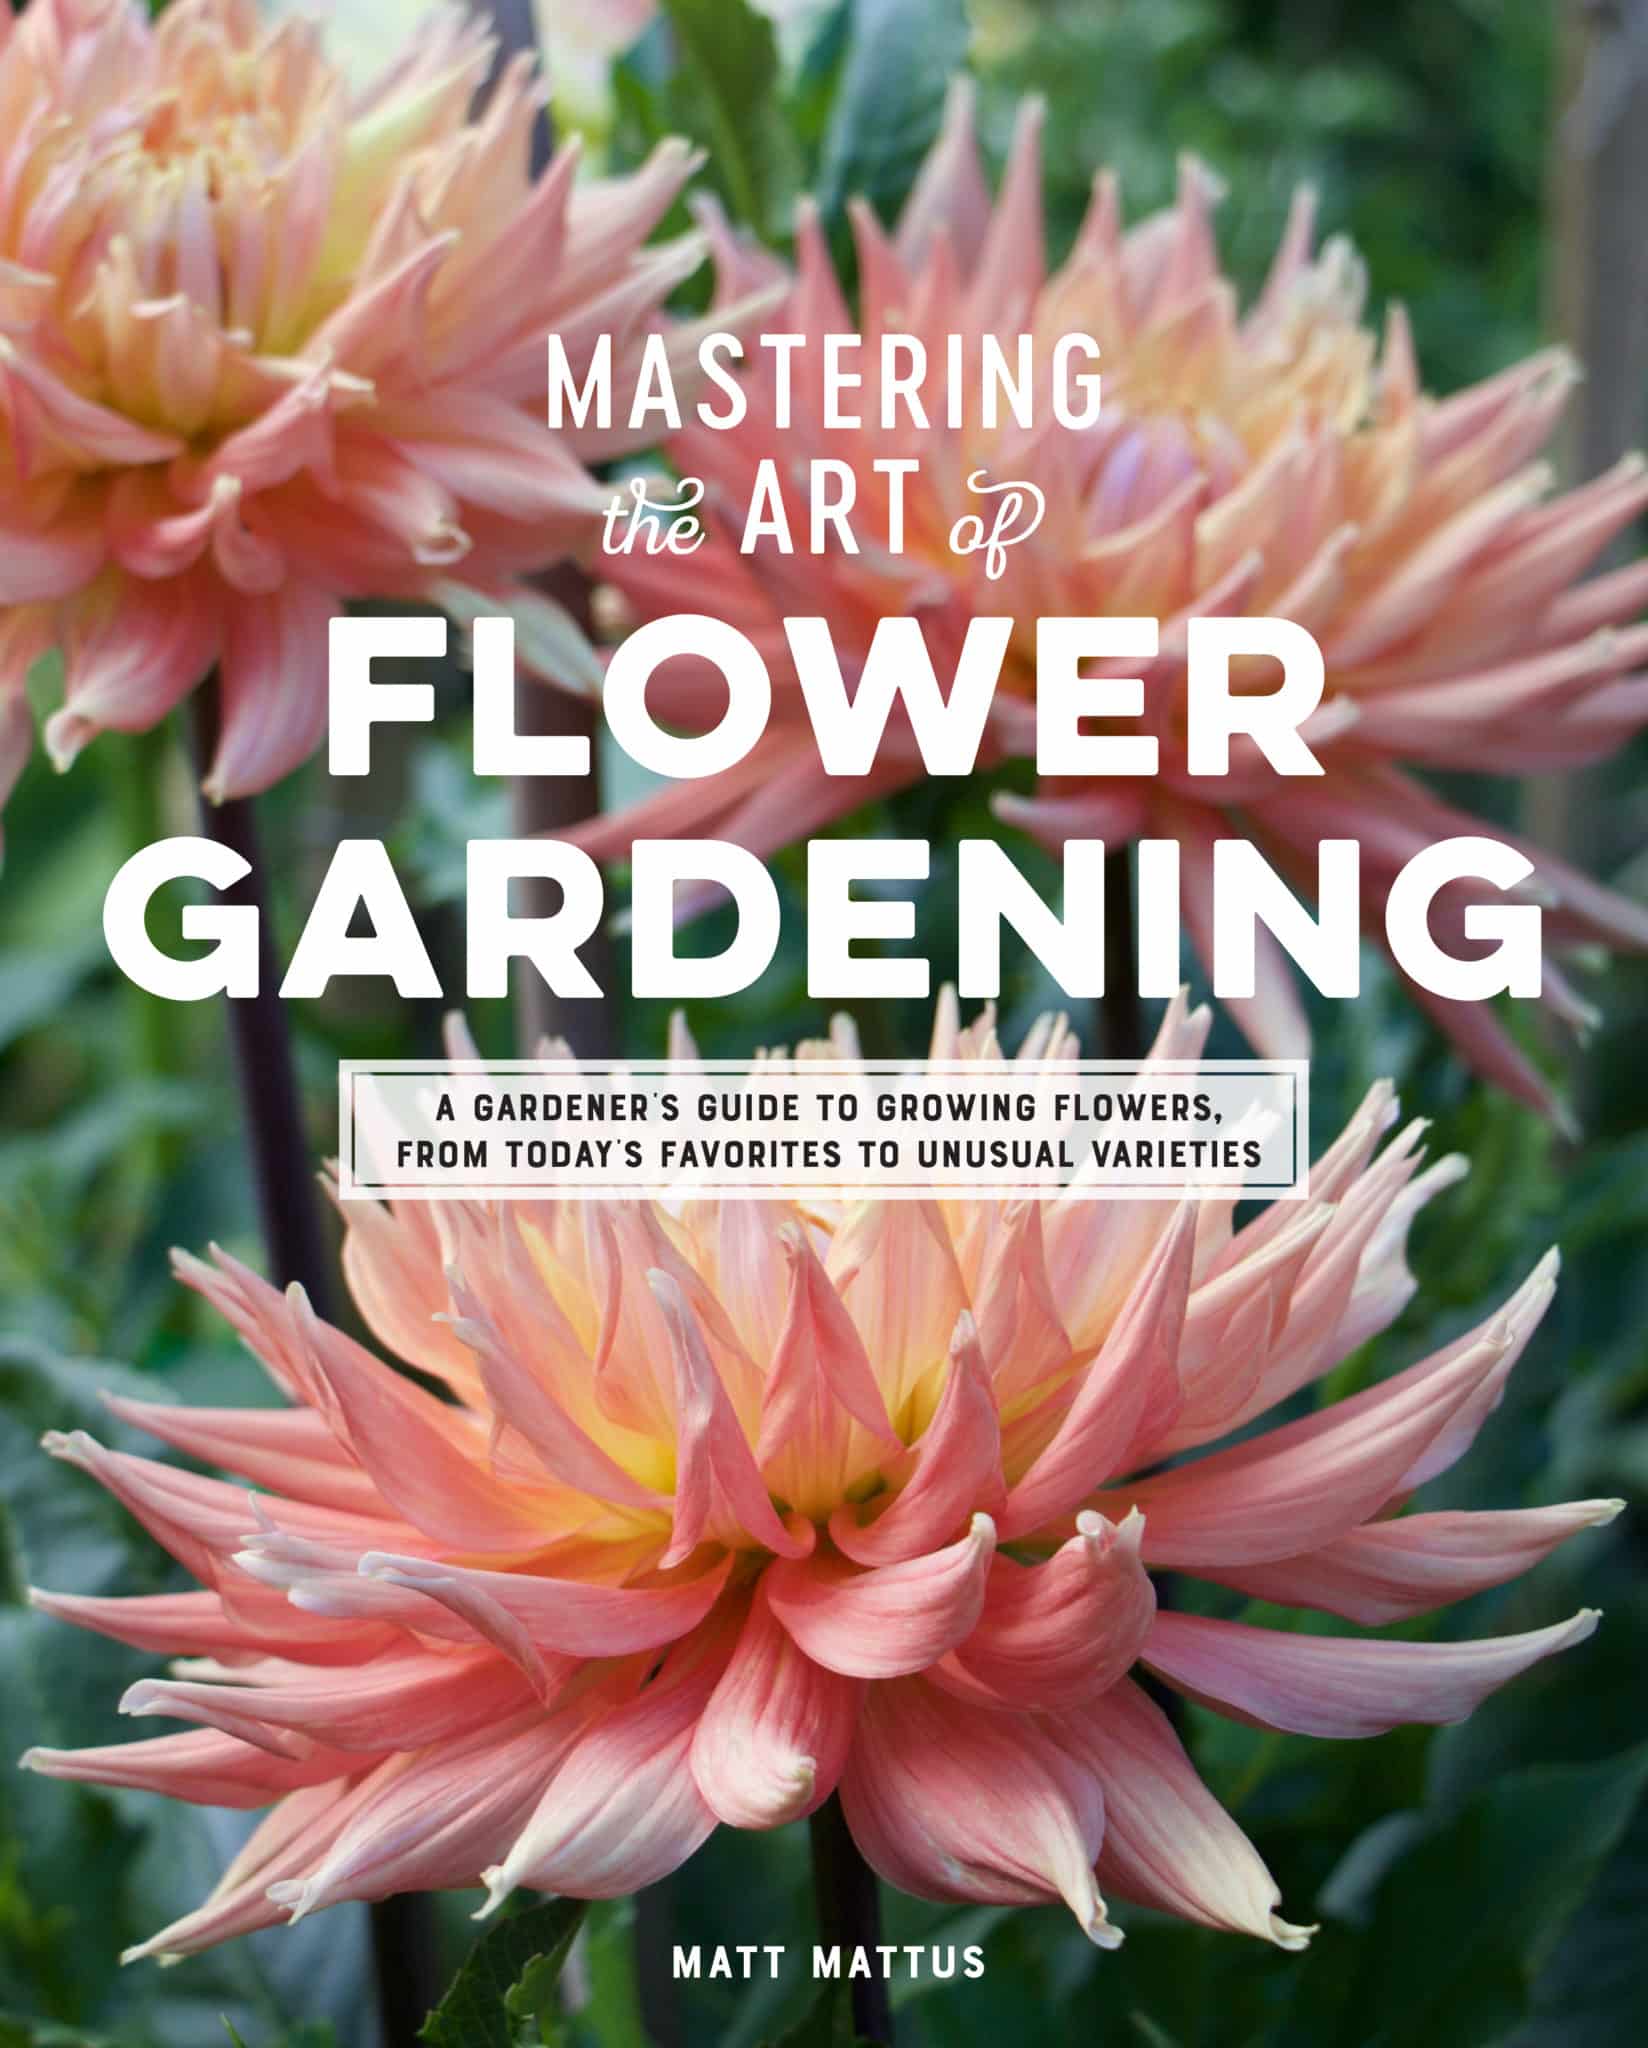
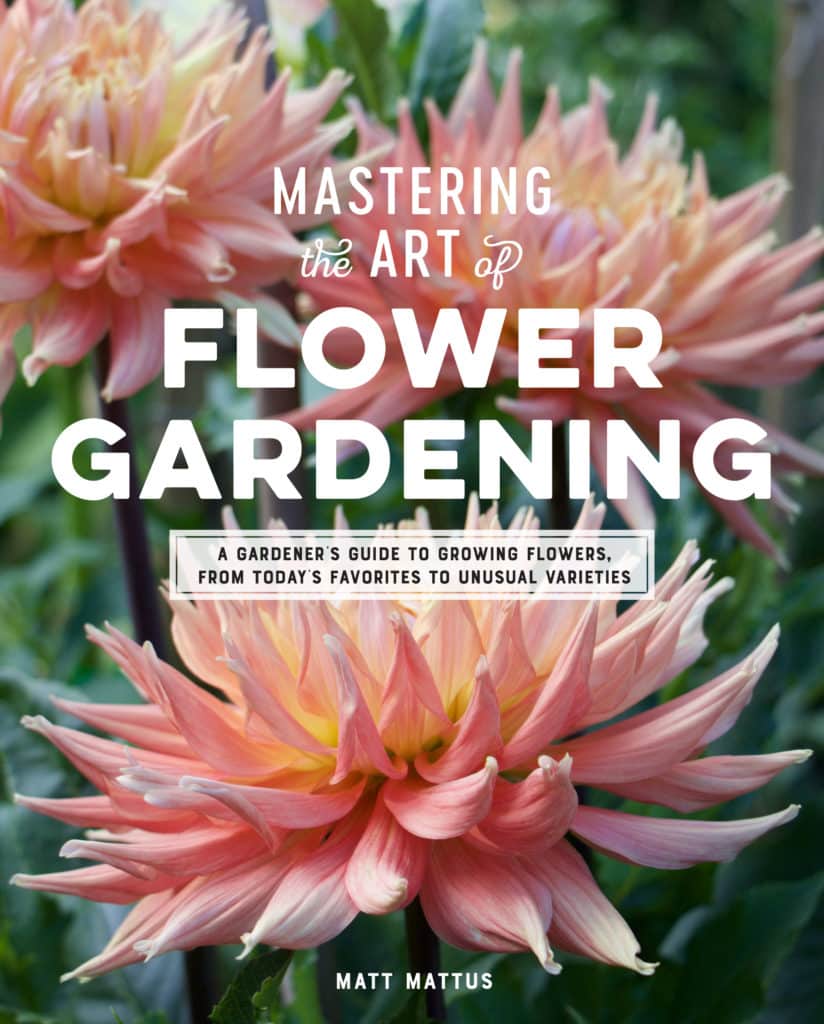
Mastering the Art of Flower Gardening Cover

When I opened Mastering the Art of Flower Gardening: A Gardeners Guide to Growing Flowers, From Today’s Favorites to Unusual Varieties, I was impressed by the gorgeous flower photos. As I started reading, I became awestruck. The breadth of knowledge within the pages of this book about flowers, flower gardening and the wonders of the flower kingdom is for lack of a better word—awe inspiring.

Growing with Flowers

The author, Matt Mattus, an American visual designer, artist, horticulturist and futurist, is a third-generation gardener of his family property in Massachusetts. He also runs a popular gardening blog, Growing with Plants. Every flower variety or species he mentions in his book are ones that he has personally grown and trialed.

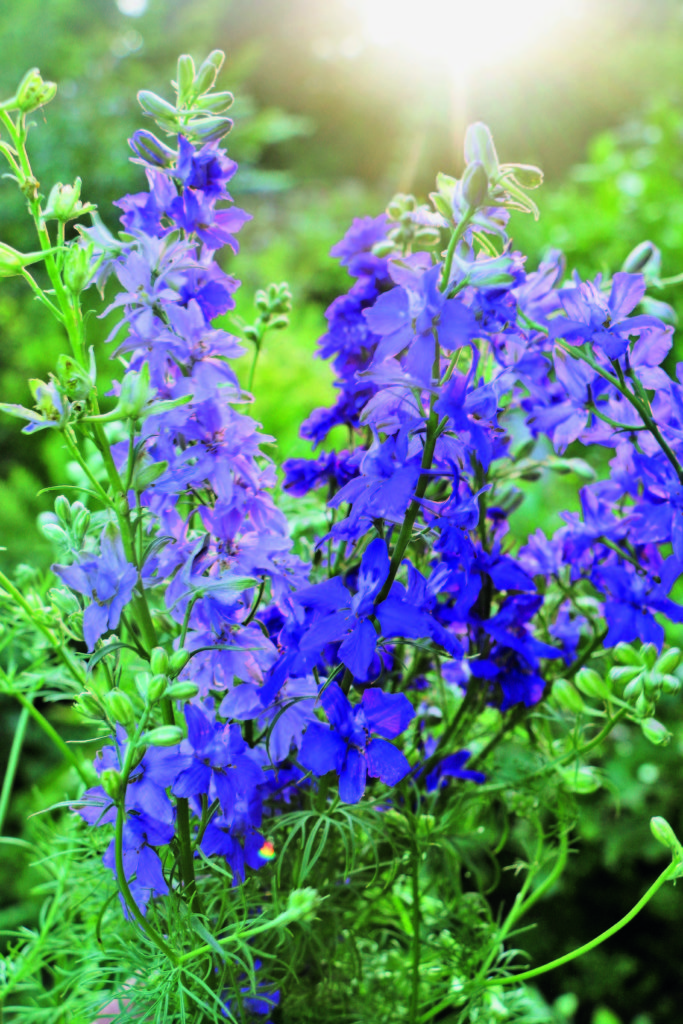
Larkspur
Lovely larkspur / photo: © 2020 Matt Mattus

Saying that the book gives you everything you need to know about flower gardening, while true, is somewhat of an understatement. Because in this book you’ll find so much more. Like the history of many flowers we know and love. Dahlias, for instance, and the advancements in their breeding. And the trick to getting lavender to bloom and thrive, if you’re not living in a Mediterranean climate.

Practical Flower Gardening Advice

The book is chock full of practical advice for growing the flower garden of your dreams. You’ll find instructions on starting flowers from seed. Also discover how to harden the seedlings off and transplant them in your garden come spring. And Mattus shares various seed starting methods for indoors. The instructions depend on the species. For instance, he covers species that require long growing times and are therefore best started early indoors. These include snapdragon and larkspur. Mattus dedicates a page to larkspur. He discusses their benefits and how to best grow these challenging flowers.

Potted beautiful bulbs.
Spring bulbs / Photo: © 2020 Matt Mattus

Set up in encyclopedia style, Mastering the Art of Flower Gardening includes instructions for growing more than 100 different types of annuals from seed. You’ll also find information on many summer bulbs, vines and shrubs, including lilac. Get an up-close look at a wide variety of lovely flowers. These include celosia, clarkia, petunia, mission bells, strawflower and salpiglossis (one of my all-time favorites). Also find monkey flower, nemesia, stock, peony, lily, poppy, tuberose, sweet pea, and many more.

Autumn Flower Gardening

The section on autumn blooms is packed full of information on how to grow many of these stunning often jewel-toned beauties. Learn all about growing chrysanthemums (mums) and gladiolus.

Dahlia 'Croydon Masterpiece'
‘Croydon Masterpiece’ Dahlia / Photo: © 2020 Matt Mattus

Forcing Bulbs Indoors

In the section on winter flowers, Mattus shares how the cold months are one of his favorite times of year. During the winter, he enjoys forcing bulbs into bloom indoors.

“Growing anything green indoors in the winter provides hope, but forcing bulbs into bloom is pure magic,” says Mattus in the Winter Blooms chapter. “Watching a bowl of paperwhite narcissus or a giant amaryllis bulb come into bloom indoors, with the snow deep outside, is a powerful annual ritual. It also may be the first foray many of us make into the world of gardening.”

Mastering the Art of Flower Gardening is one of those books that will delight and inspire the flower grower in every seasoned gardener. And if you’re new to the world of gardening, the book is sure to make a flower gardener out of you.

One of my favorite types of veggies to grow during our cool season are root crops. There is something so exciting about …

Shade gardening in SoCal takes some extra effort but the results are well worth it.

Trimcraft9 Precision Automatic Trimming Scissors make garden tasks easier. You simply push a button and the trimming is done for you without any wear and tear on your hands.

To pollinate your garden, bees need water to thrive. Vision Bee Cups are a beautiful way to hydrate the bees.

A Mother’s Day Essay

Growing a Family

Cultivating a garden can be like raising children. Watch, listen and add tender, loving care.


Every spring I have an outdoor birthday party for my twin boys. Because the backyard is at its glory when the rose garden is in full bloom, I spend hours in early January pruning back the roses at exactly the right time.

No matter how hard I try, though, they’ve never been in full bloom for the party. This year, one half of them flowered, but it wasn’t until the next week they all became bedazzling.

As I stood looking at the riot of flowers a week after their birthday, I realized something. Raising plants is a lot like raising children. You plant them, nurture them and wait. And though you might not see the results right away, they usually bloom–just not on your timetable.

Some children are like annuals. Give them a little attention, food and water, and they’ll light up the entire house. Others aren’t so quick to flourish.

Like slow-growing perennials, some kids need more time to become established, finally springing to life one day and surprising and delighting their parents. Of course, there are also children who are like thorny blackberry and raspberry vines, for one reason or another protecting themselves from closeness with anyone.

My 8-year-old daughter, Sabrina, is like my roses. Not too long ago, she decided to bloom at just the right time when she assisted me with a master gardener presentation. As I spoke, she enchanted the attendees, effortlessly planted a pretty fragrant container garden and flashing everyone a charming smile.

While I had a conversation with someone after the talk, to his amazement and mine, she created a necklace out of flowers from a nearby planter.

On another occasion during a family photo, Sabrina was not so captivating. As stubborn as my tight rosebuds, she refused to smile, no matter how much sunshine shone her way.

Some plants, like some children, are tenacious, taking tight hold of your garden and never giving up. Many gardeners have grown morning glories, an aggressive annual that hangs in there, no matter how many times you yank it out. Every morning, there the morning glories are, open wide and cheerful. You might be irritated that they’re overtaking your yard, but you can’t help but smile at their pretty, perky faces.

*

My son, Danny, is like the morning glories. When he takes hold of an idea, he won’t let go, and there’s no point in discouraging him. This winter, after we cut back our plum tree, Danny took a plum branch and put it in a bottle of water and said he was growing a tree. I explained that it probably wouldn’t grow, but he was undeterred.

“It will grow,” he told me.

For several weeks Danny persisted; never once doubting that his tree branch would grow. He changed the water daily and waited, while the rest of the family shook our heads in disbelief.

Then one morning, to everyone but Danny’s amazement, the plum branch leafed out. While we all apologized for our doubt, like the morning glories, Danny didn’t complain. Instead he gave a colorful smile and replied: “It’s OK.”

Danny’s twin brother, Jeremy, is a lot like the sunflowers popping up all over the yard from the wild bird feed we put out. With their giant, bright, cheery flowers and tall stalks, they make their presence known with gusto. People can’t help but be drawn to them and find them engaging.

Jeremy smiles for the sake of smiling and draws you in with open, honest questions and responses. Like the sunflower, it’s hard to ignore him, and you always know where he’s been.

He leaves little bits of himself everywhere–like the scraps of paper he creates with his name on them and his trading cards.

Jeremy is also playful. Since they were toddlers, for reasons unknown to us, he has called his twin Nago instead of Danny. One day some time ago, Danny finally shouted in exasperation: “My name’s Danny, not Nago.” Jeremy’s reply was quick and given with a bright smile: “OK, Nago.”

At the same time, like the sunflower, which dries and offers its seeds to wild birds, Jeremy also opens his heart to people in need. Recently, when he saw a man in tattered clothing pushing a shopping cart down the street and I explained that he didn’t have a home, Jeremy wanted to find him one.

Perhaps one of the biggest lessons I’ve learned from raising plants and children has been the realization that if you stop and really listen to them both, you learn much more than you would have ever imagined. Plants and children have a language of their own. They let you know when they’re hungry or thirsty or tired.

And when they’re happy and well-fed, they’ll proudly display everything they’ve got for all the world to see. And even if they don’t say it until years later, onlookers know that your nurturing, care and attention has had a little, if not a lot, to do with their delightful behavior.
One of my favorite types of veggies to grow during our cool season are root crops. There is something so exciting about …

Shade gardening in SoCal takes some extra effort but the results are well worth it.

Trimcraft9 Precision Automatic Trimming Scissors make garden tasks easier. You simply push a button and the trimming is done for you without any wear and tear on your hands.

To pollinate your garden, bees need water to thrive. Vision Bee Cups are a beautiful way to hydrate the bees.

Essential Plants for Your Contemporary Indoor Garden

The following is a guest blog post by Lana Hawkins, a student of architecture from Sydney, Australia, who writes about landscaping and green architecture and is a regular contributor to Smooth Decorator.

Edgy. Clean. Bold. Vast. Empty. These are all features of a modern design. A modern and somewhat trendy garden design is gaining admirers worldwide and just may overtake the traditional garden look. Given the fact that a clean and contemporary approach is more focused on the architecture rather than the actual plant life, many people have difficulty combining the two opposites into a cohesive whole.

So how do you devise a pleasing mixture of artificial surrounded by a touch of nature? Here you’ll find some ideas for creating a powerful and captivating mix of manmade surroundings highlighted by an indoor garden.
 

Potted Plants

Container and potted plants represent an essential part of any garden design, and contemporary garden design is no different. Pay attention to your choice of planters. Opt for hanging pots, cylinders and round containers with geometrical patterns. For plants, adaptable ferns are always a good choice, as are dracaena and potted palms, including sago palm. For a more exotic vibe, consider various sized cacti.

Succulents

One of the best choices for indoor plants are succulents, as there is a smorgasbord of different kinds from which to choose in order to create astonishing arrangements in your home. Succulents are also quite easy to maintain indoors. There are various planter choices when it comes to succulents, as they are quite adaptable and can be planted in almost anything. Depending on your personal preference, you could create a green succulent wall, a potted arrangement or even a miniature succulent garden.


Bonsai

The Japanese garden design has enticed the world with its astonishing and bold arrangements. This art form of training miniature trees in small pots and containers is definitely one of the true features of a modern indoor garden. Bonsai can be created from nearly any perennial woody-stemmed tree or shrub species. Japanese white pine or junipers are popular choices, but there are no limits when it comes to this art design.

Indoor Greenhouse


For those who have a majority of unused space, some money saved up and a desire to create something unusual and extraordinary in their home, an indoor greenhouse is the best possible choice. This design will never fail to impress and represents a true masterpiece of garden design.

Green. Lively. Vivid. Expressive. Distinctive. Who says that natural and artificial can’t be combined into something beautiful?  The sky (or the ceiling) is the limit they say, so be courageous and surpass the borders of innovation with your contemporary indoor garden design.

One of my favorite types of veggies to grow during our cool season are root crops. There is something so exciting about …

Shade gardening in SoCal takes some extra effort but the results are well worth it.

Trimcraft9 Precision Automatic Trimming Scissors make garden tasks easier. You simply push a button and the trimming is done for you without any wear and tear on your hands.

To pollinate your garden, bees need water to thrive. Vision Bee Cups are a beautiful way to hydrate the bees.

Grow Gorgeous Topiary Indoors

Growing plants indoors is even more fun when you grow topiaries. Featuring decorative shapes fashioned out of plants, you can try your green thumb at a wide variety of topiary options, including hearts, spirals, hoops, ovals and cute animals like rabbits, elephants and swans.

The art of clipping evergreen plants into shapes dates back to the 14thCentury when Egyptians and Romans created decorative shapes for their ancient gardens. You can bring topiary to your modern indoor garden by keeping the following tips in mind.

Topiary framing

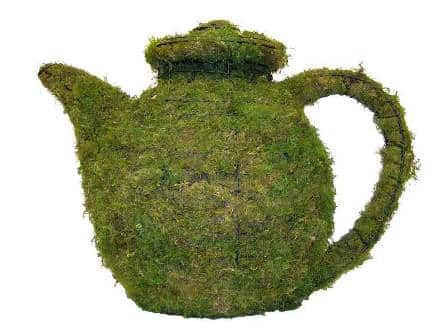
Topiary frames are generally made of wire. You can easily make a two-dimensional frame such as a heart or hoop, or create a more complex three- dimensional shape such as a cone, ball or animal figure. Plenty of cute frames can also be purchased.

When the frame is complete, insert it in a pot that will accommodate the base of the frame. Ensure that the frame is securely in the pot.

Choosing topiary plants

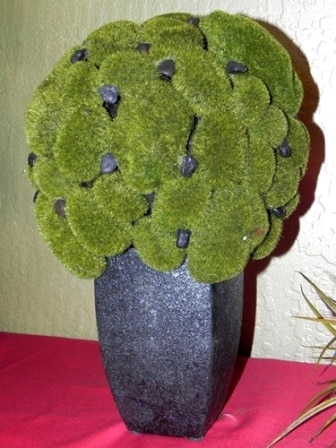
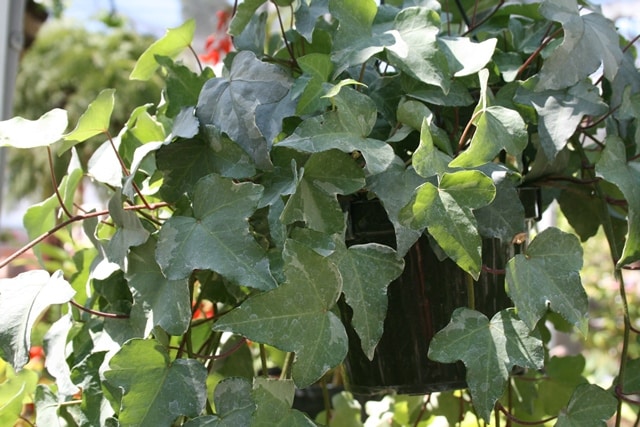
Several indoor plants, including ivy and moss, respond well to topiary. Good choices include topiary moss and English ivy (Hedera helix). Look for plants with small to medium-sized leaves. Other good choices for topiary include creeping fig (Ficus pumila), hoya, rosemary, creeping thyme, grape ivy (Cissus rhombifolia), pothos and wandering Jew (tradescantia sp.).

Some topiary plants require a sphagnum moss covered frame. Such plants tend to put down clinging roots when they climb and the moss allows them to do that.

Training topiary

Win already growing topiary plants around the frame and secure with green garden tape or plant clips. Small plants will require some time to grow up and onto the frame. As they do so, secure them to the frame. Also make sure to regularly pinch and prune the topiary to shape it. Prune so that the growth is within 1 inch of the frame.

Indoor topiary care

Keep topiary soil evenly moist, but not soggy. Frames made of sphagnum moss require regular misting. If the frame dries out at any point, soak the entire thing in lukewarm water until it’s drenched. Feed topiary plants monthly with a well-balanced organic fertilizer. Also make sure to provide adequate light. Most topiary plants need bright, indirect light or to be grown under artificial lighting. If they don’t get enough light, plants will fail to thrive and grow and may succumb to pests and diseases.

Provide humidity

Topiary plants, such as moss, require humid conditions to thrive. Use a fine mist sprayer or atomizer to moisten the plants throughout the day. Also consider placing the topiary on a humidity tray.

Watch for topiary pests

Spider mites are common in topiary—especially in homes that are hot and dry with poor air circulation. Prevent them from infesting your topiary by keeping the plants well watered and misting regularly. Also open windows to increase air circulation or use a fan. If you find spider mites on your topiary, rinse the plant well and keep repeating every two or three days for a couple of weeks until they are under control.

Send topiary on an outdoor vacation

Many topiary plants ideally require some time outdoors. Once a week spring through fall, place them in a bright shaded area for the day and bring them in at night.

One of my favorite types of veggies to grow during our cool season are root crops. There is something so exciting about …

Shade gardening in SoCal takes some extra effort but the results are well worth it.

Trimcraft9 Precision Automatic Trimming Scissors make garden tasks easier. You simply push a button and the trimming is done for you without any wear and tear on your hands.

To pollinate your garden, bees need water to thrive. Vision Bee Cups are a beautiful way to hydrate the bees.

Expert Tips for Growing English Ivy as a Houseplant

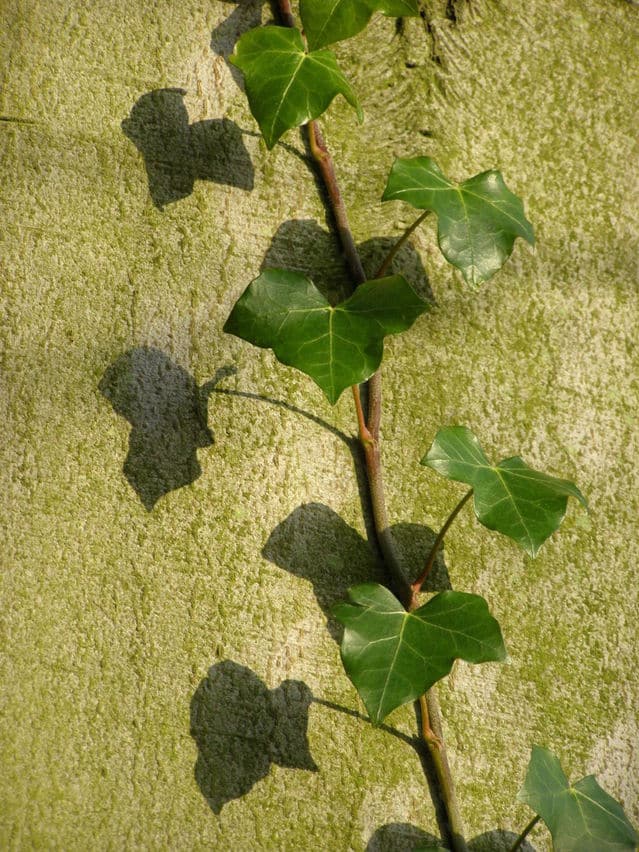
If you like the look of ivy and wish to grow it in your indoor garden, try English ivy (Hedera helix). This eye-catching vining plant is a nearly foolproof houseplant. Ivy can be trained atop a trellis or topiary, as well as across a wall. It also trails readily, so it makes an ideal hanging basket plant or looks beautiful spilling down from tall furniture.

Provide English ivy with the ideal growing conditions, and you will enjoy many years of abundant growth. Follow these growing tips for healthy English ivy in your indoor garden.

Bright light for English ivy

Pay careful attention to the amount of lighting available to your ivy plant. While ivy will grow slowly in low light, it will not thrive. The only way for ivy to readily grow and trail or climb in your indoor garden is to provide the plant with bright, indirect light. Place English ivy close to a sunny window or under full-spectrum lighting. Avoid placing English ivy too close to the window, as it may develop sunburn spots.

Provide humidity for English ivy

Ivy prefers humid conditions, which can be provided by misting the plant daily and placing the English ivy over a humidity tray. Grouping ivy plants also helps elevate humidity, as plants transpire and humidify each other.

Water English ivy properly

Keep English ivy plants moist but not soggy. Avoid letting the soil dry out, as droughted ivy is not likely to recover. Check for water readiness by sticking your finger in the soil up to the first knuckle, using a humidity tray or lifting the plant and noting if it seems lightweight and ready for watering. Always water with lukewarm water—never cold.

Fertilize English ivy occasionally

English ivy aren’t heavy feeders, but they do grow best if given a half-strength dose of an organic houseplant fertilizer three times a year in early spring, mid-spring and mid-summer.

Check English ivy for pests

English ivy attracts two pests that can be problematic. They are spider mites and mealybugs, which feed on plant leaves, causing yellowing, discoloration and leaf drop. Check the top and underside of foliage on a regular basis for small spiders scurrying around or cottony white mealybugs. To prevent both, rinse English ivy with water on a weekly basis. If an infestation becomes severe, check that you are growing the plant in ideal conditions. Plants stressed by insufficient light or inadequate or overwatering succumb to pests, whereas healthy plants ward them off.

Prune English ivy

Keep English ivy tidy by occasionally pinching back growth tips. This will also cause the plant to grow bushier, rather than become lanky. Pruning is best done in spring or summer.

One of my favorite types of veggies to grow during our cool season are root crops. There is something so exciting about …

Shade gardening in SoCal takes some extra effort but the results are well worth it.

Trimcraft9 Precision Automatic Trimming Scissors make garden tasks easier. You simply push a button and the trimming is done for you without any wear and tear on your hands.

To pollinate your garden, bees need water to thrive. Vision Bee Cups are a beautiful way to hydrate the bees.

199 Plants Poisonous to Pets

I often have readers ask what houseplants are poisonous or irritating to pets. The folks at ProFlowers have put together this handy infographic that tells you what plants could pose problems for Fido and Fluffy. That way you can be aware of potential problems, if you’re growing these plants indoors, or even if you have them indoors temporarily.

One of my favorite types of veggies to grow during our cool season are root crops. There is something so exciting about …

Shade gardening in SoCal takes some extra effort but the results are well worth it.

Trimcraft9 Precision Automatic Trimming Scissors make garden tasks easier. You simply push a button and the trimming is done for you without any wear and tear on your hands.

To pollinate your garden, bees need water to thrive. Vision Bee Cups are a beautiful way to hydrate the bees.

Terrarium Gardening for Kids-You Can Grow That!

One of my favorite types of veggies to grow during our cool season are root crops. There is something so exciting about …

Shade gardening in SoCal takes some extra effort but the results are well worth it.

Trimcraft9 Precision Automatic Trimming Scissors make garden tasks easier. You simply push a button and the trimming is done for you without any wear and tear on your hands.

To pollinate your garden, bees need water to thrive. Vision Bee Cups are a beautiful way to hydrate the bees.

Want to quickly uplift your spirits and connect to the magic in life? Make a terrarium garden with a child. With their bird’s eye view of Wonderland, kids have the ability to take you into another dimension where time stands still and fun prevails. Better yet, gardening is an activity that teaches children a wide variety of valuable skills and life lessons.
The dinosaur terrarium garden pictured here is the work of 13-year-old Logan (also pictured.) He says he really enjoyed building his terrarium, which is located on his desk in his bedroom.   “What I liked about making the terrarium and now growing it is that I got the opportunity to give life and express my own creativity,” says Logan. “Gardening involves science, which I also really like, and I’m interested instudying paleontology.  I love everything about dinosaurs.”   Logan suggests that other kids and adults try terrarium gardening, because it’s easy to do and gives you a view of nature indoors.
    “My terrarium is pretty much always in my view when I’m in my bedroom, and I really like that,” he says. “I can take a quick glance at it when I’m working on my computer, which makes me feel good, and the terrarium is right next to my bed, so I have nature near me when I’m sleeping.”   Here are Logan’s tips for successful terrarium gardening for kids.   Choose a theme. “You can do a regular terrarium with mosses and plants, or you can pick a theme, which is more exciting,” he says. “Think of your favorite things and then narrow it down until you have one idea.”   Pick your plants. “Get plants that fit your theme,” says Logan. “I chose succulents that look prehistoric, so they would fit my dinosaur theme,” he says.   Make the terrarium. “It’s really easy to make the terrarium. First you fill a glass bowl about two-thirds with soil and then put in your plants. Add more soil to cover up the roots and pat it down. Then put down moss, so it looks like grass, and add decorations last, like dinosaur figurines and rocks and other items.”   Grow under plant lights. Logan’s terrarium does well, because he has it under a full-spectrum light on a timer from 8 am to 8 pm daily. Sufficient lighting is important for terrarium plants.   Watch watering. Logan only waters his succulents occasionally using a turkey baster that he uses to direct the water to the soil and way from the plant foliage. Overly wet leaves can lead to rot in an aquarium, as can soggy soil.   Relax and have fun. “It’s exciting to make your own terrarium and really calming,” says Logan.

Rain, Snow, Come Inside-You Can Grow That!

If it’s snowing or raining outside, show your houseplants some love. Liquid from the sky is like champagne to your indoor plants. Catch rain and snow water and shower your houseplants with this potent elixir.

Rain and snow infuse your plants with a dilute form of nitric acid, which makes your indoor green friends happier and healthier. “Skywater” is also acidic, which many indoor plants like. If there’s thunder and lightning, the water is even more infused with Mother Nature’s good mojo! So go outside, collect the sky’s bounty, say a toast, and water your houseplants.

Watering houseplants with snow

Scoop up snow into a bucket and pack it tight. Bring it into the house and set it in a sink or bathtub until it melts. Wait until the resulting water reaches room temperature of at least 70-75 degrees before using it for watering. (Studies have shown that cold water can lead to root rot and leaf spotting.)

Watering with rainwater

Catch rainwater when it’s coming down into any vessel that will hold it, including jugs, rain barrels, buckets and watering cans. Bring the rain water indoors and let it reach room temperature before using it for irrigating your houseplants.

rchids can actually be watered with snow. Form snow into little snowballs and place them on top of the orchid bark. The balls will melt slowly and provide the orchids with a source of water. This should be done no more than once a week in the wintertime. (See below regarding the dangers of overwatering). When placing the snowballs around the orchid, make sure not to touch any leaves with the snow.

Filtering snow and rainwater

If the snow or rainwater contains any visible debris, filter it out with a fine strainer before using it. The finer the mesh in the strainer, the more debris you’ll catch. While this isn’t an imperative step, it is a good idea to help prevent soil borne disease.

Proper winter watering of houseplants

Keep in mind that most indoor gardens require substantially less water during the winter months than other times of the year. Even though your plants grow indoors, they respond to the cold days, and especially the limited daylight, by slowing down growth and growing less vigorously. When plants slow down growth, they require less water.

Before watering houseplants, make sure to check with a moisture meter in order to determine if the plants actually require watering. If the moisture meter reads wet, don’t water. Wait until it is on the verge of dry or in the dry zone. Most houseplants will recover from becoming slightly dry much easier than they’ll spring back from being overwatered—especially in the winter time. The combination of cold and short nights and wet soil quickly leads to root rot and death.

But enough downer talk! Go outside and collect some houseplant champagne. Then water, and watch your indoor garden throw its own party.

One of my favorite types of veggies to grow during our cool season are root crops. There is something so exciting about …

Shade gardening in SoCal takes some extra effort but the results are well worth it.

Trimcraft9 Precision Automatic Trimming Scissors make garden tasks easier. You simply push a button and the trimming is done for you without any wear and tear on your hands.

To pollinate your garden, bees need water to thrive. Vision Bee Cups are a beautiful way to hydrate the bees.

Finding a Place to Pot Up

No, I’m not talking about that kind of potting up! (Although, who knows, maybe the same rules apply.) I’m talking about a place in your home where you can easily and comfortably pot up plants, treat ailing ones and do some pruning.   Even if your space is tight, it helps to have a small corner where you can go with a plant that needs care. If you don’t have a spot, you’ll tend to put off caring for houseplants until you can clear the kitchen table or the bench in the garage.   You know how it goes. Someday I’ll pot up my houseplants and make them look amazing! Just like, someday I’ll lose 50 pounds; someday I’ll make a million dollars; someday I’ll win the lottery; someday I’ll finish the kid’s baby books; someday I’ll clean out that closet….You get the idea!
If you can fit one in (even if it’s in a closet or the garage), it really helps to have a small potting table. When you have all of your tools and indoor gardening supplies on hand, you can quickly and easily repot a plant, treat for pests and diseases and do some necessary pruning. A potting table also makes a great spot for quarantining a new plant before introducing it to the rest of your plant family.   A well-designed potting table with ample working space, convenient shelves and drawers makes it easy to perform indoor gardening chores. Find a wide variety of potting tables at nurseries, home supply stores and online, or you can build your own. When deciding on a potting table, consider the height you find most comfortable. Will you be wearing shoes when doing your indoor gardening, or will you go barefoot?   Of course, the kitchen table still works—providing you can get to it! Or any table tucked away in your home where you can store your gardening supplies and get some work done.   Whatever you choose for working on your indoor garden and wherever you put it in your home—have fun caring for your precious houseplants!

One of my favorite types of veggies to grow during our cool season are root crops. There is something so exciting about …

Shade gardening in SoCal takes some extra effort but the results are well worth it.

Trimcraft9 Precision Automatic Trimming Scissors make garden tasks easier. You simply push a button and the trimming is done for you without any wear and tear on your hands.

To pollinate your garden, bees need water to thrive. Vision Bee Cups are a beautiful way to hydrate the bees.

Are Your Houseplants Happy? You Can Grow That!

If your houseplants were to visit a plant whisperer and have a heart-to- heart, what would they say? Are they happy and healthy and glad to be a part of your home? Or are circumstances a little less than ideal?

Unable to hear what your houseplants are saying to you about their accommodations? No worries, I’ll translate here for you. Check out the signs that your houseplants are deliriously happy and the signs indicating that they’re harboring some resentment.

Signs of Contented, Healthy Houseplants


Happy houseplants don’t complain with pests or diseases. Instead, they sport perky, vibrant foliage. Leaves grow in at full size and have a healthy sheen to them. If the houseplant flowers, you’ll find that it regularly buds up and blooms.

Healthy houseplants are also well-anchored in the soil. You won’t find any wobbling. The roots are firmly planted. At the root zone of healthy plants, you’ll find roots that are firm and white or tan.

Signs of Sick Houseplants


Limp leaves that are dull indicate a distressed houseplant. Likely problems are that the plant is dry and needs watering, or the soil is too wet and the roots are suffering from rot. Fix the watering problem and the plant will become more content.

Distorted, shriveled leaves that yellow and fall off are indicative of cultural problems that can lead to plant demise–including insufficient lighting and incorrect watering.

Plants that are wobbly at the base are most likely infected with fungal or bacterial disease. Brown or black roots that are mushy are another sign of root rot. Stop watering the plants when this occurs.

Plants that are rangy and leggy and lean to one side are indicative of insufficient light. And a pot-bound plant full of roots indicates that the plant needs repotting as soon as possible. Not only are such plants starved for nutrients, the lack of soil leads to insufficient water for the plants.

If the plant is supposed to be budded up and flowering, but it’s not, this can be another sign that your houseplant needs an attitude adjustment.

A sticky, annoying residue on foliage indicates that the plant is being attacked by sap-sucking pests like mealybugs, scale and aphids. The fact is that the sticky substance is essentially “pooped” out by the pests as they feed on your houseplants. Of course, if you see pests on the plants, this is another obvious sign that there’s trouble in paradise.

What about your houseplants? Do you think they’re happy?

One of my favorite types of veggies to grow during our cool season are root crops. There is something so exciting about …

Shade gardening in SoCal takes some extra effort but the results are well worth it.

Trimcraft9 Precision Automatic Trimming Scissors make garden tasks easier. You simply push a button and the trimming is done for you without any wear and tear on your hands.

To pollinate your garden, bees need water to thrive. Vision Bee Cups are a beautiful way to hydrate the bees.

How to Grow Salad Indoors

The following is a guest post by Richard Clayton, who owns a small gardening shop and publishes www.lawnmowertips.com, where they discuss everything you need to know about lawn-care techniques.

Growing salad in your indoor garden ensures that you have fresh, tasty greens at your fingertips. Chances are you’ll be surprised at just how easy it is to grow lettuce and other salad fixings indoors. To do so, follow these easy steps.

Step 1. Choose your containers


Recycle just about any container for your indoor salad garden, or if you prefer a tidy look, buy containers in uniform shapes and sizes that match your interior. If you don’t have shelving for containers, install some, as this creates more growing space. Ensure that the containers have drainage holes.

Step 2. Select soil for your salad garden


Prepare your containers using potting soil specifically suited to growing greens. Such soil should be rich in nutrients, yet also well-draining. Avoid using outdoor soil from the garden on your indoor garden. Such soil tends to be full of weed seeds, bugs, bacteria, and it may not allow for adequate drainage and air circulation.

Step 3. Sow your salad seeds


Plant in fresh soil each time you seed your indoor salad garden. You can buy various salad seeds, such as lettuce, spinach, Swiss chard or Asian greens. Most of these flourish in cool weather, but some can grow well in hot weather. Indoors seeds should be planted about 1/8-inch deep. After sowing, water the soil surface with a spray bottle until it is saturated.

Lettuce seed germinates within 2 to 3 days indoors. The seeds germinate and sprout best when kept in a room of the house that is about 70 degrees Fahrenheit.

Step 4. Take care of your indoor salad garden

For healthy growth of your salad greens, keep the temperature in the room cool. Water regularly, as salad greens are shallow rooted and have large leaves. In general, water every couple of days. Also provide sufficient light. Grow your indoor salad garden near the window where it can catch natural sunlight. If you have no outdoor light, place the salad greens under full-spectrum lighting for 12 to 14 hours a day. If the salad greens appear to be crowded, thin out the seedlings.

One of my favorite types of veggies to grow during our cool season are root crops. There is something so exciting about …

Shade gardening in SoCal takes some extra effort but the results are well worth it.

Trimcraft9 Precision Automatic Trimming Scissors make garden tasks easier. You simply push a button and the trimming is done for you without any wear and tear on your hands.

To pollinate your garden, bees need water to thrive. Vision Bee Cups are a beautiful way to hydrate the bees.